

Last updated October 9, 2026
Free in-home measure and quote - PGT, CGI and CWS impact lines compared on your actual openings, style by style


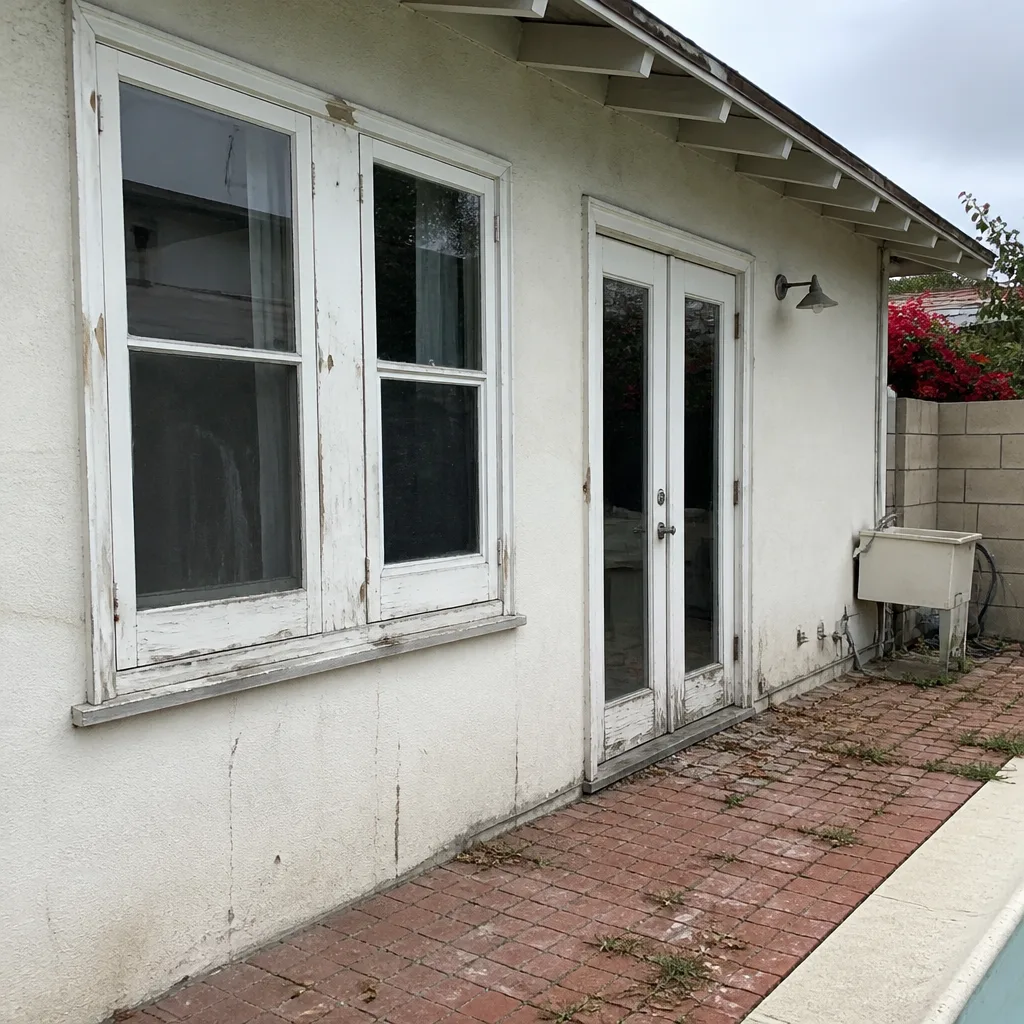 Before
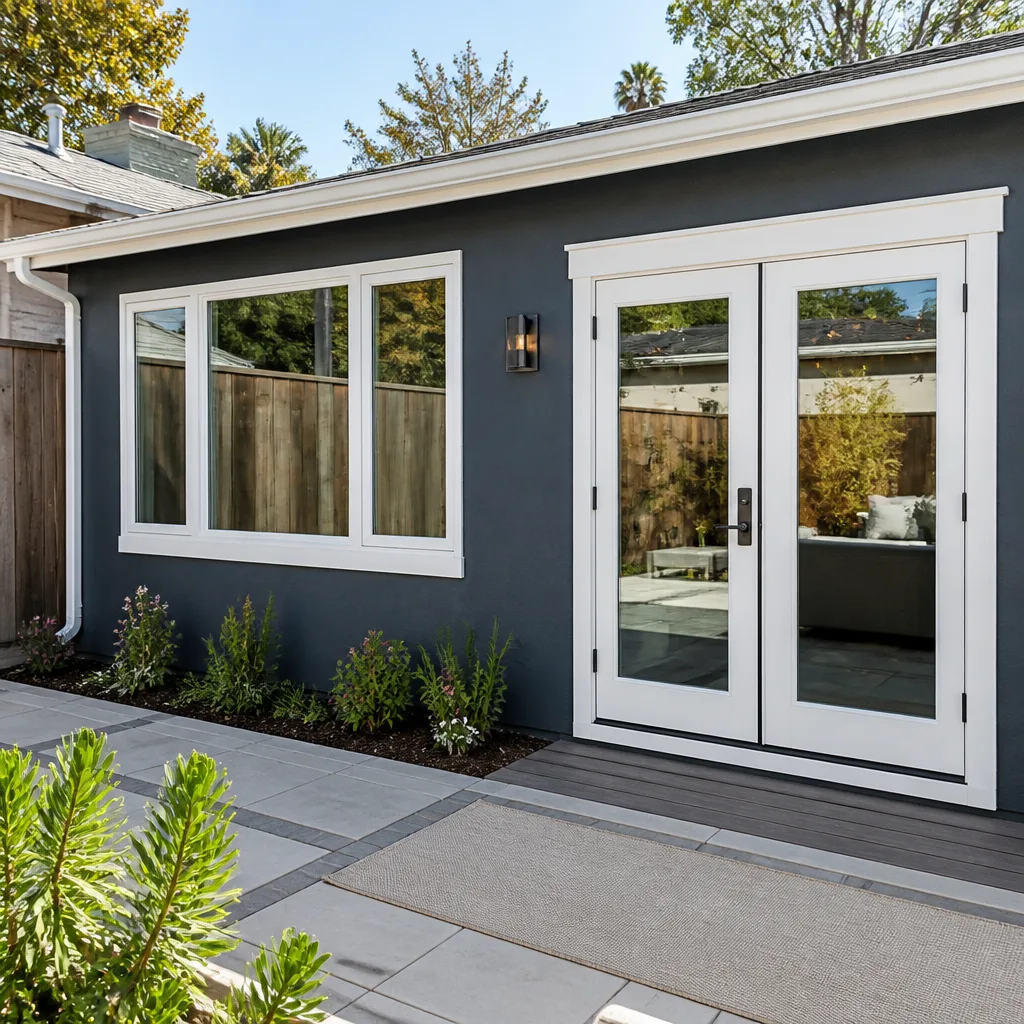 After
After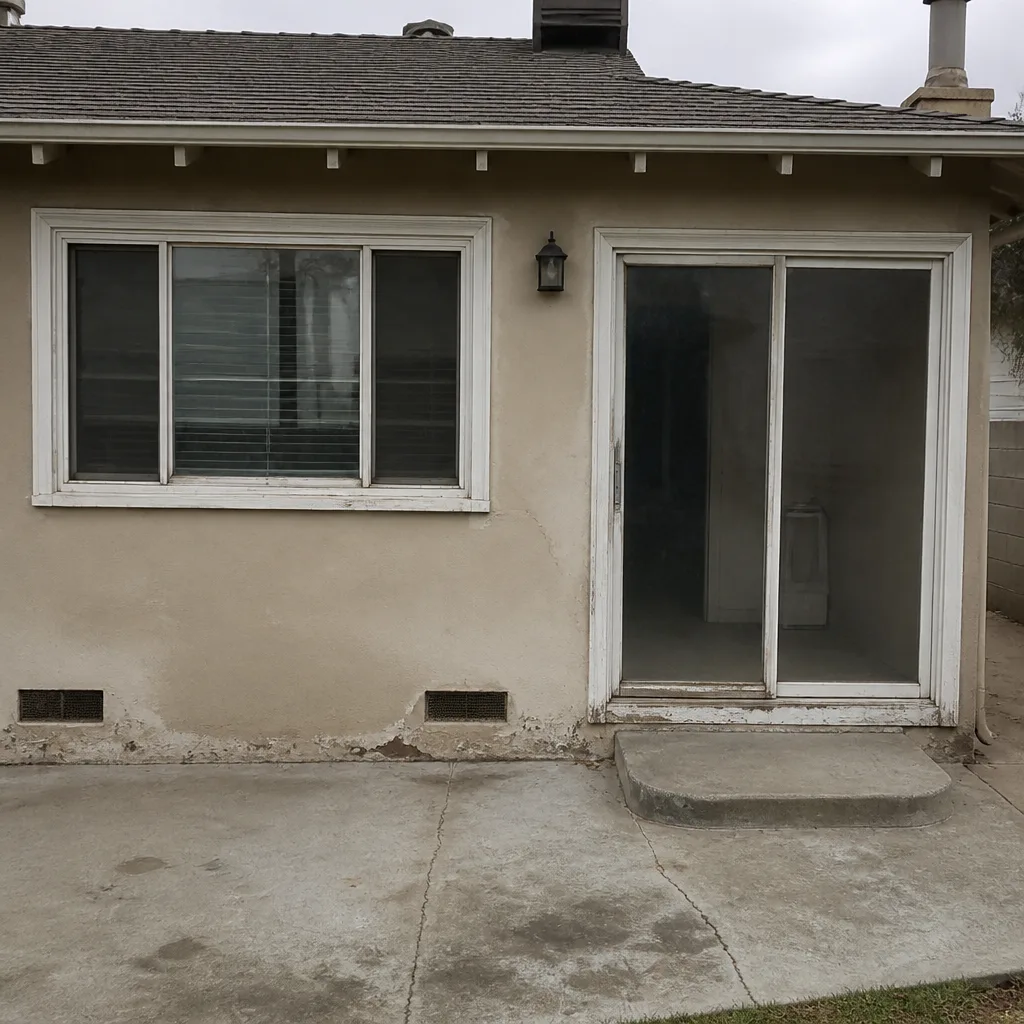 Before
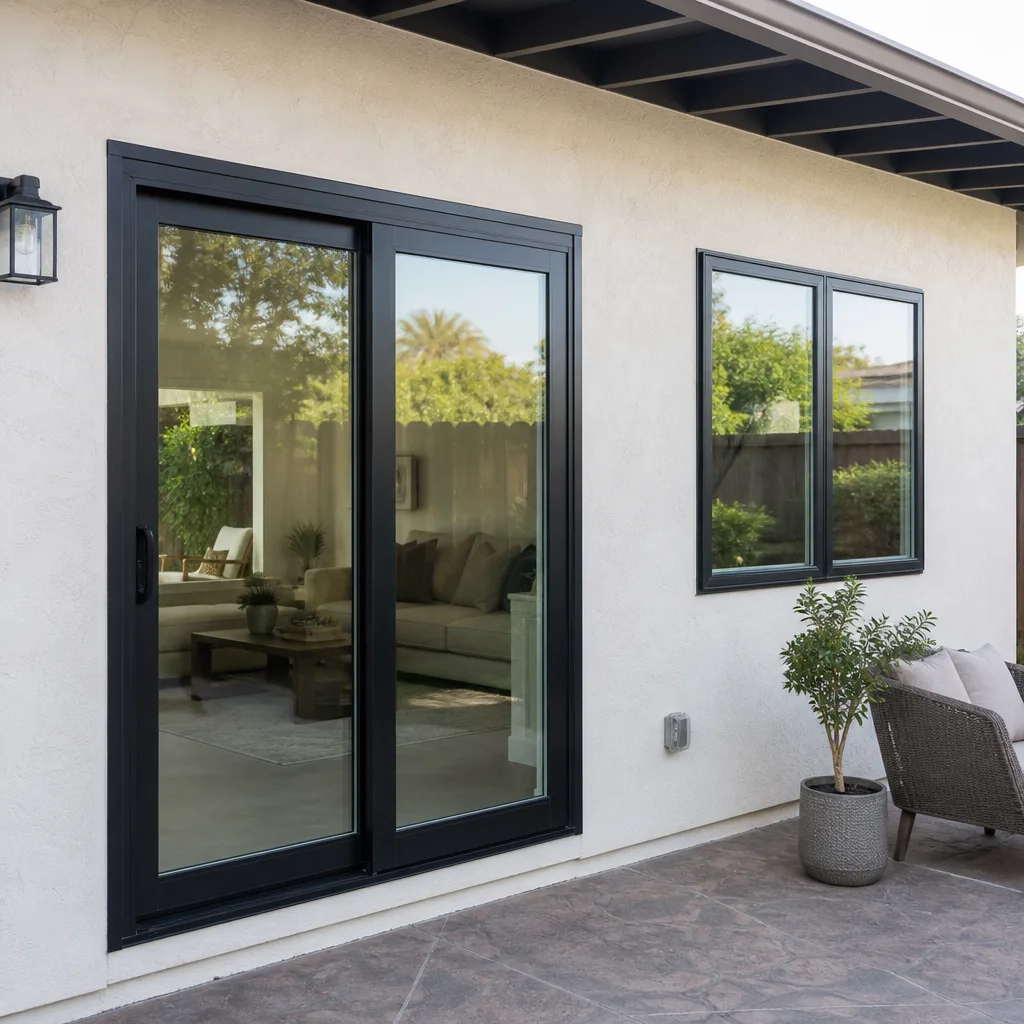 After
After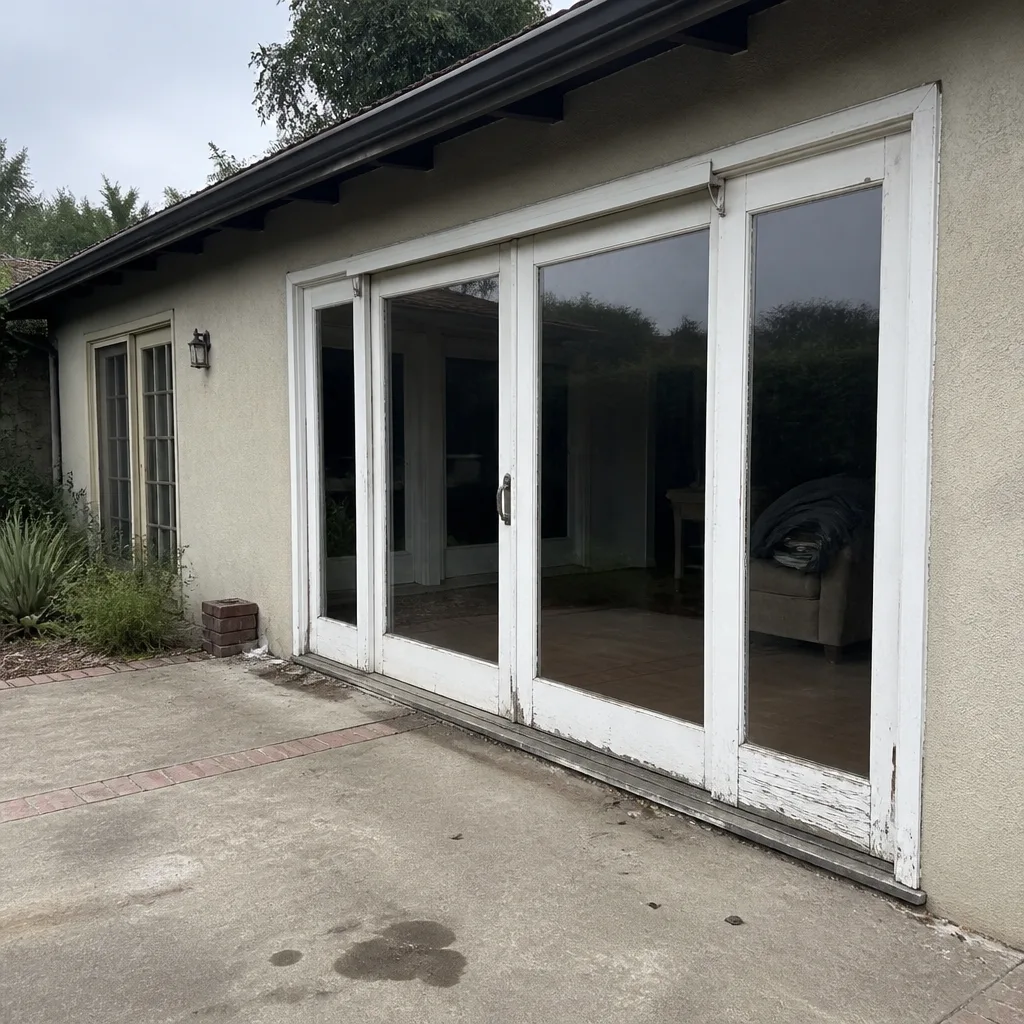 Before
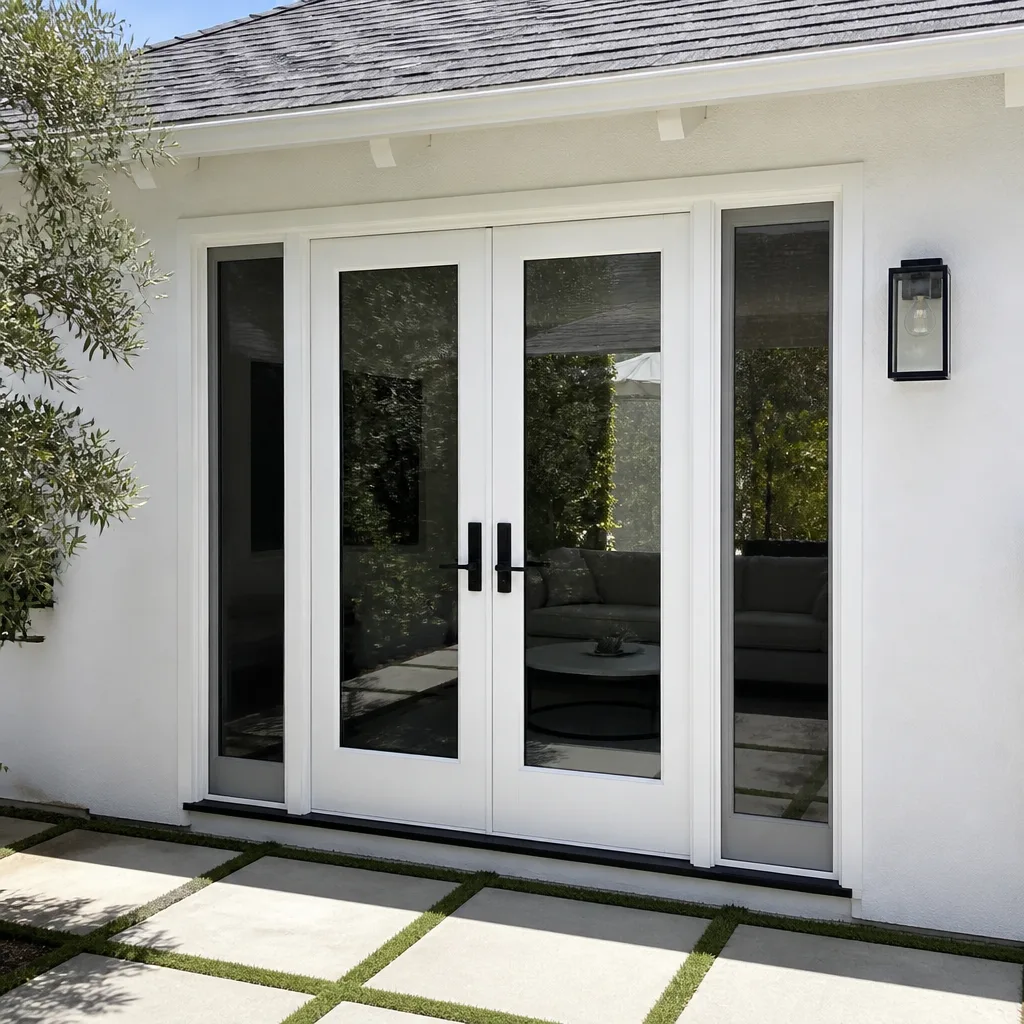 After
AfterPatio Door Installation Maintenance Schedule: What to Do and When
The track on a sliding patio door accumulates between 2 and 4 grams of debris per month in a typical Los Angeles household. That doesn’t sound like much until you realize it’s enough to measurably increase rolling resistance within six months, and enough to score aluminum rollers within two years. Most patio door installation failures we see in Los Angeles are not manufacturing defects. They are maintenance gaps that turned a $15 fix into a $400 replacement. This guide gives you a month-by-month schedule built for Southern California’s actual seasons, not a generic calendar written for Minnesota winters. You’ll learn what to do, when to do it, what products to use, and what to log.
Quick Answer
A patio door needs four maintenance passes per year: track cleaning and roller inspection in January and September, weatherstrip inspection in June after peak UV exposure, and hardware tightening every March and August. Each pass takes 20 to 30 minutes and requires nothing more than a brush, a vacuum, silicone spray, lithium grease, and a screwdriver. Skip the schedule and the door will still open, but it will open harder, leak more conditioned air, and fail its rollers or seals years earlier than it should.
Table of Contents
- Why a Patio Door Needs a Real Schedule
- The Monthly 5-Minute Check
- January and September: Track Cleaning and Roller Service
- June: UV Weatherstrip Inspection After Peak Sun
- March and August: Hardware Tightening Under Cyclic Loading
- The Lubrication Guide: What Goes Where, and What Never Touches a Track
- Annual Weatherstrip Inspection Protocol: The Dollar Bill Test
- The Service Log: What to Write Down and Why Warranty Adjusters Ask for It
- Common Mistakes to Avoid
- When to Call a Professional
- Frequently Asked Questions
- The Bottom Line
Why a Patio Door Needs a Real Schedule
A patio door is the most mechanically active opening in a Southern California home. It gets cycled more times per day than a front door, often by children and guests who do not treat hardware gently. It carries a glass panel that can weigh between 80 and 220 pounds depending on configuration and glass package. And in Los Angeles, it lives in an environment that alternates between marine-layer moisture, Santa Ana wind grit, and relentless UV exposure that eats rubber and vinyl compounds.
Here is the core truth about door maintenance: every moving or wearing component has its own service interval, and they rarely overlap. Rollers need cleaning more often than hinges need greasing. Weatherstrip fails on a seasonal UV cycle, not a usage cycle. Screws loosen on a daily cyclic loading curve. When you maintain everything on one arbitrary date, you over-service some parts and under-service others. The schedule below assigns each component its own interval without making you work on the door every weekend.
A patio door has eight to twelve components that wear or move with regular use:
- Rollers (sliding doors) or hinges (French/swing doors)
- Track (sliding) or threshold/sill (swing)
- Weatherstrip (head, jamb, interlock, and sweep)
- Lock mechanism and strike plate
- Handle set and interior screws
- Adjustment screws (roller height, hinge alignment)
- Frame fasteners into the rough opening
- Weep holes along the bottom track or sill
That is a lot of failure points. But here is the good news: the maintenance tasks are simple, they require no specialized tools beyond what sits in a kitchen drawer or a $25 hardware store run, and the whole annual commitment is under two hours. No other home system gives you that return for that little effort.
The Monthly 5-Minute Check
Before you start worrying about seasons and product types, do this one thing: once a month, open and close your patio door three full times and pay attention. That’s the whole check. It takes five minutes, and it catches most problems six to eighteen months before they become repair bills.
Here is what you are listening and feeling for:
- A grinding or gritty sound during travel. Dirt has entered the roller bearings or the track. This is an early-stage problem. One more month of grit cycling through a nylon roller wheel scores the surface, and once a roller is scored, it needs replacement, not cleaning.
- A catch or bump mid-travel. Usually a bent track edge, a hardened piece of debris welded to the track, or a roller that has developed a flat spot. If the catch is consistent in the same spot, inspect that exact section of track with a flashlight.
- Resistance when starting the panel moving. Sliding doors should start moving with light pressure from two fingers on a hand. If you need a full hand and shoulder lean, the rollers are binding or the track is obstructed.
- Visible daylight or airflow at the bottom corners when closed. A weatherstrip is no longer making contact. Mark this. It will be addressed in the seasonal pass.
Do this on the first Saturday of each month. Tie it to something else you already do, because a maintenance habit only works if it attaches to an existing anchor. First Saturday, you check the door, you check the patio for standing water near the track, and you move on with your day.
January and September: Track Cleaning and Roller Service
In Los Angeles, your patio door faces two distinct debris seasons. September through November brings Santa Ana winds that blast fine dust, pollen, and grit into every horizontal surface in the region. January through February brings occasional rain that turns that dust into a paste that bakes onto door tracks as soon as the sun returns. That’s why January and September are the two track-cleaning months. September clears the summer accumulation before Santa Ana season adds more. January clears post-wind and post-rain debris before it hardens into a bonded crust.
Track cleaning is a two-step job, and half the work is removal, not cleaning.
- Vacuum the track first. Use a narrow crevice attachment. Run it along the full length of the bottom track twice, once in each direction. Pay attention to the corners, which is where debris collects in hard-packed triangular deposits. If your vacuum does not have a crevice tool, a stiff 1-inch paintbrush used as a sweep works.
- Wipe with a dry microfiber cloth. Do not use water or cleaning solution yet. The goal in step two is to remove loose particles, not to wet them. Wet dust becomes mud, and mud migrates into roller bearings.
- Inspect the track with a flashlight at a low angle. You are looking for two things: scoring marks (thin parallel lines worn into the track surface) and any point where the track has been dented or spread by impact.
- If wet cleaning is needed, use a lightly dampened cloth only. Wipe the track, then dry it immediately. Never leave moisture in a track. It combines with residual dust to form an abrasive slurry, and on aluminum tracks, it accelerates oxidation.
- Check weep holes. Slide the door open and look at the exterior side of the bottom track. You’ll see small rectangular slots or round holes, usually two or three across the length. These drain water that gets past the weatherstrip. A pipe cleaner or a straightened paperclip clears them. Los Angeles sees modest rainfall by national standards, but when it rains, these holes are the only reason water doesn’t pool in your track and wick into your subfloor.
A note on roller service: cleaning the track is not the same as servicing the rollers. Roller service requires lifting the panel off the track, which on most sliding doors means removing the panel, and that is a two-person job with the panel weight involved. What you can do without removing the panel is spray silicone lubricant onto the roller axles through the gap between the panel and the frame while the door is fully open and fully closed. If the door still grinds after the track is clean and the axles are lubricated, the roller wheels themselves are worn and need replacement. That is the point to call in a professional rather than forcing the door along a scored track.
June: UV Weatherstrip Inspection After Peak Sun
Los Angeles sees more than 280 sunny days per year, and the months of May through August deliver the highest UV index readings. Weatherstrip is typically made from EPDM rubber, silicone, or a vinyl blend, and all three degrade under sustained UV exposure. The failure mode is predictable: the material loses plasticizers, becomes stiff, then cracks. Once it cracks, three things happen at once: conditioned air leaks out, outside air leaks in, and the strip tears further every time the door cycles.
June is the inspection month for one reason: it sits at the tail end of the first major UV season and before the worst of the heat. If the weatherstrip survived the spring sun but shows hardening and shallow surface cracks, you want to know in June, not in December when the winter marine layer has already driven up indoor humidity and the strip gives out entirely.
Inspect all four weatherstrip locations:
- Head jamb weatherstrip along the top of the frame
- Side jamb weatherstrip along the vertical frame members
- Interlock weatherstrip where the two sliding panels meet in the middle
- Bottom sweep attached to the bottom edge of the sliding or swinging panel
Look for discoloration, which shows UV damage before cracking appears. Look for flat spots where the strip has been compressed past its recovery point. Run your fingertip along each strip with light pressure. Healthy weatherstrip depresses and returns immediately. Failing weatherstrip feels crusty, stays depressed for a beat, or flakes under pressure.
Replacement weatherstrip for patio doors runs $2 to $6 per linear foot for OEM-grade material in our market, and a full door can use 15 to 25 linear feet. That means a full weatherstrip refresh typically runs $40 to $150 in materials plus labor if you hire it out. Compare that to the thermal loss of a failed seal: a door with a 1/8-inch continuous gap along the weatherstrip line leaks roughly the same amount of air as a 6-square-inch hole opened in the wall. In a Southern California summer with air-conditioned interiors, that’s real money leaking out every month.
March and August: Hardware Tightening Under Cyclic Loading
Every time your patio door opens and closes, every screw in the moving hardware undergoes a loading cycle. The handle set pulls, the lock bolt slides, the hinge leaves flex, the roller adjustment screws take the panel’s weight shifting. Over months, fasteners back out by tiny fractions of a turn. It’s simple mechanical creep, and no screw stays tight forever under repeated cycling.
We put tightening passes in March and August because those months bookend the heavier-use seasons. Summer brings constant in-and-out traffic to the patio. The late-fall and holiday period brings more. Two passes per year keep fasteners from reaching the point where loose hardware accelerates wear or allows a component to shift under load and damage the material around it.
Here is what to tighten, and roughly how tight:
- Handle set screws (two or four screws on the interior handle plate). Tighten to snug plus 1/8 turn. These are typically #6 or #8 machine screws threading into brass inserts. Overtightening strips the insert and turns a 1-minute task into a handle replacement.
- Roller adjustment screws at the bottom corners of the sliding panel. These are typically #10 or 1/4-inch hex head screws. Snug them, but do not turn them more than 1/8 turn unless you are also adjusting panel height, which is a separate job.
- Hinge screws on French-style patio doors. If a hinge leaf has pulled away from the frame or panel by more than 1/16 inch, tightening the old screw will not fix it because the hole is wallowed. The proper fix is a longer screw that reaches fresh wood behind the jamb, and that’s a call to a professional.
- Strike plate screws on the jamb. Check alignment while you’re there: the lock bolt should enter the strike plate without hitting the surrounding metal. If it does hit, the door has shifted out of alignment and the fix usually means re-shimming the panel, not grinding the plate.
- Frame-to-rough-opening fasteners. These are hidden behind the trim or weatherstrip. If you see gaps opening between the door frame and the surrounding wall or trim, the frame has moved. Document it and call someone. A moving frame is not a maintenance problem; it’s an installation problem showing itself late.
For most of these fasteners, hand-tight with a properly sized screwdriver is enough. A cordless drill on its lowest clutch setting works for hinge and strike plate screws. If you are not sure whether a screw is tight enough, stop at snug. The damage from over-tightening one machine screw into a soft metal insert outweighs the benefit of chasing a quarter-turn.
The Lubrication Guide: What Goes Where, and What Never Touches a Track
This is the section where we see the most avoidable damage in our Los Angeles service area. People grab one can of spray lubricant from the garage and spray everything that moves. Then they wonder why the door got worse.
Different components need different products. Here is the straight list:
- Rollers (sliding doors): silicone spray, dry formula. Spray the roller axle and the roller wheel, keeping the application tight. Do not flood the area. Silicone lubricates without attracting dust, which matters in a Los Angeles track that already collects 2 to 4 grams of debris per month. Anything oil-based becomes a dirt magnet within a week.
- Hinges (French/swing doors): white lithium grease. Hinges carry rotational load, and lithium grease is designed for metal-on-metal contact under pressure. Apply a small amount to the hinge pin and the barrel, then open and close the door several times to work it in.
- Lock mechanism and strike plate: graphite powder or dry silicone. The lock cylinder and the bolt mechanism want a dry lubricant. Wet lubricants migrate and attract dust that eventually clogs the keyway. Graphite goes into the cylinder. A sparing shot of dry silicone goes on the bolt and the strike opening.
- Weatherstrip: nothing. Weatherstrip does not need lubrication. Silicone on weatherstrip can soften some rubber compounds and accelerate degradation. Leave it alone.
- The track: nothing, ever. This is the big one. A lubricated track feels temporarily smooth, but it does two things: it leaves a residue that bonds with dust to create an abrasive paste, and it coats the roller wheels so they slide instead of roll. Once rollers stop rolling and start sliding, they develop flat spots. Flat-spotted rollers ride rough and need replacement. This is also why WD-40 never goes anywhere near a patio door track. It’s a water-displacing penetrant, not a lubricant, and it leaves a sticky film that accelerates the dust-bonding problem. If a previous owner or handyman sprayed the track with WD-40 or a similar product, clean the track thoroughly with a degreaser, dry it completely, and leave it dry.
When you apply lubricant, apply less than you think you need. One 1-2 second burst on a roller axle is plenty. Then move the door through its full travel a few times to distribute the lubricant across the contact surfaces. Wipe any overspray off the track and weatherstrip immediately.
Annual Weatherstrip Inspection Protocol: The Dollar Bill Test
The June inspection in the schedule above tells you when to look. This section tells you exactly how to measure whether a weatherstrip still works. It involves a dollar bill and about sixty seconds per location.
Here is the protocol:
- Close and lock the patio door. The door should be in its normal closed position, latched, with the same pressure it applies every day.
- Place a dollar bill between the door panel and the frame at any weatherstrip location. Slide it in perpendicular to the frame. The bill should sit so half is inside the space and half hangs into the room.
- Pull the bill toward you. Do it slowly, with a steady hand.
- Read the resistance. If the bill pulls out with zero resistance, the weatherstrip is not compressing against the door panel at that location. Air is moving through that gap. If the bill resists but eventually slides out with moderate friction, the seal is working acceptably. If the bill tears before it pulls out, the seal is in excellent condition.
- Repeat this test at six locations: two along the head jamb, two along the latch-side jamb, one at the interlock, and one at the bottom sweep. One passing location does not mean the whole door passes. Weatherstrip usually fails unevenly, with corners and the bottom sweep degrading first.
The threshold for replacement is simple: if any location tests with zero resistance, or if more than two locations test with barely-there friction, replace the weatherstrip in those locations. The reason this matters in dollars is straightforward. A door with a failing weatherstrip line leaks conditioned air continuously. For a typical 2,000-square-foot Los Angeles home with central air, the incremental heating and cooling cost of a poorly sealed patio door runs $80 to $180 per year depending on indoor set points and utility rates. A $40 to $150 weatherstrip refresh pays for itself within one heating season, and it keeps paying for the life of the new seal.
One additional note for Southern California specifically: Pacific Palisades fog, Manhattan Beach marine layer, and the inland heat in the San Fernando Valley all create different microclimates, but UV follows the same pattern everywhere in the region. If your patio door faces south or west, it gets the highest UV dose, and your weatherstrip will fail faster than a door facing north. In our experience, south-facing door weatherstrip in Los Angeles lasts 3 to 5 years before it fails the dollar bill test. North-facing doors can go 6 to 8 years. Adjust your expectation accordingly.
The Service Log: What to Write Down and Why Warranty Adjusters Ask for It
You’ve done the inspection, tightened the hardware, cleaned the track. Now write it down. This is the step almost nobody does, and it’s the step that pays the biggest dividend when something goes wrong three years from now.
Here is what to log after every maintenance pass, even the five-minute monthly check:
- Date
- Task performed (track cleaned, hardware tightened, weatherstrip inspected, etc.)
- Result or observation (grinding noted, bill test failed at bottom sweep, all screws snug, etc.)
- Part replaced, if any (weatherstrip at head jamb, two roller wheels, etc.)
- Who did it (you, the names of a hired contractor, etc.)
- Product used, if applicable (graphite in lock cylinder, silicone on rollers)
Keep this log in a simple spiral notebook or a notes file on your phone. The format doesn’t matter. The existence of the log matters. Here is why:
When a warranty claim comes in, the adjuster’s first questions are always the same. When was the last time the door was serviced? What was done? Who did the work? A homeowner with a maintenance log can answer those questions with dates and details. A homeowner without one says “I think I cleaned it at some point maybe last year?” and the claim goes nowhere.
This matters for two classes of warranty. Manufacturer warranties on components like rollers, locks, and weatherstrip typically exclude “lack of maintenance” as a failure cause. If your roller fails and you can show a log entry of track cleaning four months earlier, the failure looks like a material defect. If you have no log, it looks like neglect. Installation warranties work the same way. The Meridian Windows & Doors installation guarantee, for example, covers workmanship in writing for 365 days, and that guarantee assumes reasonable homeowner maintenance during the term. A log is the difference between a conversation that starts with “no problem, we’ll handle it” and one that starts with “what maintenance was performed?”
You do not need to keep receipts for every can of silicone spray. You need a one-line entry with the date and the task. Five minutes a month, one line in the log. It’s the cheapest insurance you’ll ever buy for your door.
Common Mistakes to Avoid
- Spraying WD-40 or a similar penetrant on the track. It feels smooth for a few days, then the residue bonds with dust and creates an abrasive paste that eats roller wheels. Once the rollers stop rolling and start sliding, they develop flat spots and need replacement. Tracks run dry.
- Ignoring the weep holes. Clogged weep holes turn a minor rain into water pooling in the track, which wicks under the sill and into the subfloor. In Los Angeles, the first real rain of the season is when this problem surfaces after eight months of accumulated dust plugs the holes. Clear them every January and September.
- Overtightening handle screws. The brass inserts in most patio door handles are soft. One extra quarter-turn past snug strips the insert, and the handle now has a stripped screw hole that requires replacement of the handle set, not just a new screw. Snug plus 1/8 turn is the target.
- Using the wrong lubricant on hinges. Silicone spray is great for rollers but inadequate for hinge pins under rotational load. Hinges need white lithium grease. If your French door hinge is squeaking, silicone spray will quiet it for about two weeks. Lithium grease lasts six to twelve months.
- Ignoring a grinding sound because the door still works. A grinding roller is a $40 repair today and a $400 track-and-roller replacement in eighteen months. The grinding is the sound of a roller wheel being damaged. Once the wheel surface is scored, it cannot be fixed, only replaced.
- Hosing down the exterior of the door to clean it. Water forced into the track and frame carries dust into places where it becomes hardened debris, and it accelerates frame corrosion. Clean the door with a damp cloth, not a hose. If you must rinse, keep water away from the track and dry everything immediately.
- Closing the door by pushing on the glass instead of the handle or frame. The glass panel flexes slightly under direct pressure, and that flexing transfers strain to the edge seals and the frame joints. Over years, multiple daily pushes on the glass can cause the panel to shift in the frame. Push on the handle or the frame stile.
When to Call a Professional
Most of the maintenance in this guide is within a competent homeowner’s reach. A few situations are not. Call a patio door specialist if you see any of the following: the door panel has sagged more than 1/8 inch and catches on the track; the frame has visible gaps opening between the door and the surrounding wall; the lock no longer aligns with the strike plate and will not adjust back into place; the glass panel shows condensation between the panes, which means the insulated glass seal has failed; or the rollers grind after cleaning and lubrication, indicating wheel damage that requires panel removal to replace. Panel removal on a sliding door is a two-person job with a heavy glass unit, and getting it wrong damages the panel or the installer. Meridian Windows & Doors offers free estimates in Los Angeles. Call (817) 686-2228 and we’ll send a background-checked technician to look at the door and put a written price in front of you before any work starts.
Frequently Asked Questions
DIY maintenance costs $10 to $40 per year for silicone spray, lithium grease, a microfiber cloth, and replacement weatherstrip as needed. Professional track cleaning and roller service runs $120 to $250 per visit in the Los Angeles market depending on door type and access. Full roller replacement on a sliding door typically runs $250 to $500 installed. Call (817) 686-2228 for an exact quote on your specific door, estimates are free.
Yes, with one exception: anything requiring panel removal. Track cleaning, weatherstrip inspection, hardware tightening, and lubrication are all within a homeowner’s reach with basic tools. Lifting a sliding panel off its track is a two-person job that carries real risk of injury and panel damage, and that’s where we recommend calling a professional.
Twice a year in Los Angeles, in January and September. The September pass clears summer dust before Santa Ana winds add more. The January pass clears wind-blown grit and rain-moistened debris before it bakes onto the track. If your door faces an unpaved area or a construction project, add a third pass.
The door will open and close for years without lubrication, but it will do so with increasing resistance. The first components to fail will be the rollers, which seize as the factory lubricant breaks down and dust enters the bearings. Seized rollers then damage the track. Door becomes harder to open, then it becomes a two-handed job, then it won’t move at all.
A clean track with a grinding door means the roller wheels themselves are damaged or the bearings are failing. Grinding is metal-on-metal contact inside the roller assembly. Once the wheel surface is scored or the bearing is shot, no amount of track cleaning fixes the problem. The panel needs to be removed to replace the rollers, which is a professional job.
Yes. Los Angeles patio doors face a specific combination: high UV exposure that degrades weatherstrip faster, Santa Ana wind events that deposit fine grit in tracks, and a marine layer that adds moisture without enough rain to flush debris out. Cold-climate maintenance guides focus on ice, snow loads, and thermal contraction. Los Angeles doors don’t face those conditions, but they need faster weatherstrip replacement cycles and more frequent dry track cleaning than doors in wetter or cloudier regions.
The Bottom Line
Your patio door has eight to twelve components that wear on different schedules, and a maintenance plan that treats them all the same is a plan that wastes time and misses failures. The schedule that works in Los Angeles is simple: monthly five-minute checks, January and September track cleaning, March and August hardware tightening, and June weatherstrip inspection. Use silicone on rollers, lithium grease on hinges, graphite in locks, and nothing on the track. Log everything. If a component fails despite good maintenance, the manufacturer or installer warranty should cover it, and your log is the proof. If the maintenance reveals a problem that’s beyond a homeowner’s scope, call (817) 686-2228 for a free estimate from Patio Door Installation in Los Angeles specialists who put the price in writing before the first screw turns.
Written by Elliot Vance, Owner at Meridian Windows & Doors, serving Los Angeles since 2009. For more guides & resources, visit our blog.