

Last updated October 9, 2026
Free in-home measure and quote - PGT, CGI and CWS impact lines compared on your actual openings, style by style


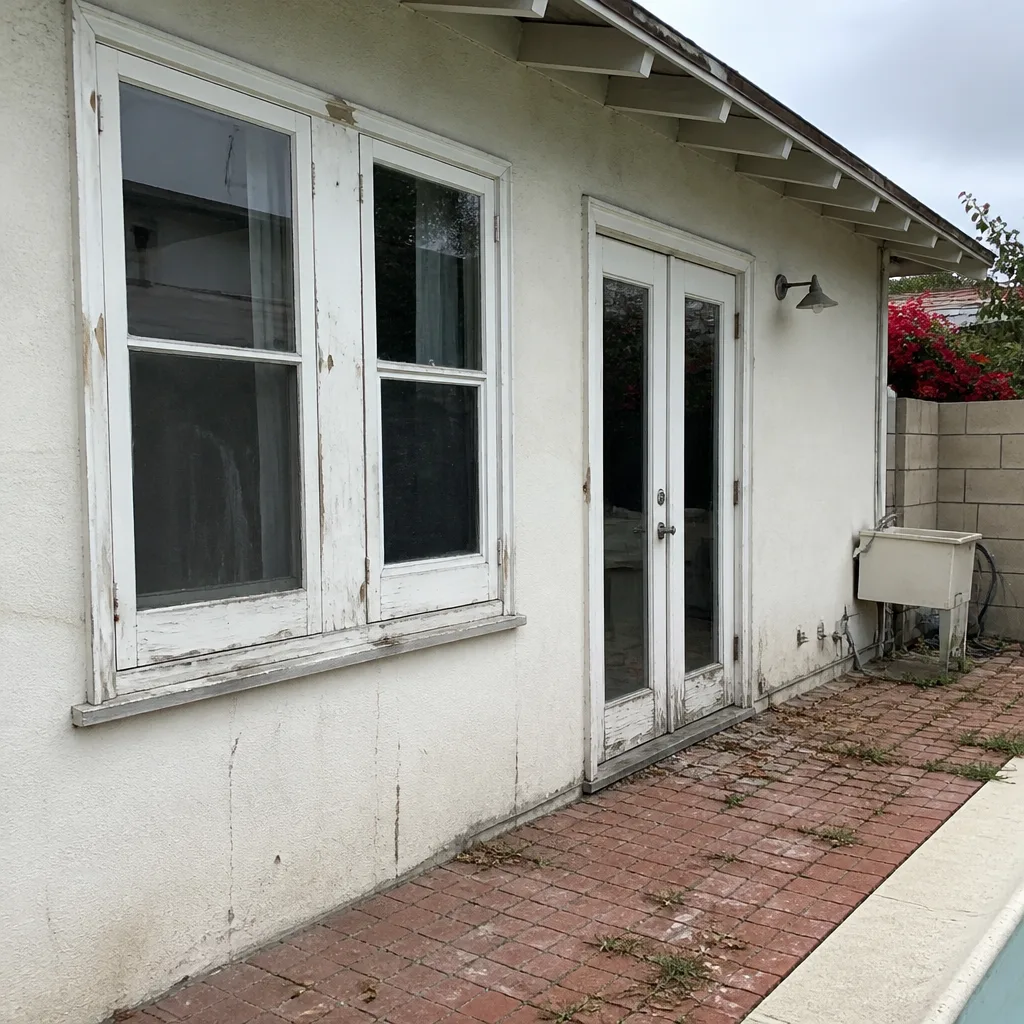 Before
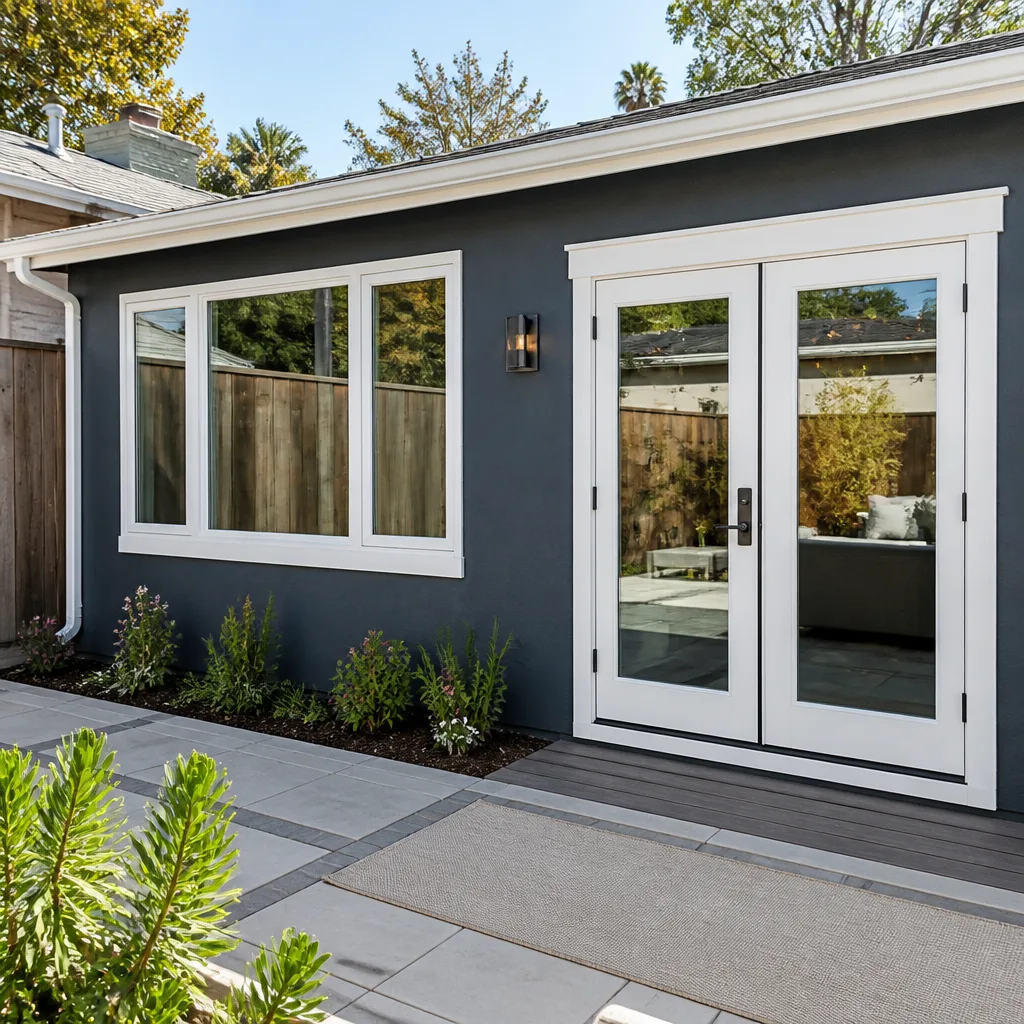 After
After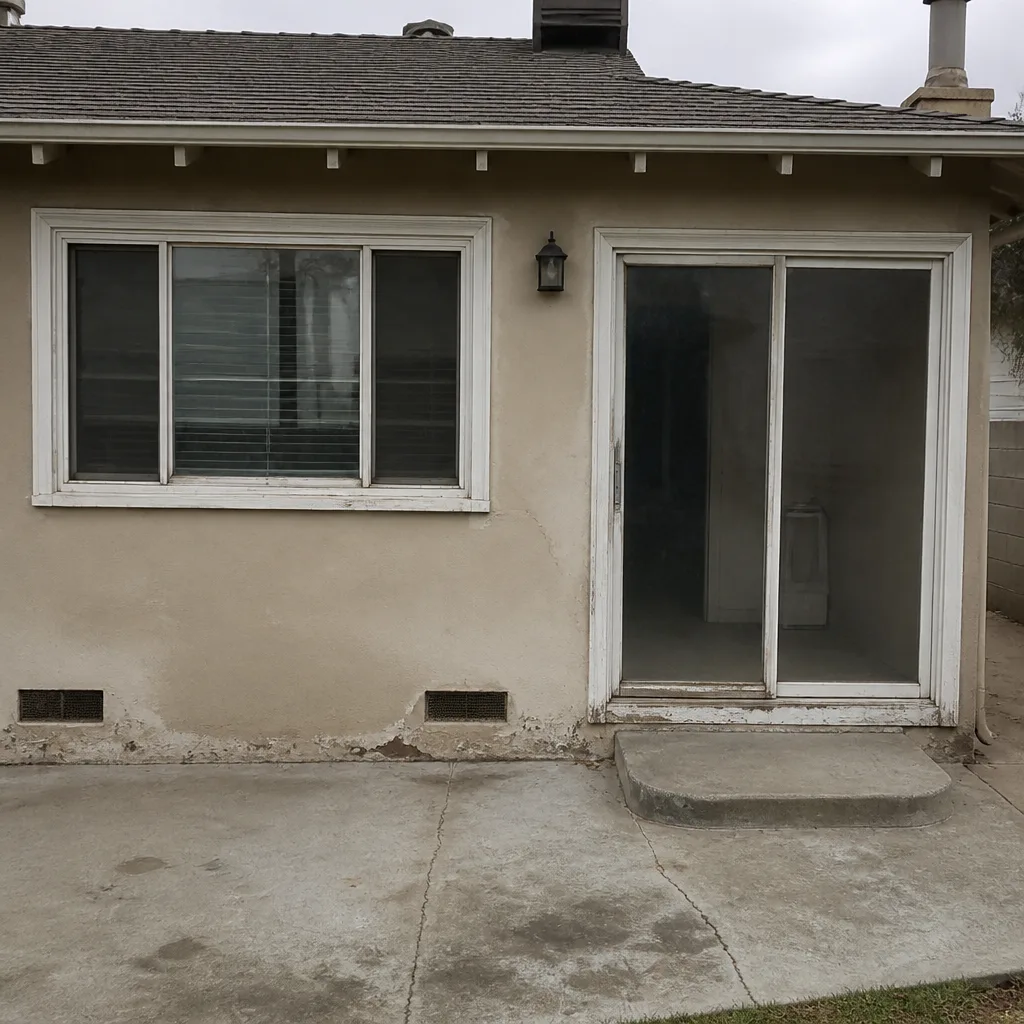 Before
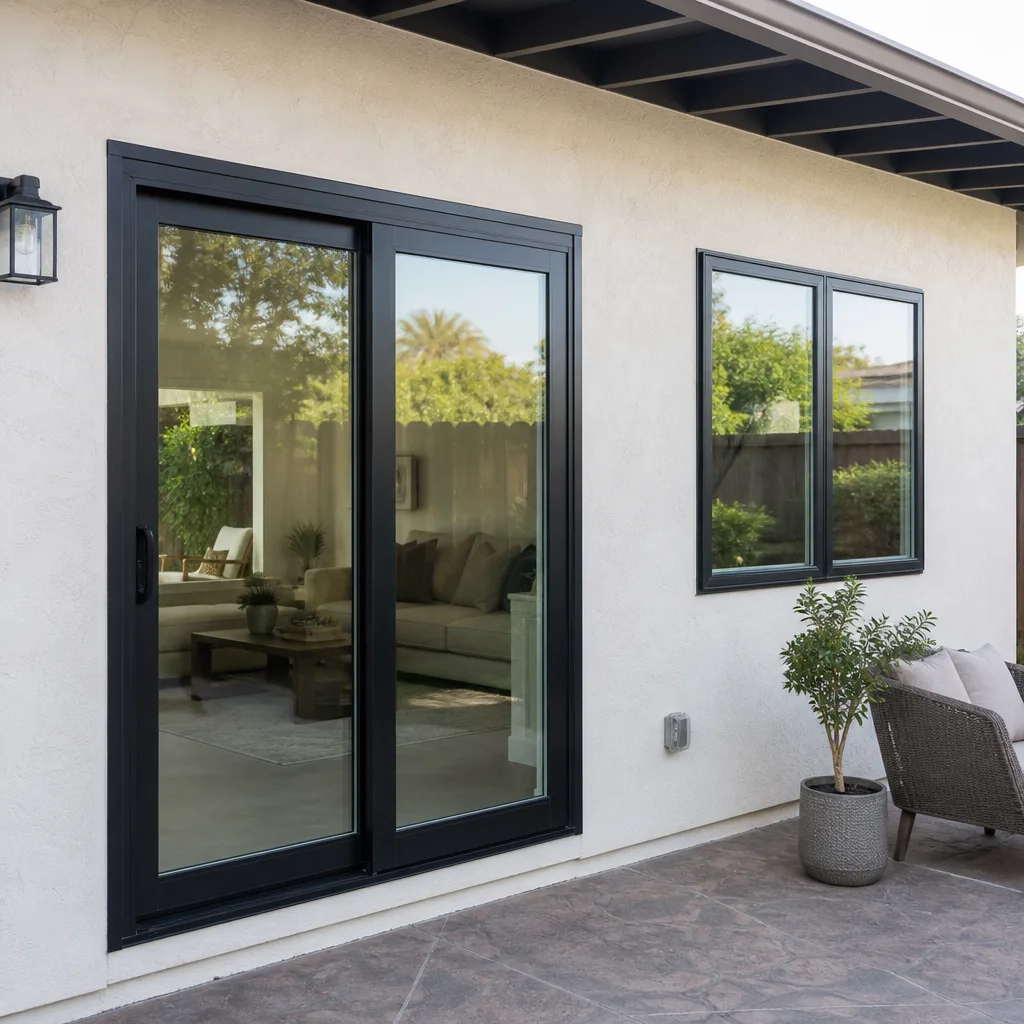 After
After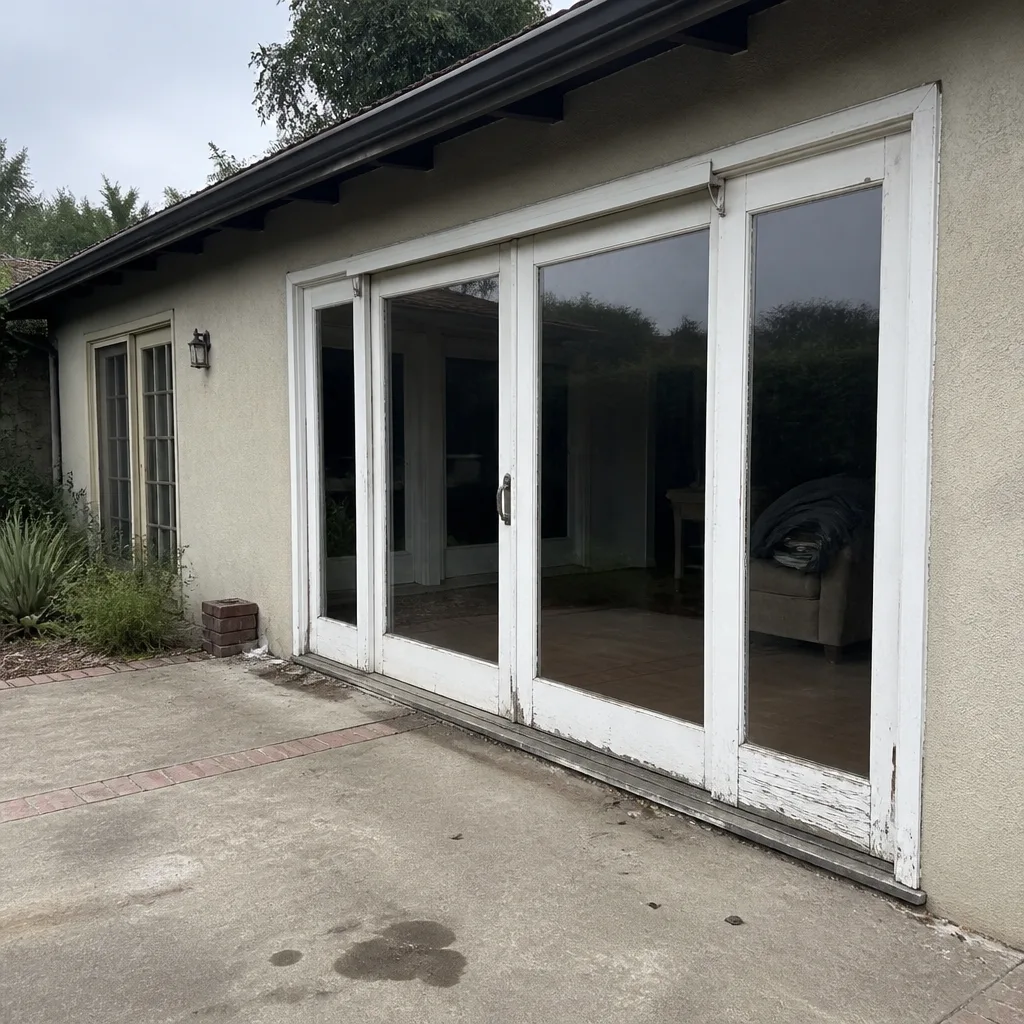 Before
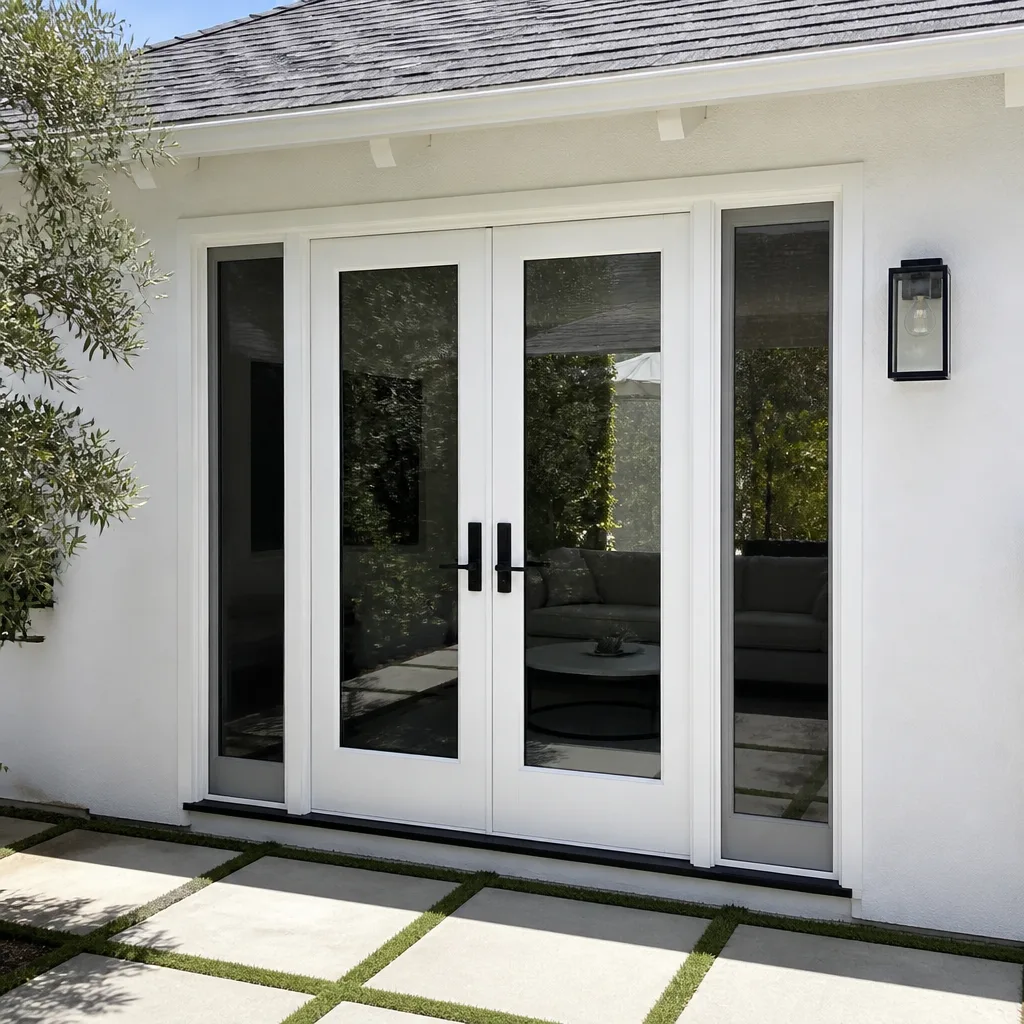 After
AfterWindow Installation Warning Signs Every Homeowner Should Know
Improper flashing is the single leading cause of window-related water intrusion claims in California. It is also invisible once the exterior finish is applied, which is exactly why you need to inspect before that finish goes on. In Los Angeles, where we swing between drought years and sudden atmospheric-river downpours, a flashing mistake made in August shows up as a water-stained wall in February. This guide teaches you to read the early physical signals that appear within the first thirty days of a window installation, before fresh caulk and paint hide the evidence.
Quick Answer
The most reliable early warning signs of a bad window installation are visible within 30 days: daylight or gaps at the sill corners, windows that bind or rattle in wind under 20 mph, condensation between panes in the first season, and interior trim that sits proud of the wall because the rough opening was never properly shimmed. Any of these means the installer skipped a step. Document each one with dated photos and call the contractor immediately, because the problem will not self-correct.
Table of Contents
- The 30-Day Inspection Checklist
- Operational Red Flags: Binding, Rattling, and Between-Pane Fog
- Why a Gap Behind the Interior Trim Is Not Cosmetic
- How to Document Problems So a Warranty Claim Is Airtight
- Manufacturer Defects vs. Installer Defects: Who Owns What
- What Los Angeles Climate and Code Mean for Your Windows
- Common Mistakes to Avoid
- When to Call a Professional
- Frequently Asked Questions
The 30-Day Inspection Checklist
A bad window installation often hides behind fresh caulk for six to eighteen months before it shows up as a water-stained wall or a failed energy audit. But the physical signals are there within the first month if you know where to look. Here is the inspection sequence we use on our own installs in Los Angeles, and the one we recommend any homeowner run on a newly installed window.
Interior reveal check. Run your finger along the interior reveal, the visible edge of the window frame where it meets the wall. It should be consistent from corner to corner. A reveal that measures 3/8 inch on one side and 1/4 inch on the other means the window was not shimmed square in the rough opening. That is not a cosmetic issue. A racked frame puts uneven pressure on the glass unit, which shortens the life of the seal and makes the sash bind within a year.
Exterior sill check. Go outside and look at the sill pan area under the window. The sill should slope away from the house, and there should be a visible drip edge or kerf cut that forces water to shed outward. In Los Angeles, where stucco and hard-coat exterior finishes are common on homes built from the 1950s through the 1990s, this detail gets buried fast. If the sill is flat or slopes toward the wall, water will pool and eventually find the seam between the window flange and the rough opening. If the install was done with a nail-fin flange, check that the bottom flange is not sealed. The bottom flange must be left open to drain. A fully caulked bottom flange traps water behind the window and will rot the rough sill within three to five years.
Jamb corner check. Look at all four corners of the window from the inside, with the sashes open. The corner welds or joints should be tight, with no visible gaps or daylight. On a vinyl window, a cracked or separated corner weld means the frame was stressed during installation, usually because the rough opening was too small and the installer forced the unit in. On an aluminum window like those from CGI or CWS, a pulled corner screw or a bowed jamb tells the same story. Both are installer errors, not manufacturer defects.
Here is the checklist in order, every step, every window:
- Open and close each sash five times. Listen for scraping, grinding, or a change in resistance.
- Lock the window. It should lock with normal hand pressure, not force.
- Check the reveal gap on all four sides with a tape measure. Note any side that differs by more than 1/8 inch from the opposite side.
- Look for daylight at any point where the sash meets the frame when closed.
- Inspect the exterior sill slope and drainage path. Water should shed, not pool.
- Check the interior trim. It should sit flush against the wall, with no gap you can slide a putty knife into.
- Photograph everything, even things that look fine. You want a dated baseline.
Run this checklist within the first thirty days. Do not wait for the one-year mark. By then, the caulk has cured, the paint has been applied, and the evidence is gone.
Operational Red Flags: Binding, Rattling, and Between-Pane Fog
Some installation failures announce themselves the first time you touch the window. Others take a season to show. All of them point to something specific, and knowing what they point to changes who you call and what you say.
A window that binds. If the sash sticks, requires two hands, or scrapes against the frame when you open it, the frame was installed out of square or twisted. This happens when the installer did not shim the rough opening properly, or shimmed it but then over-tightened the mounting screws and pulled the frame into a bow. In Los Angeles, we see this most often on retrofit window jobs where the old aluminum frame was left in place and the new unit was squeezed into a channel that had shifted over time. A binding window will not wear in over time. The friction grinds the hardware, wears the weatherstripping, and eventually cracks the corner welds. It needs to be pulled, checked for square, and reset.
A window that rattles in wind under 20 mph. A properly installed window sits tight against its weatherstripping and does not rattle in a Santa Ana wind event, which in Los Angeles can push 40 to 60 mph gusts through the passes. If your new window rattles at half that, the sash is not engaging the weatherstripping, usually because the frame was installed with a slight twist, or because the installer failed to adjust the sash cams so both sides close evenly, or because the unit was ordered slightly undersized for the opening and shimmed out instead of properly sized. The fix depends on the cause: a sash adjustment on some lines, a frame reset on others. What it is not is normal.
Condensation between the panes. This is the symptom homeowners recognize most quickly, and it is the one most often misdiagnosed. If fog appears between the glass panes, the insulating glass unit seal has failed, and the desiccant inside the spacer bar is saturated. That is real. But the question is what caused the seal to fail in the first season. Seal failures in year one are frequently installation-related. A frame racked out of square flexes the glass unit every time the temperature changes, and a flexed unit breaks its own seal. When we see between-pane fog in a window that is less than twelve months old, inspect the frame for square before agreeing that the manufacturer owns it. On lines like ES Windows or ECO Window Systems, the glass unit carries its own warranty, but only if the installation did not create the stress that killed it.
Why a Gap Behind the Interior Trim Is Not Cosmetic
Homeowners look at a small gap between the interior casing and the wall, and they reach for a tube of caulk. That is the wrong response. A gap behind the interior trim is a diagnostic finding, not a finish detail.
The interior trim, or casing, sits over the seam where the window frame meets the rough opening framing. That seam is where the installer applied the interior air seal, or should have. Behind the casing, on a properly done job, there is a continuous bead of low-expansion foam or backer rod and sealant that stops conditioned air from leaking out of the wall cavity and outside air from leaking in. When you see a gap, it means one of three things: the seal was never applied, it was applied but failed because the gap was too large, or the trim was installed before the sealant cured and it pulled away.
What a gap costs you, beyond the visible crack:
- Conditioned air loss. A 1/8-inch gap running the full perimeter of a 3×5 window loses roughly the equivalent of leaving a nickel-sized hole open to the outside, all day, every day. Across a Los Angeles house with ten windows, that is a measurable hit on the cooling bill from June through October.
- Moisture entry. The wall cavity is warm on the inside and cooler toward the exterior sheathing. When humid outside air reaches a cool surface inside the cavity, it condenses. A gap behind the trim is a pathway for that air to get there. Over a Los Angeles winter with repeated rain events, that condensation dampens insulation, stains drywall, and feeds mold in the stud bays.
- Rough opening inspection. The gap is also the one place you can see what the installer did inside the wall. With the casing pulled, look for shims, look for the air seal, look for signs the rough opening was cleared of debris before the window went in. If the gap is wide enough to see through, you are looking at missing work, not a missed caulk joint.
If the gap is less than 1/16 inch, a color-matched latex caulk is a reasonable fix. If it is wider than that, or if you can feel air moving, pull the casing and address the seal. In our experience, a gap wide enough to slide a putty knife behind means the air seal was never there.
How to Document Problems So a Warranty Claim Is Airtight
A warranty claim is only as strong as the evidence behind it. The difference between a claim that gets approved in a week and one that gets denied as “normal settling” is the quality of the documentation. Here is the process in steps.
- Photograph the problem the day you first notice it. Use a smartphone, but stand back far enough to show context: the entire window, the surrounding wall, the room. Then move in for detail shots. Take at least three photographs per issue: the full window, the specific symptom from two feet away, and a macro shot from as close as the camera will focus.
- Photograph the date. Make sure the image metadata is enabled, or place a dated receipt or newspaper in the frame. Metadata can be edited. A newspaper cannot be backdated.
- Log the symptom in writing. Note the date, the weather at the time, which window, what you saw, and what you had to do about it, if anything. A simple note on your phone is fine. What matters is the date stamp.
- Photograph again in different weather. Some problems only appear in certain conditions. A flashing leak shows up after rain. A thermal bow shows up in direct summer sun. Take photos in the condition that triggers the symptom, and again when conditions are neutral.
- Measure and record. If a reveal gap is uneven, measure it and write down the numbers. If a sash binds, note the temperature and which side sticks. Numbers beat adjectives in a warranty dispute.
- Contact the installer in writing. A text or email with the photos attached creates a timestamped record that a phone call does not. State the problem, include the photos, and ask for a correction date.
- Keep everything until the claim closes. Photos, measurements, correspondence. If the installer pushes back, your evidence file is what shifts the conversation.
A note on guarantees: at Meridian Windows & Doors, every installation and repair is covered in writing for 365 days through our Done Right Promise. If the work fails within that period, we come back at no charge. But even a strong guarantee works better when you document the problem early. It removes the back-and-forth and gets to the fix faster.
Manufacturer Defects vs. Installer Defects: Who Owns What
When a window fails, the first question is always the same: whose fault is it? The answer determines whether you call the window manufacturer or the installation contractor, and it determines whether the repair is covered. Here is the practical breakdown, drawn from what we deal with on Los Angeles job sites.
Defects the manufacturer owns. The manufacturer is responsible for the product itself. A failed insulating glass seal that fogs between the panes, when the frame is square and the unit was not stressed during installation, is a manufacturer defect. Hardware that breaks under normal use within the warranty period is a manufacturer defect. A finish that peels or fades prematurely is a manufacturer defect. Vinyl that warps in direct sun when the window was properly installed is a manufacturer defect. These are covered by the manufacturer’s product warranty, and the installer should handle the claim on your behalf.
Defects the installer owns. The installer is responsible for the interface between the window and the house. Flashing that was installed incorrectly or omitted, a rough opening that was not shimmed square, a frame racked by over-tightened screws, trim installed over a missing air seal, a sill pan that slopes the wrong way. These are installation defects. They are covered by the installer’s workmanship warranty, not the manufacturer’s product warranty. When a window fogs in year one and the frame is out of square, that is an installer problem dressed up as a manufacturer problem. A good installer figures out which it is before pointing fingers.
The table below breaks it down by symptom.
- Between-pane fog, frame square: Manufacturer. Seal failure in the glass unit. Product warranty claim.
- Between-pane fog, frame racked: Installer. Stressed frame broke the seal. Workmanship claim.
- Broken hardware under normal use: Manufacturer. Product warranty claim.
- Broken hardware from forced operation of a binding sash: Installer. The bind caused the break. Workmanship claim.
- Water staining under the window after rain: Installer. Flashing or sill pan failure. Workmanship claim.
- Trim gap or air leak around the frame: Installer. Air seal missing or failed. Workmanship claim.
- Vinyl frame warped in direct sun: Depends. If installed square with proper clearance for thermal expansion, manufacturer. If installed tight with no shim space, installer.
The practical point: before you file a claim, have someone who knows the difference look at the window. At Meridian Windows & Doors, we install products from eight manufacturer lines including PGT, CGI, CWS, ES Windows, ECO Window Systems, Mr-Glass, Therma-Tru, and ViewLux. Because we work across those lines, we can diagnose whether a failure is in the product or in the way it went in. A meridian is a fixed line you measure everything against. That is what the name means and how we run every install, including the warranty diagnosis.
What Los Angeles Climate and Code Mean for Your Windows
Los Angeles has a window climate unlike most of the country. We do not get deep freezes. We do get intense direct sun, coastal salt air in the beach communities, dry Santa Ana winds in the fall, and occasional winter downpours that drop more water in a week than we see in six months. Every one of those conditions tests a window installation differently.
Direct sun and thermal expansion. In neighborhoods like Woodland Hills, Van Nuys, or the east San Fernando Valley, summer temperatures regularly run 95 to 105 degrees. A dark-colored window frame in direct afternoon sun expands measurably. If the installer set the frame tight to the rough opening with no room for thermal movement, the frame bows outward in the heat and the sash binds. This is why a window that operates fine in the morning can stick by 3 p.m. in July. The fix is not to force it. The fix is to reset the window with proper clearance and shimming.
Coastal salt air. In Santa Monica, Playa del Rey, and San Pedro, airborne salt accelerates corrosion on exposed hardware and fasteners. We recommend marine-grade hardware and stainless fasteners within a mile of the coast. If a contractor installs standard zinc-plated hardware in a beach-adjacent home, the window will operate fine for eighteen months and then the hardware will start to seize. That is not a product defect. That is a specification error, and it belongs to the installer.
Winter rain and flashing. Los Angeles gets most of its rain between December and March, often in short, intense bursts. A window that leaked during an atmospheric river event may show no symptom for weeks after, because the water travels slowly through the wall assembly before it reaches drywall. By the time you see the stain, the flashing has been failing for months. This is why the exterior inspection matters so much in the first thirty days. Once the finish coat goes over the flashing, the evidence is sealed inside.
Building code context. Los Angeles enforces Title 24 energy standards, which set minimum requirements for window U-factor and solar heat gain coefficient. A window that meets code requirements on paper but is installed with a missing air seal will not perform to its rating. The gap behind the trim we discussed earlier can reduce a window’s effective energy performance by more than the difference between a mid-tier and premium glass package. You can pay for low-E glass (a thin coating that reflects heat while letting light through) and lose the benefit to a 1/8-inch air gap. Installation quality is the part of Title 24 compliance nobody sees. It is also the part that determines whether the window actually does what the sticker says.
If you are planning a full replacement project, see our guide to Window Replacement in Los Angeles for what to expect on pricing and timeline. For the installation process itself, our page on Window Installation in Los Angeles walks through the steps before, during, and after the crew arrives. And if the project includes a sliding or swinging door, our Patio Door Installation in Los Angeles page covers the same ground for doors.
Common Mistakes to Avoid
- Caulking over a gap instead of investigating it. Caulk hides the symptom. It does not fix the missing air seal or the racked frame behind the trim. If the gap is wider than a putty knife blade, find the cause before you seal the surface.
- Accepting “it’ll settle” as an answer. Windows do not settle. A properly installed window operates the same on day one and day three hundred. Any installer who blames settling is stalling past the warranty window.
- Signing off on the job before running the 30-day checklist. Once you sign the completion certificate, you lose leverage. Run the inspection in week one, and again in week four, before you sign anything final.
- Confusing a manufacturer warranty with an installation warranty. They cover different things, and they have different processes. Know which one applies to your symptom before you file the claim.
- Ordering the cheapest window and expecting premium performance. In Los Angeles, the difference between a base window and a good mid-tier window is around $150 to $400 per opening, installed. That difference buys better hardware, better weatherstripping, and a more forgiving installation tolerance. The cheapest window leaves zero room for installer error.
- Ignoring a window that rattles in Santa Ana winds. Wind-driven rattling is a structural symptom, not a noise complaint. It means the sash is not engaging, which means the weatherstripping is not sealing, which means air and water have a path. Address it before the rainy season.
When to Call a Professional
Call a professional when you see water staining under or around a window, when a sash binds or rattles, when you find a trim gap wider than 1/16 inch with air movement behind it, or when between-pane fog appears in a window less than a year old. These are not do-it-yourself fixes, and they will not improve with time. You are looking at a flashing correction, a frame reset, or a failed air seal, and each one requires the window to be pulled or the interior casing to be removed. If you are unsure whether a symptom is real or normal, document it with photos and have a window contractor look at it. Meridian Windows & Doors offers free estimates in Los Angeles, and we are part of the Garrison Partners family, held to The Garrison Standard on every job. The price goes on paper before any work starts, and it does not move. Call (817) 686-2228 and we will put eyes on the window and tell you straight what it needs.
Frequently Asked Questions
The most common early signs are uneven reveal gaps, a sash that binds or rattles, daylight visible through the weatherstripping, condensation between panes in the first year, and a gap behind the interior trim. Any one of these indicates a skipped step during installation.
Correcting a bad window installation in Los Angeles typically runs $150 to $600 per window for a frame reset or re-shimming, and $400 to $1,200 per window if the window must be fully removed and reinstalled with corrected flashing. A full replacement of a poorly installed window runs $600 to $1,800 per opening, depending on the product line and the extent of the wall damage. Call us at (817) 686-2228 for an exact quote. Estimates are free.
Operational symptoms like binding, rattling, and visible gaps usually appear within the first thirty days. Water intrusion symptoms from failed flashing often take six to eighteen months to show, because water travels slowly through the wall assembly before it reaches visible drywall. This is why the first-month inspection matters so much.
Yes, and it is the most expensive consequence. Improperly flashed windows allow water to enter the wall cavity, where it dampens insulation, rots framing, and feeds mold, often without any visible sign for months. In Los Angeles, the damage usually shows up after the first significant winter rain event.
Condensation on the room-side surface of the glass is usually an indoor humidity issue, not an installation defect. Condensation between the panes is a failed glass seal, which may be a manufacturer defect or an installation-related stress fracture. The distinction depends on whether the frame is square.
The installation contractor is responsible for workmanship issues including flashing, shimming, rough opening preparation, and air sealing. The manufacturer is responsible for product defects like glass seal failure and hardware failure, provided the window was installed correctly. Meridian Windows & Doors covers every installation with a written 365-Day Done Right Promise. If the work fails within that period, we return at no charge.
Document the symptom with dated photos, measure any gaps or uneven reveals, and contact the installer in writing within the thirty-day window. Do not caulk over gaps or force a binding sash. The sooner the problem is documented and reported, the cleaner the warranty claim. If you need an independent assessment in Los Angeles, call us at (817) 686-2228.
The Bottom Line
A bad window installation announces itself within thirty days, but only if you are looking. Run the checklist: check the reveal, the sill slope, the jamb corners, the sash operation, and the trim fit. Document everything with dated photographs. Know the difference between a manufacturer defect and an installer mistake, because the warranty claims follow different paths. In Los Angeles, where sun, salt, and sudden rain each stress a window differently, the installation quality is the single biggest factor in whether the window performs for five years or twenty. Catch the problem early, and the fix is a correction. Wait eighteen months, and it is a reconstruction.
If you are planning a window project or have questions about an existing installation, start at the Meridian Windows & Doors home page or call us directly at (817) 686-2228. We answer the phone live, around the clock, and the price for any repair or replacement goes on paper before work starts.
Written by Elliot Vance, Owner at Meridian Windows & Doors, serving Los Angeles since 2009.