

Last updated October 9, 2026
Free in-home measure and quote - PGT, CGI and CWS impact lines compared on your actual openings, style by style

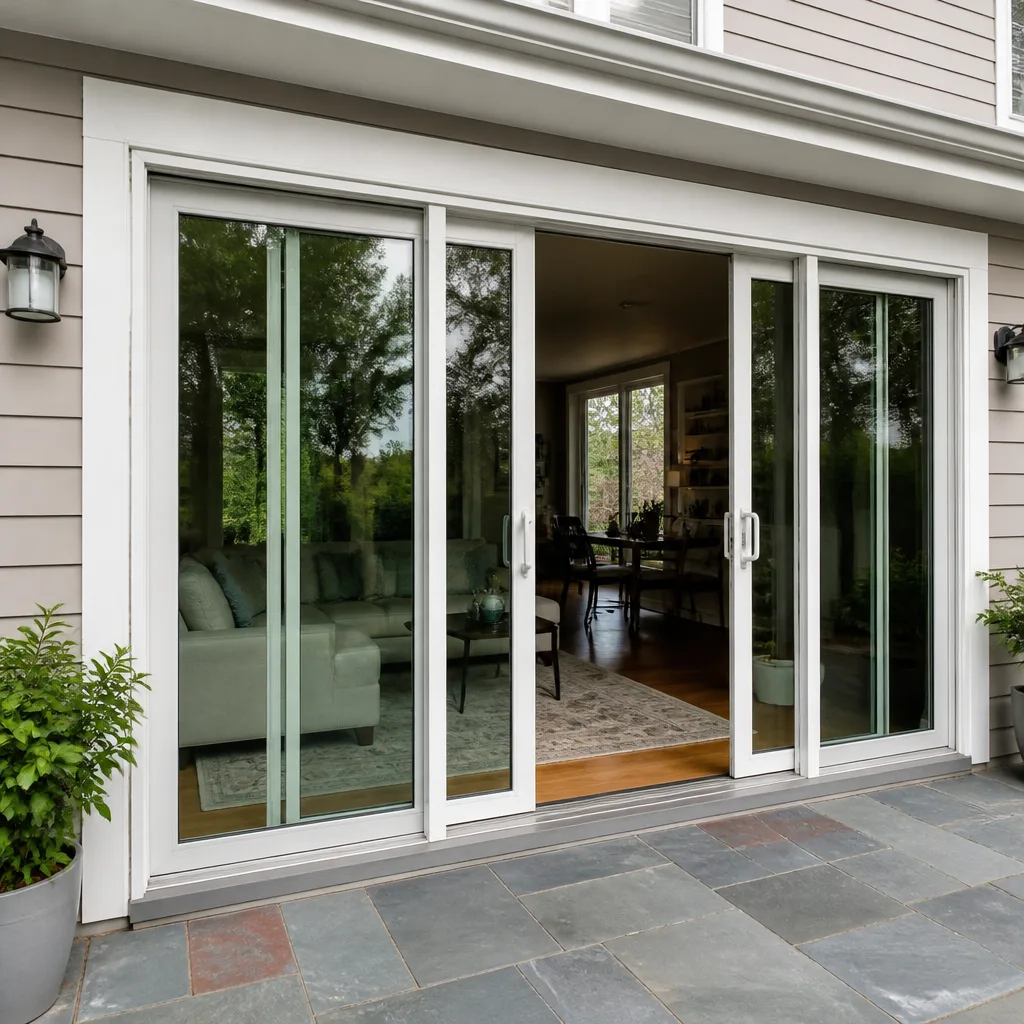

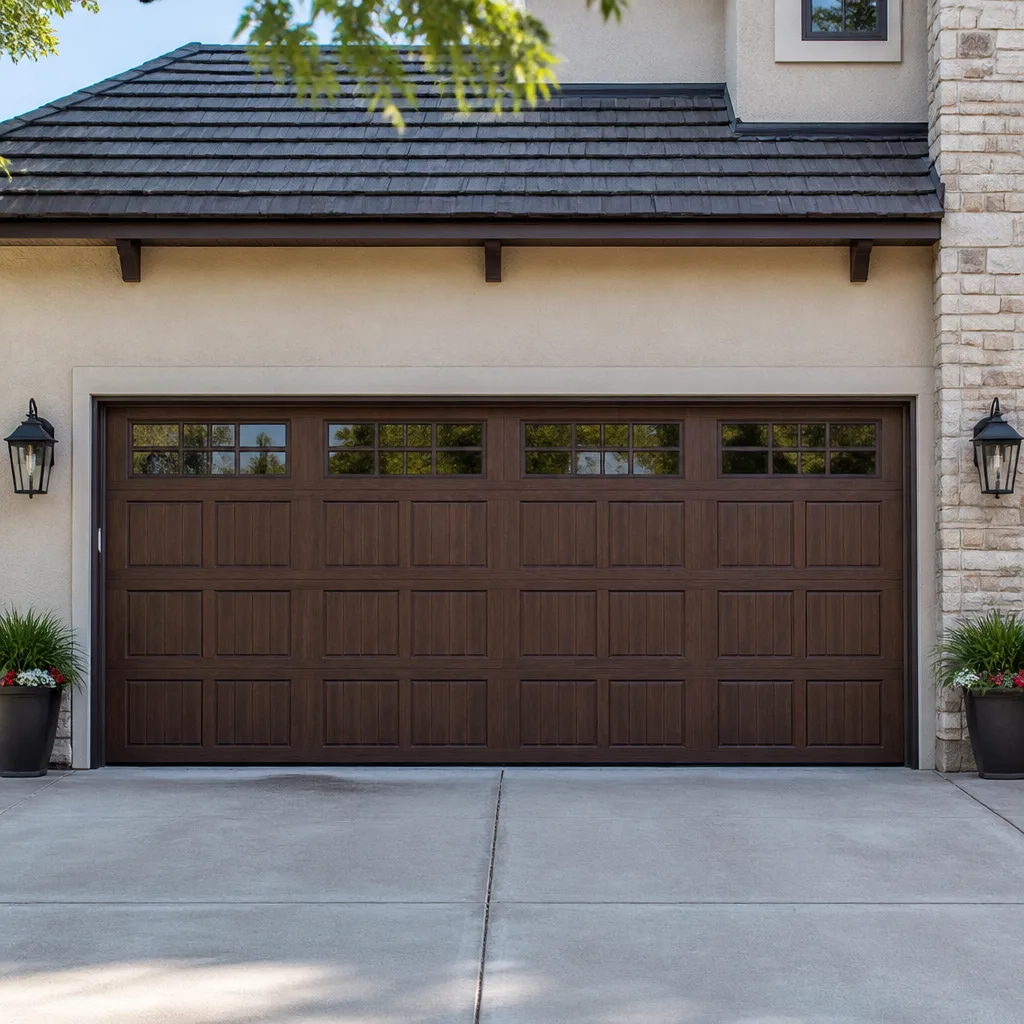
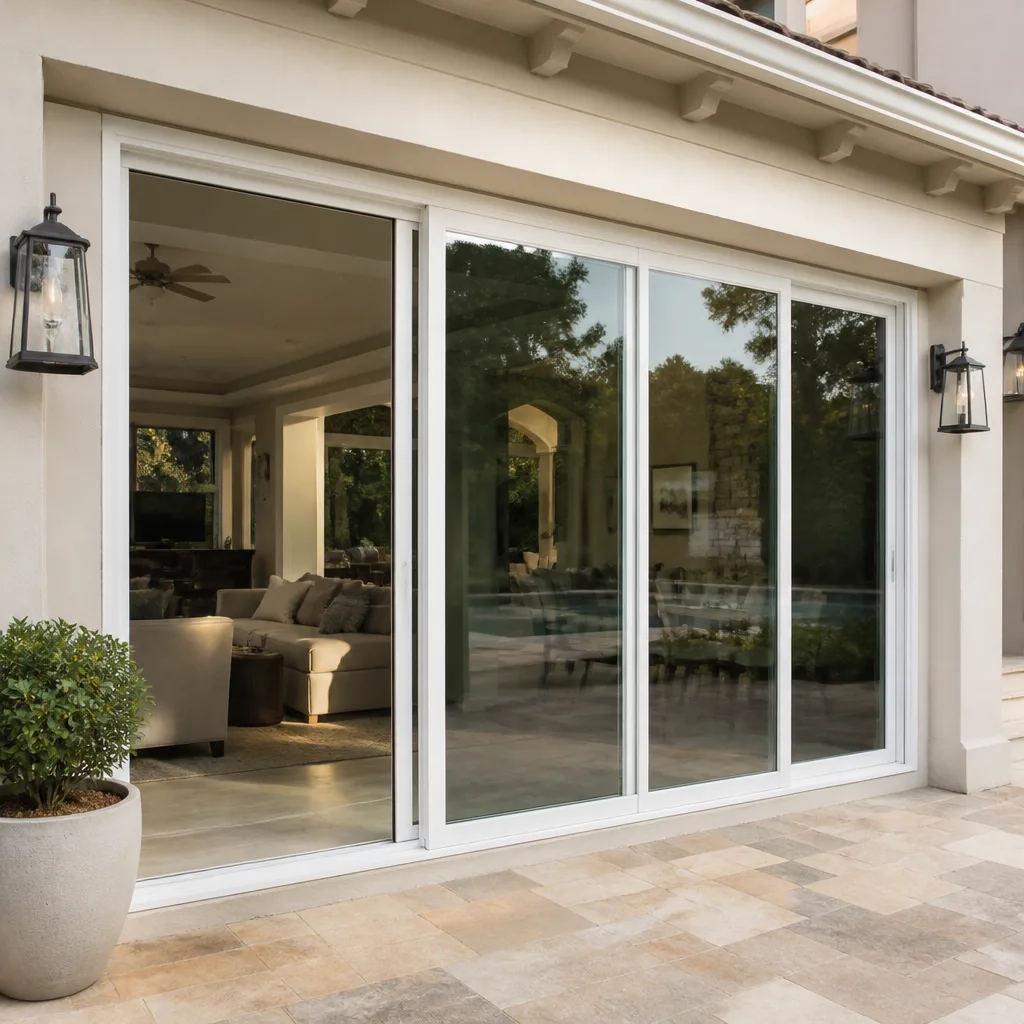

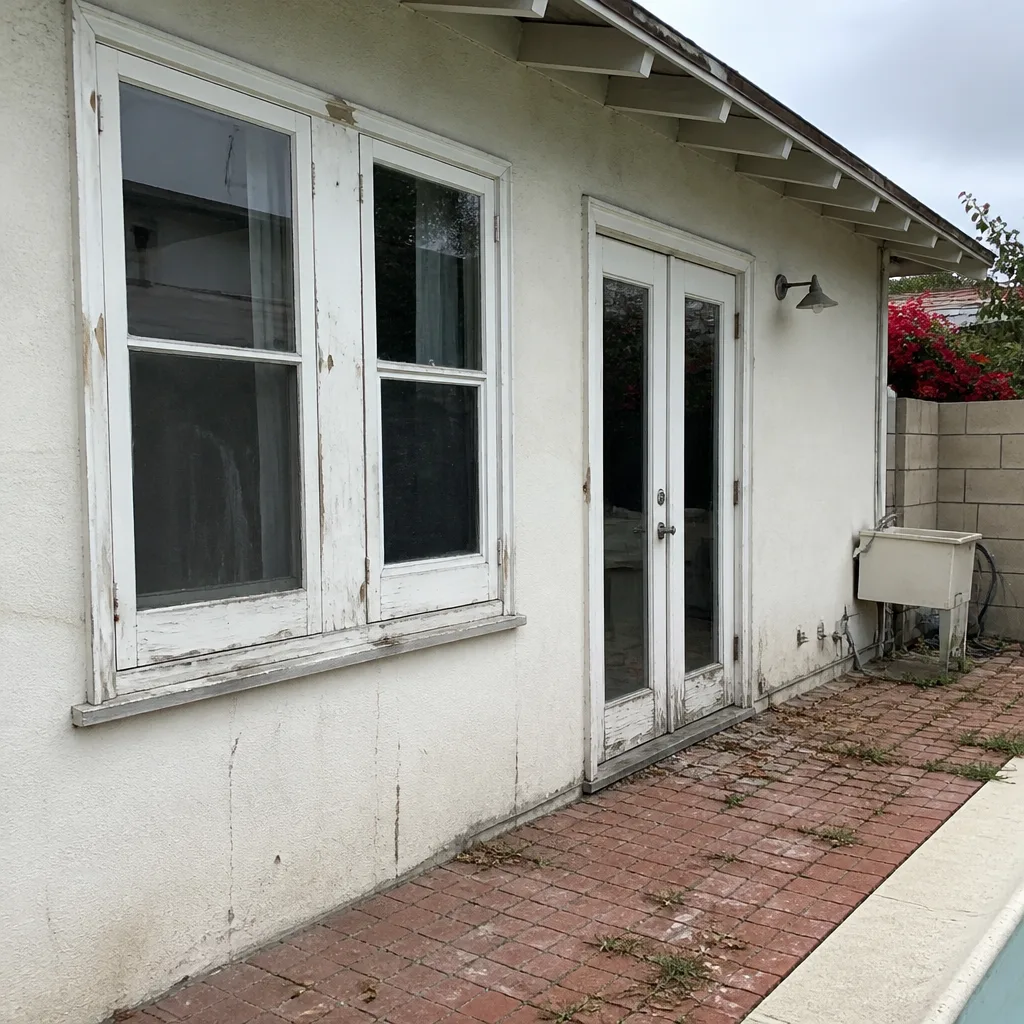 Before
 After
After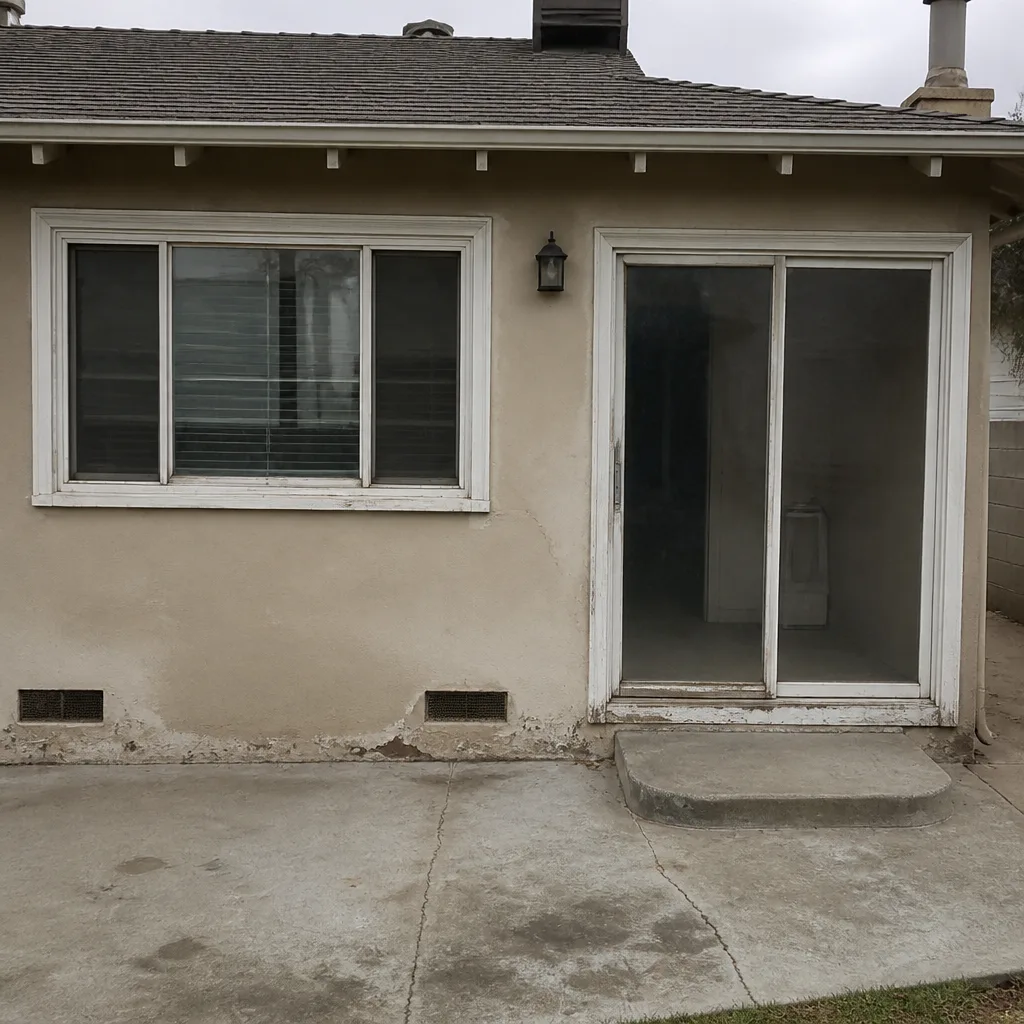 Before
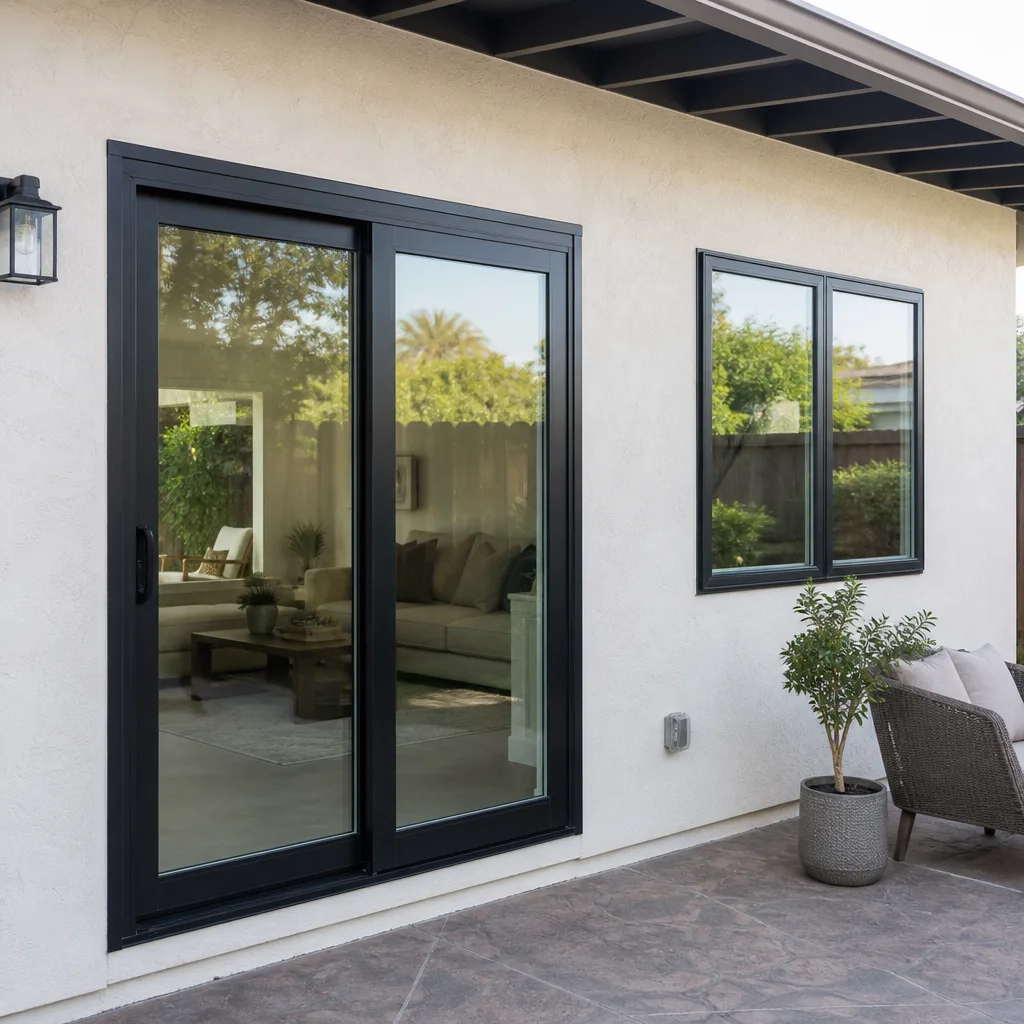 After
After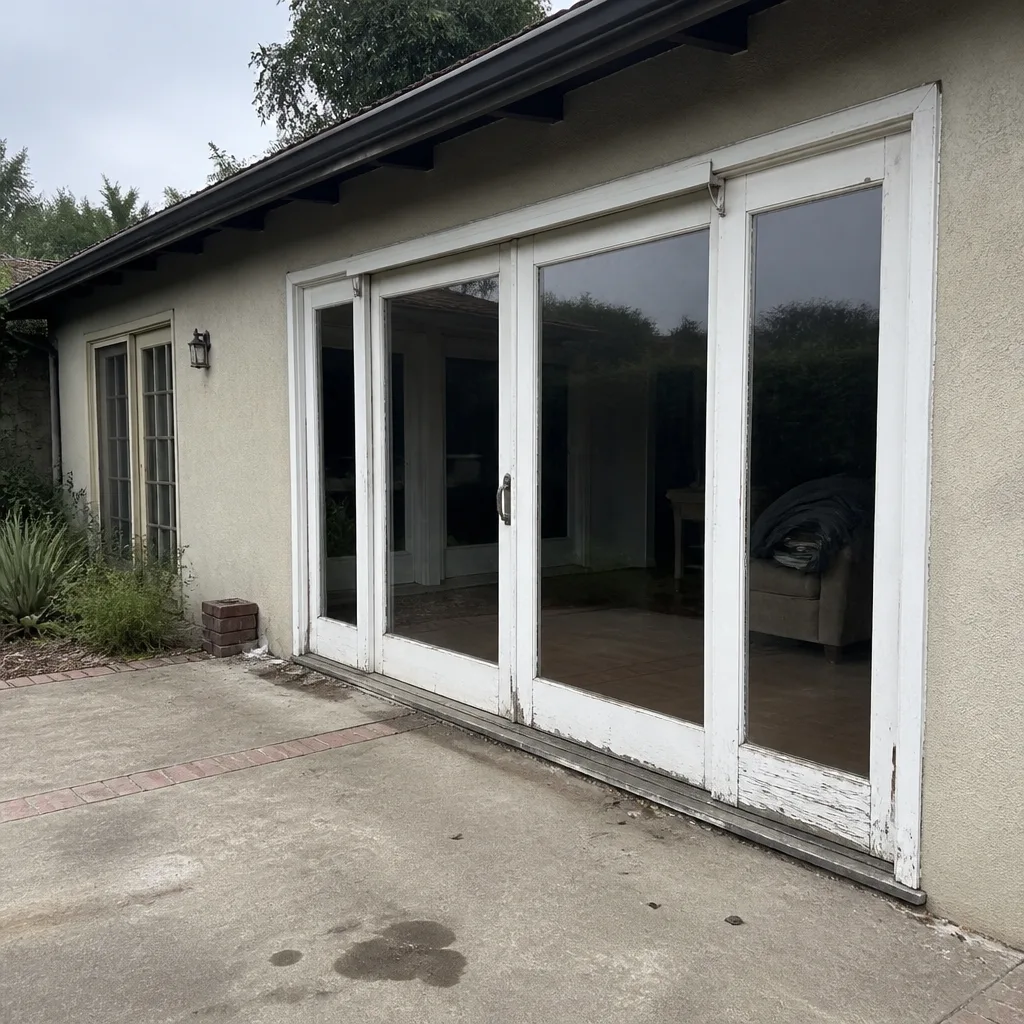 Before
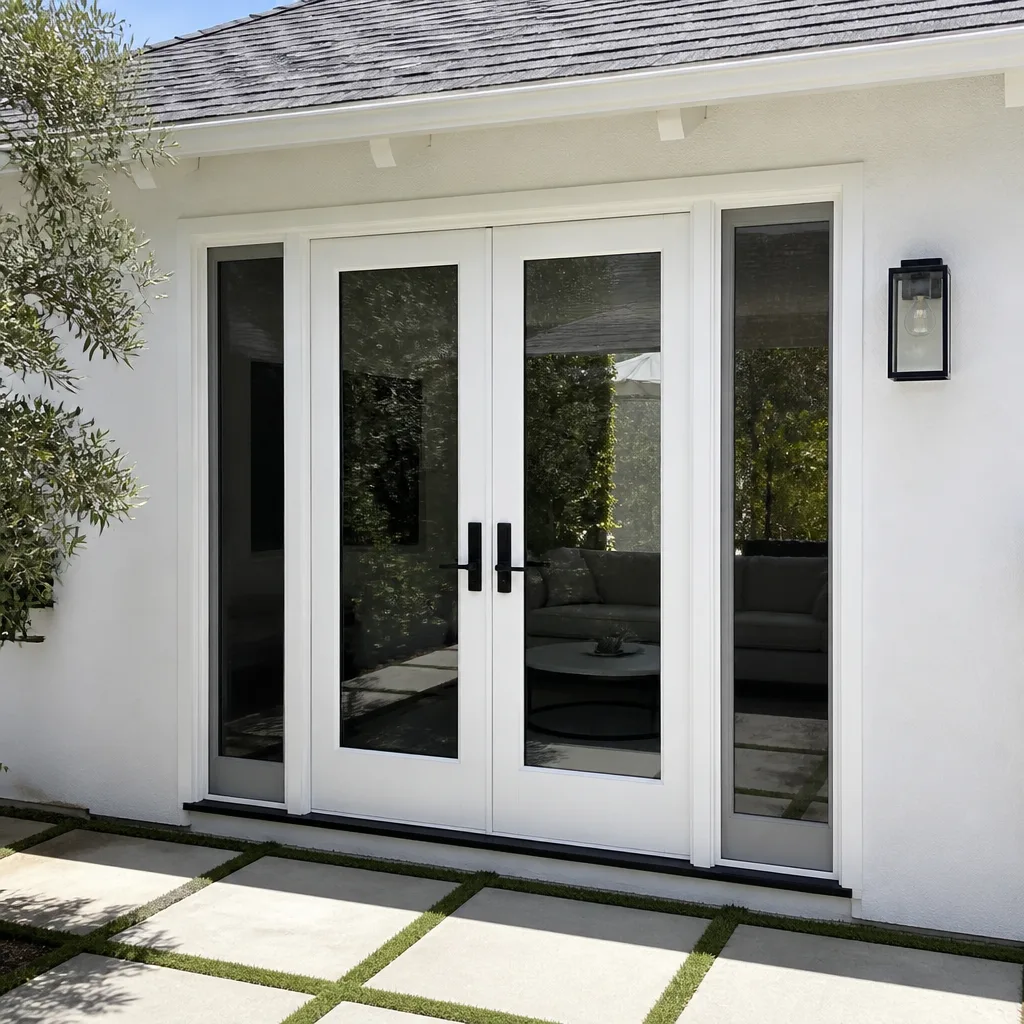 After
AfterWindow Installation Troubleshooting: Common Problems and How to Fix Them
A casement window that binds only in summer is almost never a defective unit. It’s a shimming error that allowed the frame to rack as the wall framing moved seasonally. This is a textbook installation defect that appears 6 to 18 months after move-in, and it’s one we see regularly across Los Angeles, where hot dry summers and wet winters put real stress on window frames. This guide-along with our Window Installation Warning Signs Every Homeowner Should Know-walks you through how to read the symptoms of a bad installation without tearing open a wall. You’ll learn the three root causes behind most window problems, how to spot them from inside your house, and what a proper fix actually requires.
Quick Answer
Most window installation problems trace back to one of three causes: flashing errors that let water in, shimming errors that let the frame move, or a product mismatched to the rough opening. Each produces a distinct symptom pattern you can identify from the finished window. Water stains that appear below the window point to a sill pan failure. A window that sticks seasonally points to shimming. A window that never sealed right from day one often means the wrong unit was ordered for the opening.
Table of Contents
- Flashing Errors: Reading Water Stains Before You Open the Wall
- Shimming Errors: The Seasonal Bind Test and Frame Racking
- Product Mismatch: When the Window Is Wrong for the Opening
- Air Infiltration: Mapping Gaps with a Thermal Camera or Incense Stick
- Documentation: Workmanship Claims vs. Manufacturer Defect Claims
- Common Mistakes to Avoid
- When to Call a Professional
- Frequently Asked Questions
Flashing Errors: Reading Water Stains Before You Open the Wall
Flashing is the system of metal, tape, and sealant that directs water away from the rough opening. When it fails, water finds the path of least resistance, usually into your wall cavity or onto your drywall. The location of the water stain tells you which piece of flashing failed. That’s the diagnostic shortcut most homeowners never learn.
Here’s how to read the pattern:
- Stain directly below the window, spreading downward in a V shape: This is a sill pan failure. The sloped pan under the window either wasn’t installed, wasn’t sealed at the corners, or was punctured during install. Water runs down the glass, hits the sill, and seeps under the frame instead of draining outward. This is the most common flashing error we see in Los Angeles, especially on stucco homes where the sill pan gets buried under the finish coat.
- Stain above the window, starting at the top corners: Head flashing failure. The metal cap over the window either wasn’t lapped correctly over the side flashing or wasn’t tucked under the building paper. In Los Angeles, where winter rain often comes with wind, a head flashing gap of even an eighth of an inch will pull water in during a storm.
- Stain running down one side of the window, inside the jamb: Jamb flashing failure. The side flashing wasn’t integrated with the sill pan, so water that runs down the side of the window hits a seam and turns inward. On retrofit installations where the old window frame stayed in place, this often means the original flashing was damaged during removal and never repaired.
The fix for any flashing error requires removing the interior trim and sometimes the exterior casing to access the flashing. On a retrofit window, the entire unit often needs to come out because the flashing sits behind the frame. This is not a caulk-and-paint fix. A bead of silicone along the top of the window might stop water for a season, but it traps moisture behind the frame and rots the framing by year two.
In our Los Angeles service area, we see flashing failures most often on south- and west-facing walls, where afternoon sun degrades sealant faster and wind-driven rain hits harder. If your stain appears only after heavy rain and never after light rain, you have a flashing gap, not a glass seal failure.
Shimming Errors: The Seasonal Bind Test and Frame Racking
A window that opens fine in January and binds in July, or vice versa, is telling you something about the framing behind it. Shims are the thin wedges that hold the window frame square and level inside the rough opening. When they’re missing, spaced too far apart, or not installed at the right points, the frame can flex as the wall framing expands and contracts with temperature and humidity.
The seasonal bind test is simple:
- Open and close the sash fully in the morning, before the sun hits that wall.
- Repeat the test in the afternoon, when the wall has been in direct sun for at least four hours.
- Repeat the test during a seasonal shift: once in August, once in February.
If the window binds in one condition and operates smoothly in the other, you have a shimming problem or a settling issue, not a hardware problem. A defective hinge or operator mechanism binds consistently, regardless of temperature or time of day. Frame racking binds intermittently, and it always correlates with temperature or moisture.
The fix depends on what the shims were supposed to do:
- Missing shims at the midpoint of the side jambs: The frame bows inward under wall load and pinches the sash. Fix requires pulling the interior trim, inserting shims at the manufacturer-specified points, and re-securing the frame.
- Shims placed against the jamb without clearance: The frame can’t expand slightly with heat, so it binds when the wall moves. Fix requires re-shimming with proper clearance.
- Frame installed out of square by more than 1/8 inch: The sash will always drag on one corner. Fix requires removing the window, correcting the rough opening, and reinstalling. You cannot shim out a badly out-of-square rough opening without pulling the unit.
Los Angeles gets a wider temperature swing than people expect, especially in inland areas like the San Fernando Valley and Glendale. A window installed in cool weather may test perfectly square on install day and then bind hard during the first August heat wave. That’s not a product defect. That’s the wall moving and the window frame moving with it because the shims weren’t doing their job.
Elliot Vance, our owner, puts it plainly: a window frame should be anchored to the rough opening at the points the manufacturer specifies, no more and no fewer. More shims than needed make the frame rigid and transfer every bit of wall movement into the glass. Fewer than needed let the frame sag under its own weight. Both failures look identical from inside the house until you run the seasonal bind test.
Product Mismatch: When the Window Is Wrong for the Opening
Sometimes the window itself is fine and the installation was done correctly, but the unit was never right for the opening in the first place. Product mismatch happens when someone measures wrong, orders the wrong size, or specs a window that doesn’t fit the wall’s structural or climatic demands.
Here are the most common mismatch patterns we see in Los Angeles homes:
- The window is 1/2 to 3/4 inch smaller than the opening all the way around: The installer filled the gap with foam and covered it with trim. This works for a few years, then the frame starts to shift because nothing is actually supporting it. The fix is a properly sized window, not more trim.
- A standard-grade window installed in a coastal exposure: Homes in Santa Monica, Venice, and Playa del Rey need windows rated for salt air and high wind. A standard residential window from a big-box store will corrode at the hardware and fail at the seals within three to five years. We spec window replacement for coastal homes using lines like PGT and CGI, which are built and rated for hurricane-level wind loads and salt exposure.
- A window with the wrong glass package for the orientation: A west-facing wall in Los Angeles takes brutal afternoon sun. A clear double-pane window on that wall will turn the room into an oven from April through October. The fix is low-E glass (a thin coating that reflects heat while letting light through) and often a lower solar heat gain coefficient. This is a product spec issue, not an installation issue, but it shows up as a performance complaint that homeowners often blame on the installer.
- The rough opening is a non-standard size and someone ordered the closest standard unit: Every manufacturer lists the exact rough opening dimensions their windows require. Ordering the closest size and forcing it in creates a cascade of problems: defective seal performance, stress cracks in the glass, and flashing that doesn’t lap correctly.
The fix for product mismatch is always replacement with the correct unit. That’s more expensive than a service call, and it’s why Meridian Windows & Doors home puts the price on paper before any work starts. You know the cost of the right fix before the old window comes out. We carry eight manufacturer lines, including CWS and ES Windows, specifically so we can match the right product to the opening and the exposure instead of forcing a stock unit into a hole it was never designed for.
Air Infiltration: Mapping Gaps with a Thermal Camera or Incense Stick
Air leaks around a window feel like a draft, but finding the exact location of the gap is the difference between a permanent fix and a tube of caulk that fails in six months. Installation gaps follow predictable patterns, and you can map them yourself with a thermal camera or a simple incense stick.
Here’s the process we use on every window installation we’re asked to troubleshoot:
- Wait for a temperature differential. The test works best when the inside and outside temperatures differ by at least 15 degrees. In Los Angeles, early morning works well most of the year, or any afternoon in summer when air conditioning is running.
- Close all windows and doors, and turn on exhaust fans if you have them. This creates a slight negative pressure inside the house, which pulls outside air through any gaps.
- Run the incense stick slowly around the entire window perimeter. Hold it about an inch from the frame. Wherever the smoke stream bends or gets sucked toward the window, you have an air infiltration point.
- Pay closest attention to three spots: the bottom corners where the sill meets the side jambs, the meeting rail where the two sashes overlap, and the top corners under the head jamb. Those are the three locations where installation gaps consistently appear, because they’re where flashing planes intersect and where sealant beads are most likely to be skipped or applied too thin.
- If you have a thermal camera, scan the same perimeter. Look for temperature streaks that run along the frame edges. A uniform frame temperature with a cold stripe along one jamb means air is moving through that gap.
The fixes depend on where the gap is. A gap at the meeting rail is often a worn weatherstrip, which is a simple replacement. A gap at the bottom corner means the sill flashing or the foam backer rod wasn’t installed correctly, and the fix usually requires removing the interior trim and re-sealing from the inside. A gap all the way around the frame on a retrofit window often means the gap between the old frame and the new insert wasn’t fully insulated or sealed, which requires pulling the insert and redoing it.
What you don’t want to do is run a bead of caulk around the entire interior perimeter and call it done. That seals air out of the room but traps moisture inside the wall cavity. Within two seasons, you’ll have mold staining on the drywall and rot starting in the framing.
Documentation: Workmanship Claims vs. Manufacturer Defect Claims
When a window fails, the homeowner has to figure out who is responsible: the manufacturer or the installer. The claim process is different for each, and submitting the wrong claim to the wrong party burns weeks and often gets denied on a technicality. Here’s what to document for each.
Workmanship claim (installer error):
- Photos of the installation from the day it was done, showing the flashing, shims, and sealant before the trim went on. If you don’t have these, you still have a case, but it’s weaker.
- Photos of the symptom: the water stain, the binding sash, the gap in the sealant.
- A written description of when the symptom appears and under what conditions. “Window binds when the wall gets direct afternoon sun in summer” is far more useful than “window is hard to open.”
- The original contract and the written warranty terms. In Los Angeles, a contractor’s workmanship obligation exists regardless of whether they wrote a warranty, but having it in writing makes the claim move faster.
- A record of when you notified the installer. If you wait 18 months to report a leak that started at month two, the installer will argue the damage worsened due to your delay.
Manufacturer defect claim:
- The window’s serial number or product label, which is usually etched on the glass spacer or printed on a sticker in the frame channel.
- Photos of the defect: failed seal fogging between the panes, warped vinyl, cracked frame extrusion, failed hardware.
- The original purchase receipt or the installer’s invoice showing the window model and date of installation.
- Documentation that the window was installed according to the manufacturer’s instructions. If the manufacturer finds the install was out of spec, they’ll deny the claim regardless of the defect.
The line between the two claims gets blurry. A failed seal on a window that was installed square and level with proper clearance is a manufacturer defect. A failed seal on a window that was forced into an out-of-square opening is a workmanship problem. Manufacturers have inspectors who can tell the difference, which is why install quality matters long after the job is done.
At Meridian, every installation is covered by our written 365-Day Done Right Promise. If the work fails within that year, we come back at no charge, and a free second visit is included if the repair itself fails within the guarantee period. That’s not a verbal promise; it goes on paper with every job.
Common Mistakes to Avoid
- Caulking over a flashing leak instead of fixing the flashing. Silicone on the outside of a leaking window traps water in the wall cavity. The leak continues behind the caulk, and rot accelerates because the moisture can’t escape.
- Assuming a binding window is a hardware problem. Most homeowners spray lubricant on a sash that’s binding from frame racking, which does nothing but make the window smell like WD-40. Run the seasonal bind test before you touch the hardware.
- Ignoring a small water stain because it only appears once or twice a year. Intermittent leaks are still leaks. By the time a water stain is visible on interior drywall in a Los Angeles home, moisture has already been inside the wall cavity long enough to reach the surface. The damage behind the drywall is always worse than what you can see.
- Replacing the window without addressing the rough opening. If the framing behind the window is rotted or out of square, a new window in the same opening inherits the same problems. The rough opening has to be corrected first.
- Choosing a window on price alone. A budget window installed on a west-facing Los Angeles wall without low-E glass will make the room hotter than the old window did. The cheapest unit is rarely the right product for the exposure.
- Not documenting the install. Photos taken before the trim goes on are the single best piece of evidence in a workmanship claim. If your installer won’t let you photograph the flashing and shims before they close the wall, find another installer.
- Waiting to report a problem. Workmanship warranties and contractor obligations both have practical limits. The sooner a defect is documented and reported, the easier the claim is to process and the less damage you have to repair.
When to Call a Professional
You should call a window contractor when the problem involves anything behind the interior trim or exterior casing; see our Window Replacement Maintenance Checklist for Los Angeles Homeowners for what to check first. Flashing repairs, re-shimming, rough opening corrections, and full unit replacements all require pulling the window out of the wall. That’s not a weekend project, and doing it wrong makes the original problem worse. A visible water stain that appears after rain also warrants a professional assessment, because the fix is almost never a bead of caulk. And if your window binds seasonally and you’ve confirmed it’s not a hardware issue, the fix requires re-shimming the frame, which means opening the wall around the window. Meridian Windows & Doors offers free estimates in Los Angeles, call (817) 686-2228 to schedule one. We’ll tell you what’s actually wrong and write down what it costs to fix before any work begins.
Frequently Asked Questions
Most window installation repairs in Los Angeles run between $300 and $2,500 depending on the scope. A simple weatherstrip replacement or sealant repair costs $300 to $600. Re-shimming a window that is binding or out of square runs $800 to $1,800 including trim removal and replacement. Full replacement of a mismatched window with a correctly sized unit typically runs $900 to $2,500 installed per window, depending on the product line and exposure requirements. Call (817) 686-2228 for an exact quote. Estimates are free.
Yes, many installation defects can be corrected without replacing the window itself. Re-shimming, re-sealing joints, and repairing flashing are all done with the existing window in place or briefly removed and reinstalled. The exception is product mismatch, where the window itself was wrong for the opening from the start. That requires a new unit. We’ll determine which situation you have during the estimate, and the price goes on paper before any work starts.
A window that leaks only during heavy rain has a flashing gap somewhere in the system, almost always at the top corners where the head flashing meets the side flashing. In Los Angeles winters, wind-driven rain pushes water up and into gaps that light rain never reaches. The fix requires accessing and repairing the flashing, which usually means removing the exterior casing or pulling the window. A bead of caulk won’t fix a flashing gap permanently.
The answer depends on whether the problem is a workmanship issue or a product defect. Workmanship issues like flashing leaks, shimming errors, and air gaps are covered by the installer’s warranty, which should be in writing. Product defects like failed seals, warped frames, and broken hardware are covered by the manufacturer’s warranty, which requires the serial number and proof of proper installation. At Meridian, our workmanship is covered by the 365-Day Done Right Promise in writing, and we’ll help you file a manufacturer claim if the product itself fails. Call (817) 686-2228 and we’ll walk you through it.
Yes. A flashing leak that goes unaddressed will rot the wall framing behind the drywall, and by the time you see the stain, the damage is already more extensive than the visible surface. A window that binds from frame racking puts stress on the glass, which can crack or shatter under pressure. Air infiltration gaps also let moisture into the wall cavity in humid weather, creating mold conditions you can’t see. None of these problems resolve on their own.
A retrofit window, also called an insert, fits inside the existing frame and preserves the interior and exterior trim. A full-frame replacement removes the old window down to the rough opening, including the frame, flashing, and trim. In Los Angeles, retrofits are faster and less expensive, but they can’t fix problems that exist in the original framing or flashing. If your existing frame is rotted or out of square, a retrofit window inherits those problems. A full-frame replacement is the only way to correct the conditions behind the window. We can tell you which one your situation requires during a free estimate.
The Bottom Line
Window installation problems fall into three categories: flashing errors that leak, shimming errors that bind, and product mismatches that never perform right. Each leaves a distinct symptom you can read from the finished window. Water stains that follow gravity tell you where the flashing failed. A seasonal bind tells you the frame wasn’t shimmed properly. A window that never sealed, never drained, or never performed from day one tells you the product was wrong for the opening. You can diagnose most of these from inside the house with a thermal camera, an incense stick, and a little patience. The fix, in most cases, requires opening the wall and correcting the conditions behind the window. For ongoing care, explore our more guides & resources. Call (817) 686-2228 for a free estimate, and we’ll give you a written price before any work starts.
Written by Elliot Vance, Owner at Meridian Windows & Doors, serving Los Angeles since 2009.