

Last updated October 9, 2026
Free in-home measure and quote - PGT, CGI and CWS impact lines compared on your actual openings, style by style
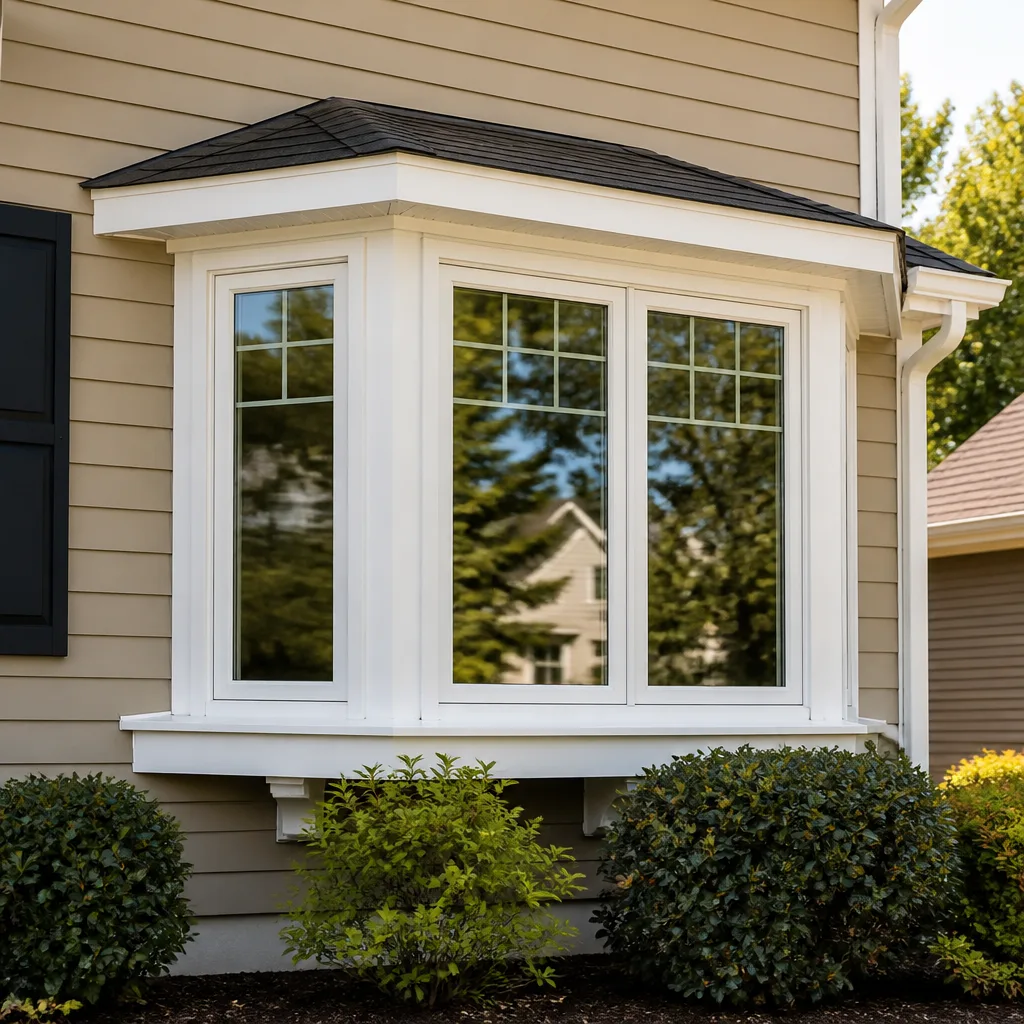
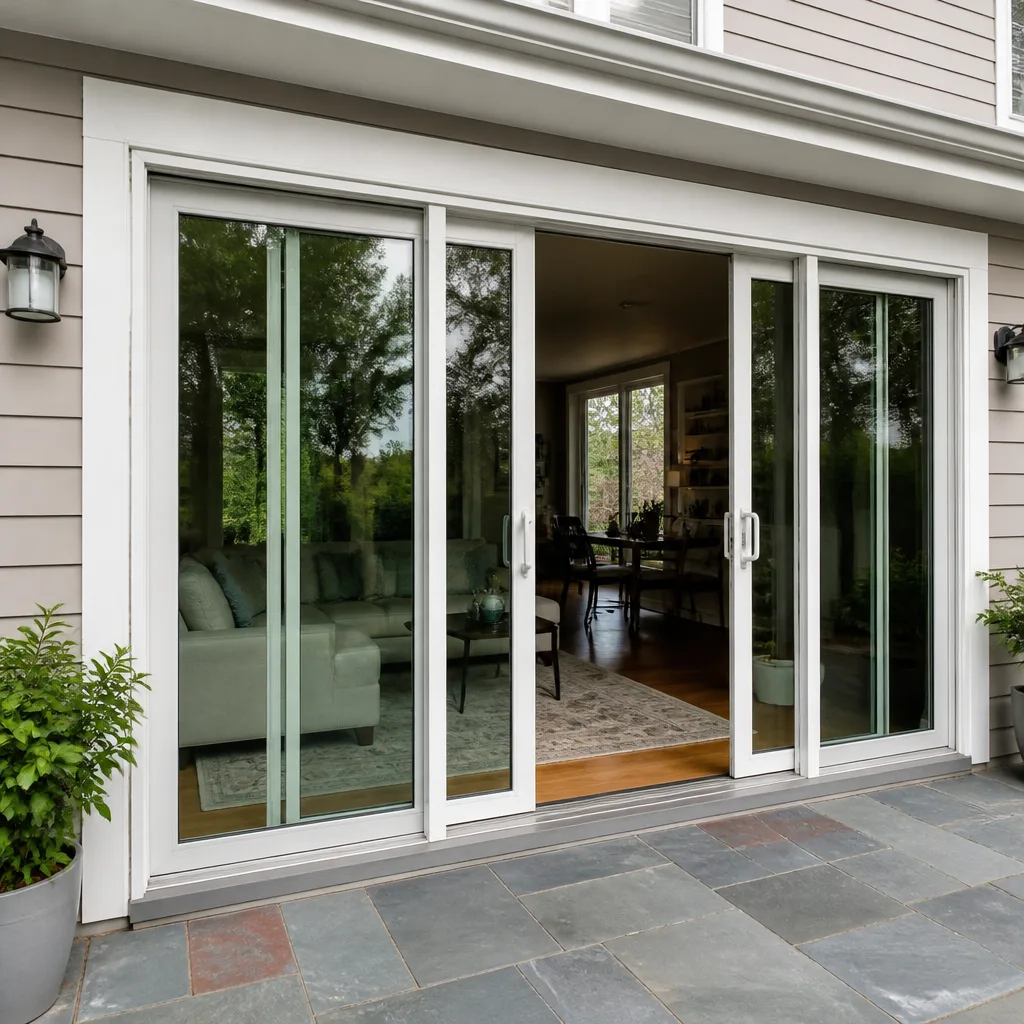
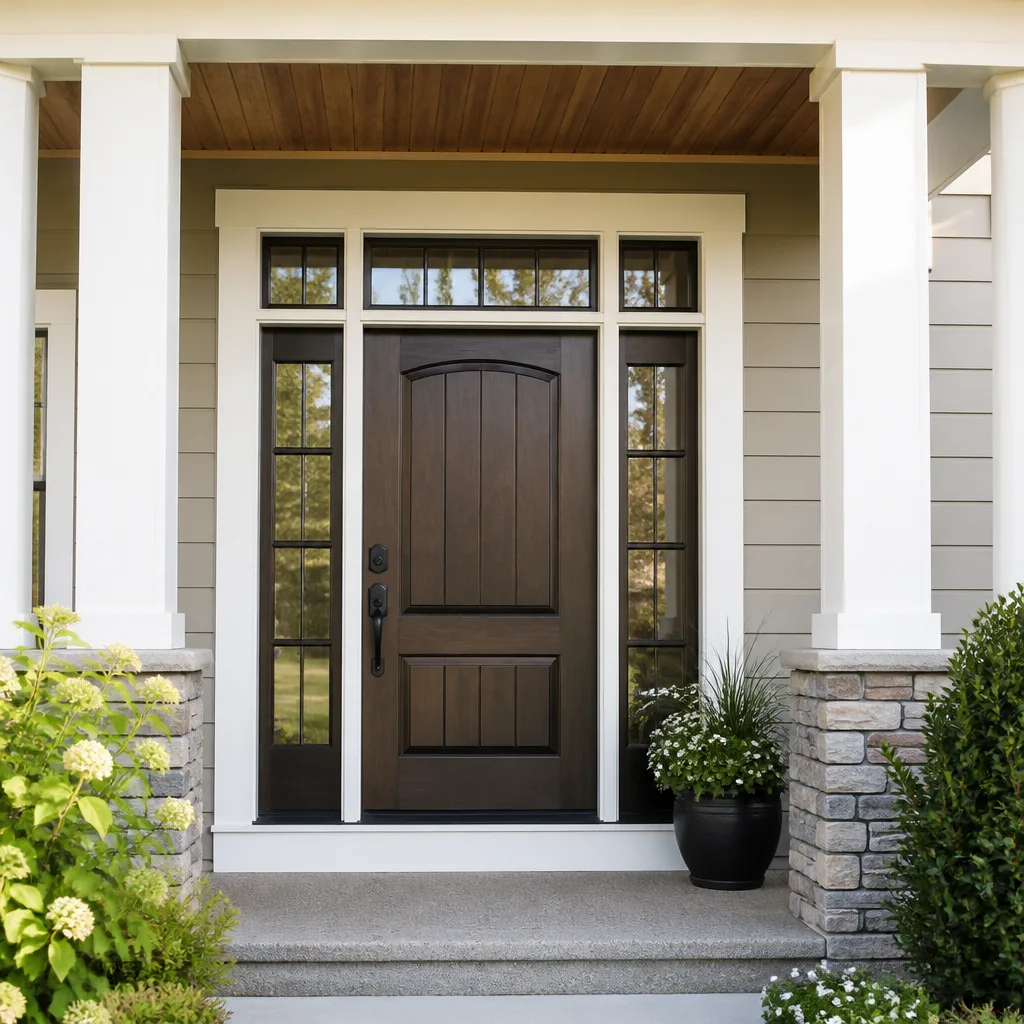
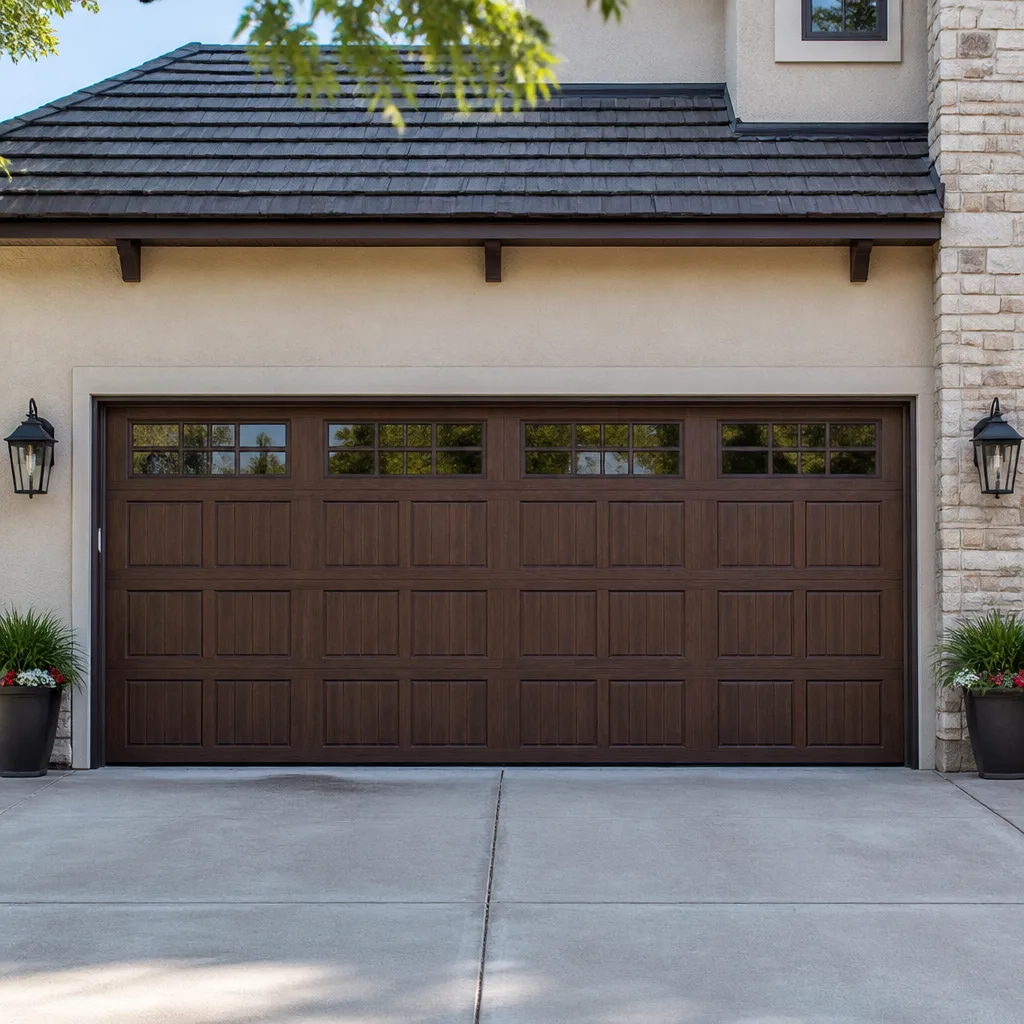
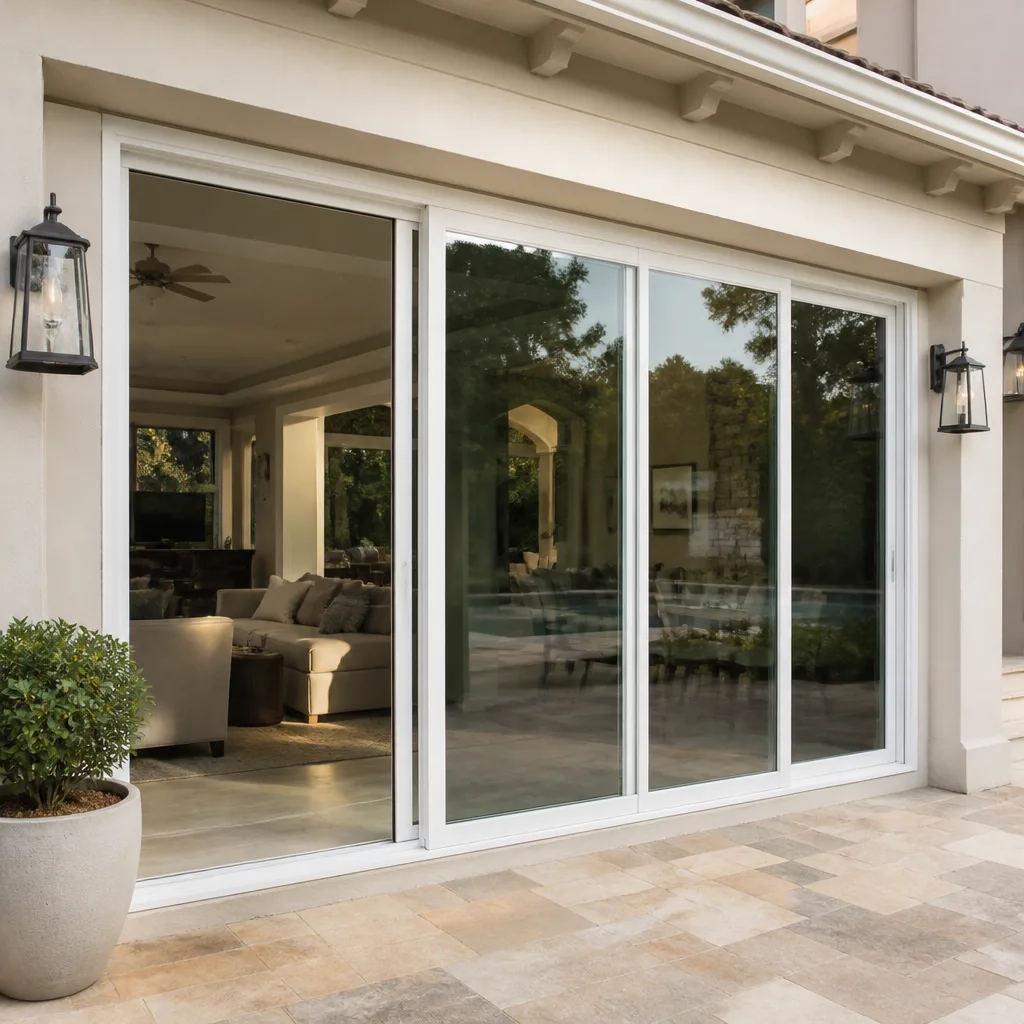
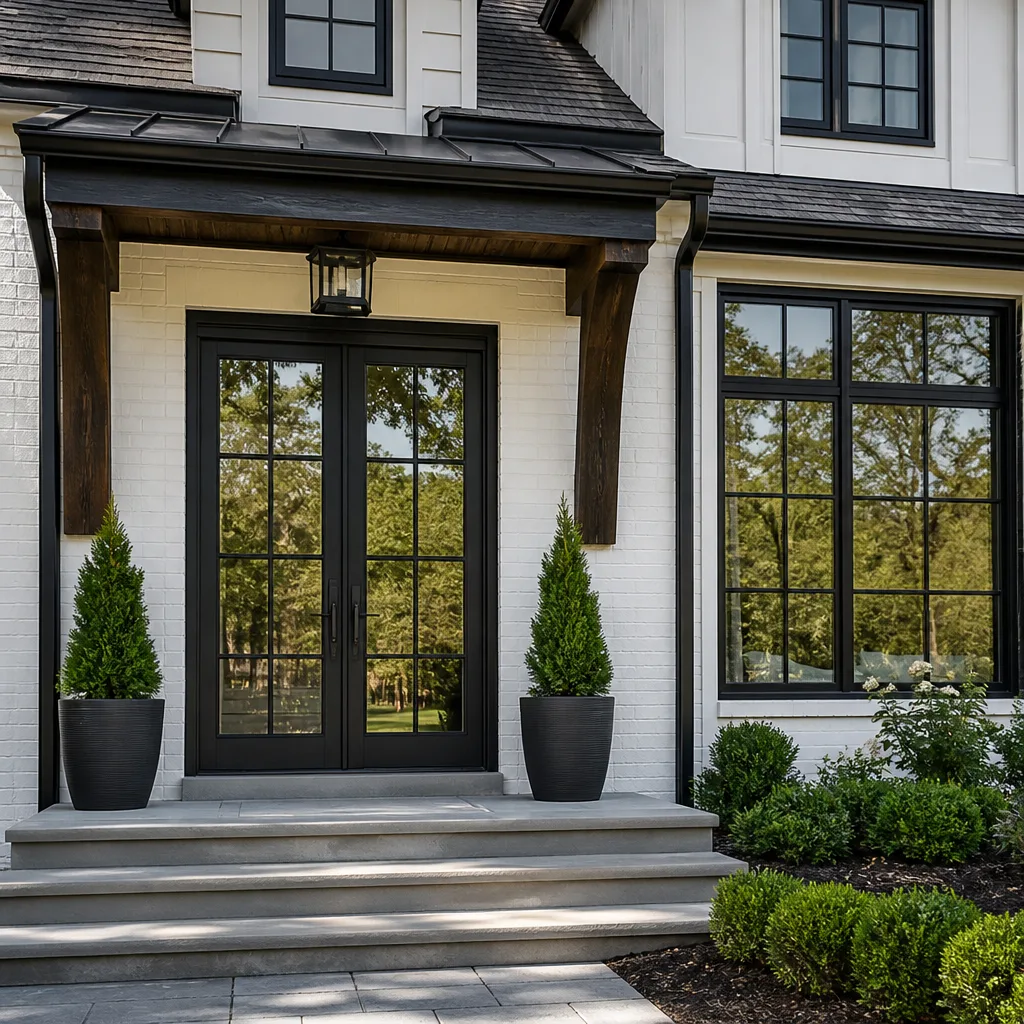
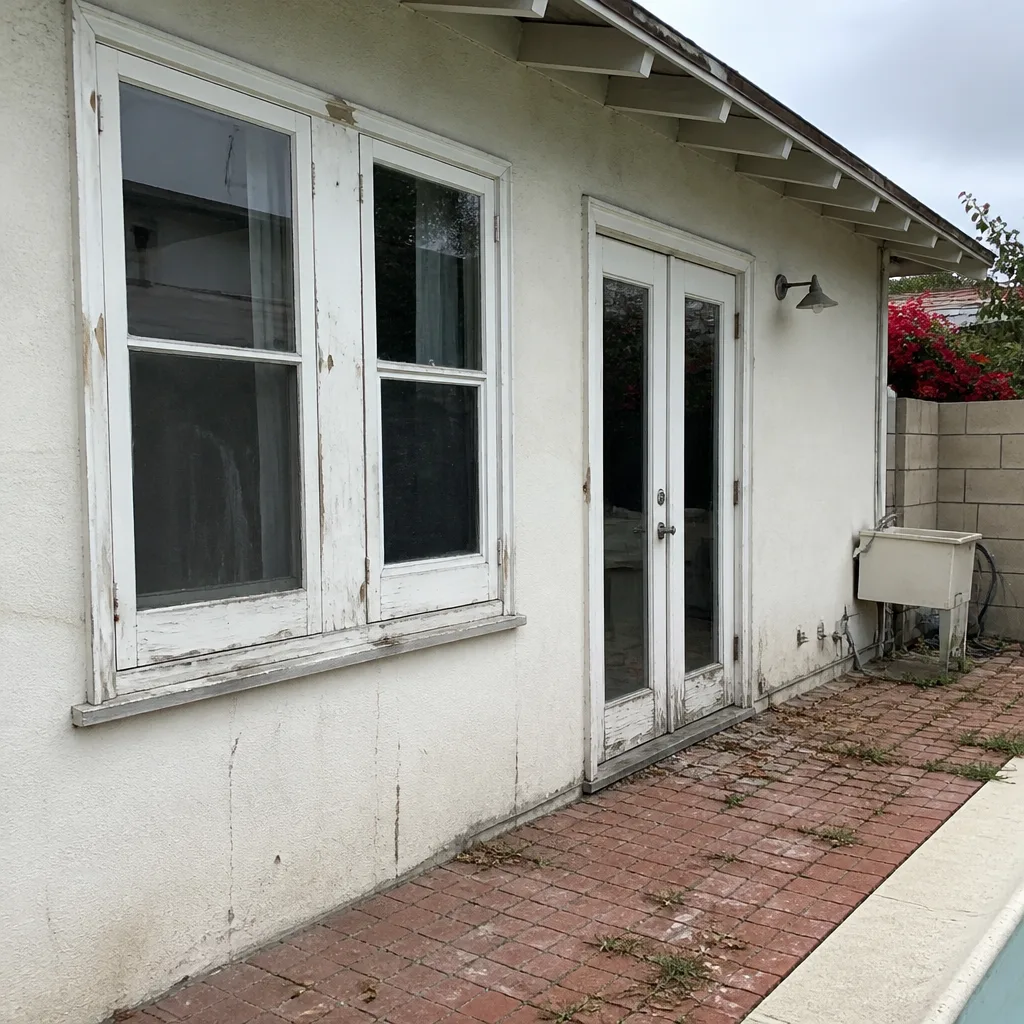 Before
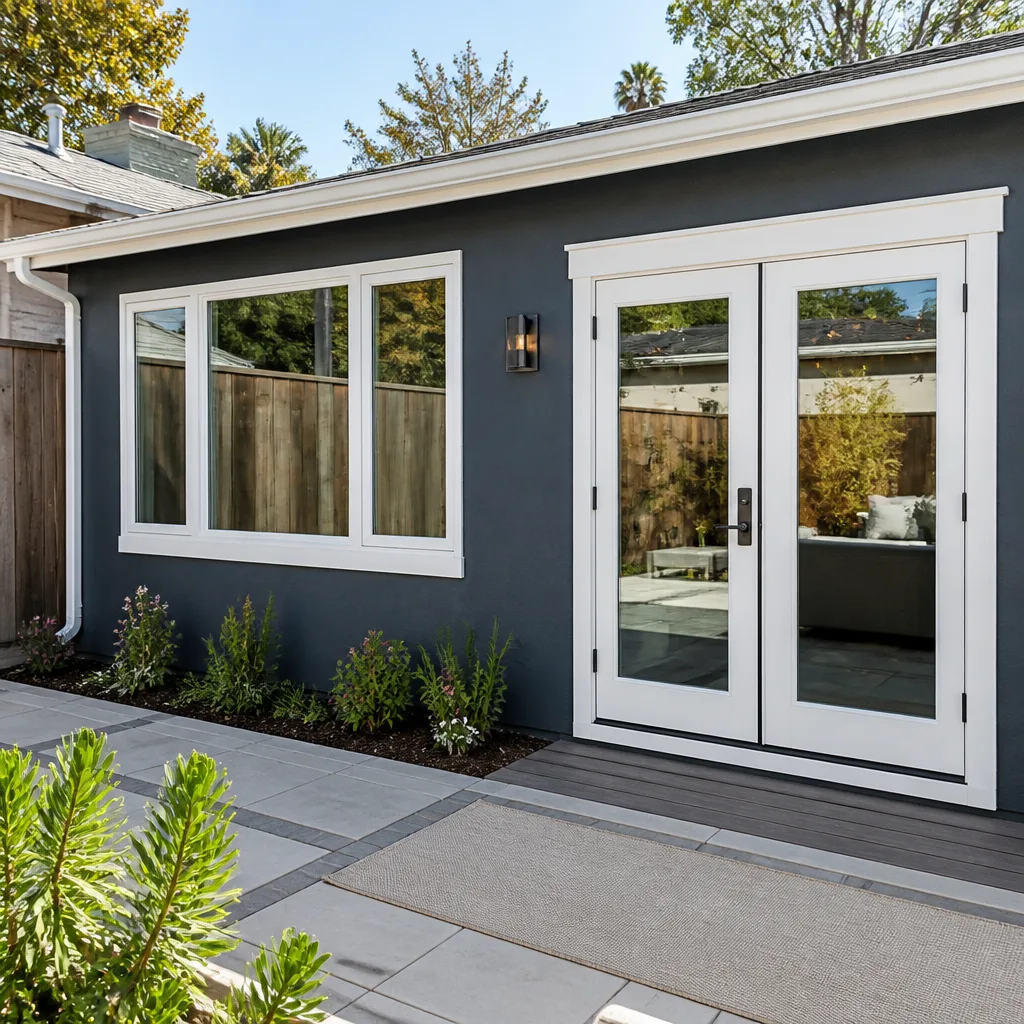 After
After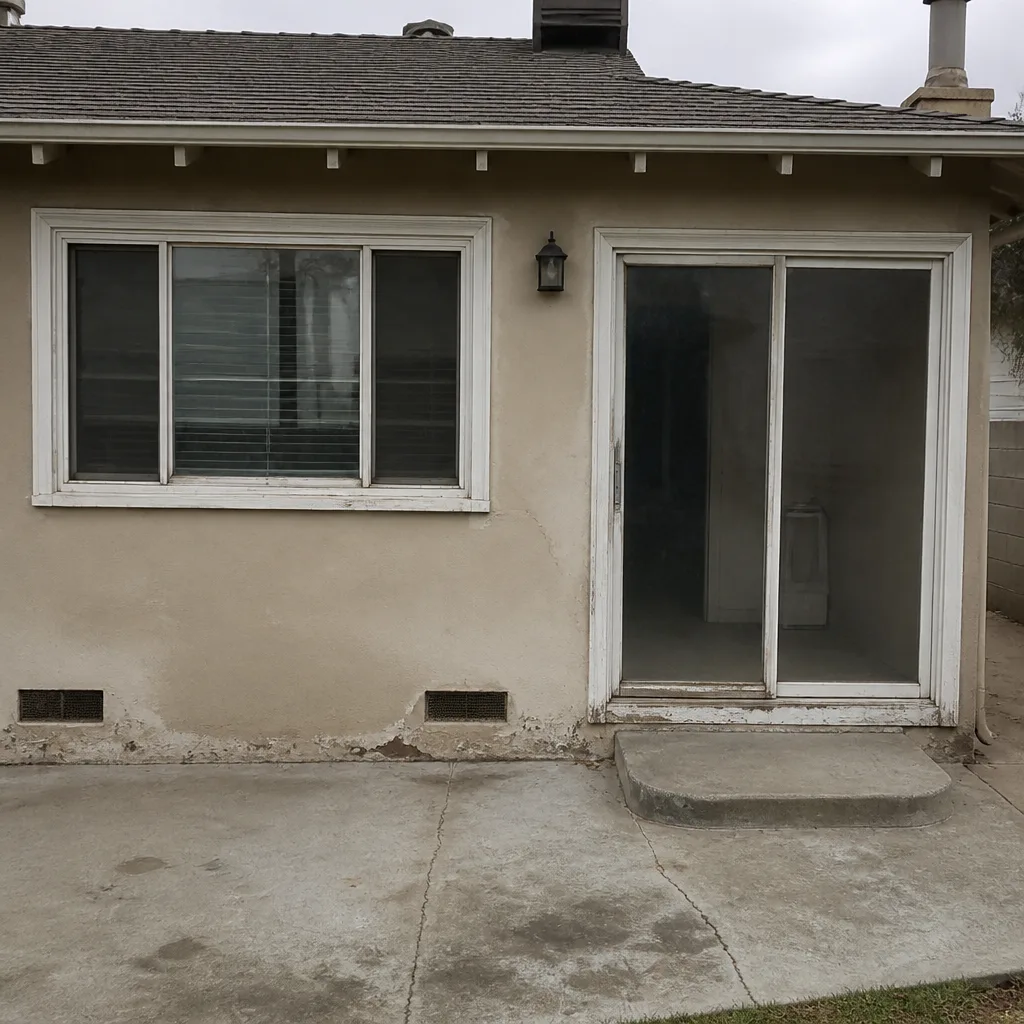 Before
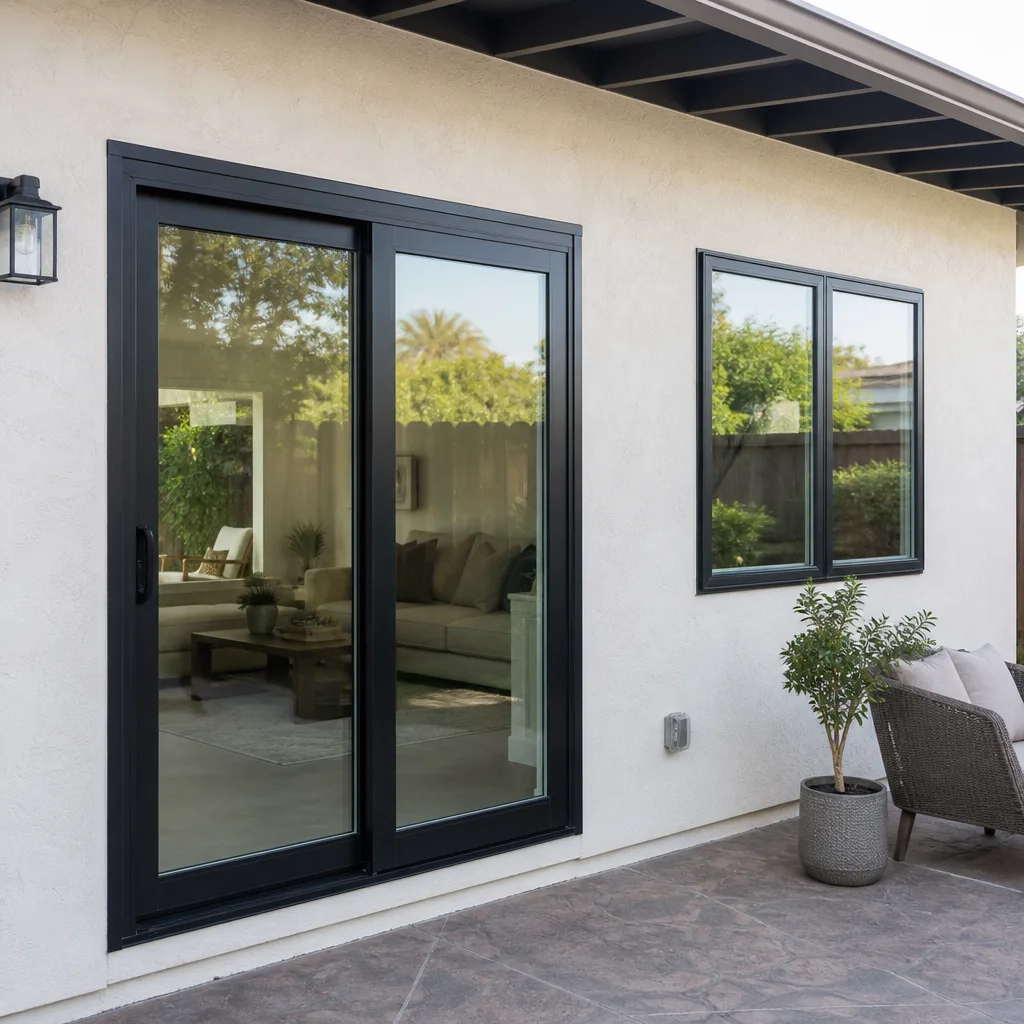 After
After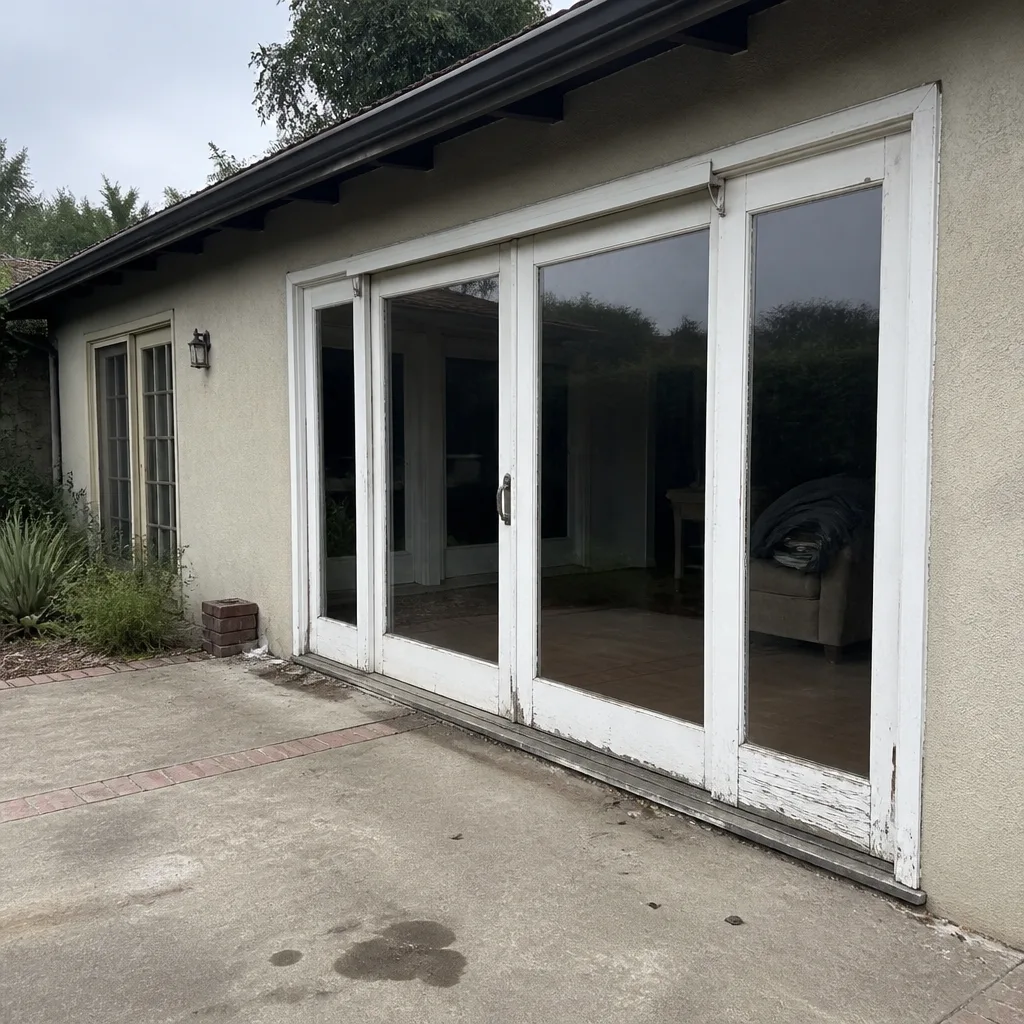 Before
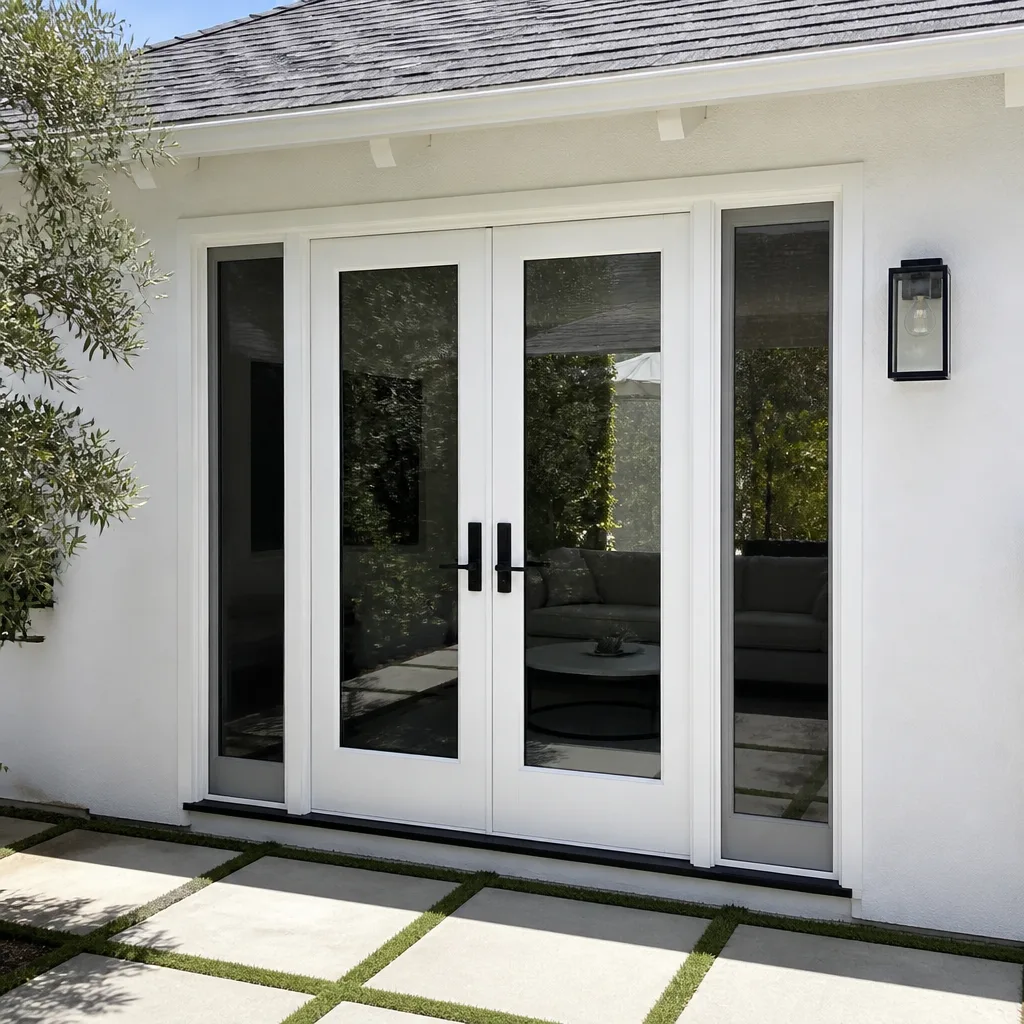 After
AfterThe Complete Window Installation Guide for Los Angeles Homeowners
Most homeowners think our Window Installation services are one trade with one sequence. It isn’t. A window nailed into a freshly framed wall in a new addition follows a completely different water-management sequence than a retrofit insert dropped into a 1962 stucco tract home in the San Fernando Valley. If the flashing goes in after the building wrap, the window was installed wrong from day one. This guide covers the three installation methods, how Los Angeles stucco changes the work, what rough-opening tolerances actually matter, and when fire-rated glazing is code-mandated. By the end, you’ll know more about window installation than most sales reps who sit at your kitchen table.
Quick Answer
Window installation in Los Angeles means one of three methods: new-construction installation with a nailing fin into an open rough opening, retrofit insert installation inside an existing frame, or full-frame replacement that tears out the old frame and starts fresh. The right method depends on your home’s age, exterior cladding, and existing window condition. Most single-window replacements in Los Angeles run $650 – $2,800 installed, with retrofit inserts on the lower end and full-frame replacements on the higher end.
Table of Contents
- The Three Window Installation Methods and Which LA Homes Need Each
- Why Stucco Changes Everything: Flashing Sequence Before Lath and Plaster
- Rough-Openings, Shims, and the 1/4-Inch Problem
- WRB Integration: The Four-Step Flashing Sequence That Meets ASTM E2112
- Fire-Rated and Tempered Glazing: When Los Angeles Code Requires It
- What Window Installation Costs in Los Angeles by Method and Material
- Manufacturer Lines and What They’re Actually For
- What a Real Installation Warranty Looks Like in Writing
The Three Window Installation Methods and Which LA Homes Need Each
There are exactly three ways to put a window into a Los Angeles house. Calling all of them “window installation” without specifying which one is how homeowners end up with quotes that vary by thousands of dollars and crews that bring the wrong flashing kit.
- New-construction installation with nailing fin. The window has an integral flange around its perimeter. That flange gets nailed to the exterior sheathing, then integrated with the weather-resistant barrier and flashing tape. This method is used only when the rough opening is exposed, meaning new additions, new builds, and full tear-outs where the exterior cladding has been removed. If you’re adding a bedroom in Altadena or building a new ADU in Reseda, this is the method.
- Retrofit insert installation. The new window is built to fit inside the existing frame. The old sashes and hardware come out, but the original frame stays. The new unit slides in, gets shimmed square, and is sealed with caulk and trim. This is the standard method for stucco homes where removing the frame would mean cutting into the exterior. Most 1950s-through-1990s Los Angeles housing stock gets retrofit inserts.
- Full-frame replacement. The entire old window, including the frame and trim, is removed down to the rough opening. The new window goes in using a new-construction or full-frame method, with new interior and exterior trim. You choose this when the old frame is rotted, the rough opening is badly out of square, or you want to change the window size. Full-frame is common in older beach communities like San Pedro and Venice where marine air has done a number on wood frames.
Each method has a different labor profile. A retrofit insert on a one-story stucco ranch in Torrance might take 45 minutes per window. A full-frame replacement on the same house takes half a day per opening. The product cost is often similar; the labor and disposal aren’t. For our work at Window Installation in Los Angeles, we specify the method before we write the price, because the method drives everything downstream.
Why Stucco Changes Everything: Flashing Sequence Before Lath and Plaster
Los Angeles is a stucco town. From Spanish revival bungalows in Highland Park to mid-century boxes in the Valley, stucco is the dominant exterior. And stucco is unforgiving with windows. It cracks, it holds moisture against the frame, and if the water management sequence is wrong, you won’t see the damage until the wall sheathing is black with rot five years later.
The critical sequencing for new-construction windows in a stucco wall is this:
- Frame the rough opening and install the window with its nailing fin over the sheathing.
- Apply the weather-resistant barrier (WRB), lapping the top layer over the fin’s top edge.
- Apply flashing tape at the jambs and head. Sill flashing goes on before the window ever goes in, at the rough opening stage.
- Then, and only then, does the lath go on, followed by the three-coat stucco process.
If a contractor installs the window after the stucco is already up, the fin is on the wrong side of the water barrier. Water that gets behind the stucco sheet runs down the wall and needs somewhere to exit. The flashing sequence is what directs that water out over the fin and away from the rough opening. Skip it and the window becomes a drain into your wall cavity. In our experience, the visual result looks identical from the street. The difference only appears when the rainy season hits and the interior wall shows staining around the sill. By then, the fix is a full-frame replacement plus sheathing repair, not a tube of caulk.
Rough-Openings, Shims, and the 1/4-Inch Problem
The rough opening is the hole in the wall framing where the window goes. Its job is to be square, plumb, level, and sized correctly. It almost never is. Framers work fast, lumber moves, and a 1960s house in Encino may have settled enough that nothing in the walls is true anymore.
Here’s what a 1/4-inch out-of-plumb condition does to a casement window over five years. A casement operator has a crank mechanism mounted on one jamb. When the window is installed out of plumb, the sash hangs slightly off its hinge line. The crank has to work against gravity every cycle. The operator gear wears faster, the sash starts to drag on the corner, and eventually the hardware strips. The failure looks like a product defect. It isn’t. It’s an installation tolerance issue.
The correct approach is to shim the window into square before the first screw goes through the frame. Shims go behind every anchor point, at the jambs, and at the sill. The window gets set in the opening, checked with a level for plumb and square, and shimmed until the frame reads true in both planes. Then it’s secured. On a retrofit insert, the same sequence applies inside the old frame, and the gap between the new unit and the old frame is insulated and sealed with backer rod and a high-grade sealant, not expanding foam that bows the frame.
What most homeowners never hear about is the tolerance allowance in the manufacturer’s installation documentation. Some lines, like the ECO Window Systems units we install, specify a maximum deviation from square before performance warranties are voided. We check that number before we shim. Our Window Replacement in Los Angeles work includes the same shimming discipline on retrofit inserts, because a square frame is what keeps the hardware alive.
WRB Integration: The Four-Step Flashing Sequence That Meets ASTM E2112
ASTM E2112 is the standard practice for installing exterior windows, doors, and skylights. It defines the sequencing for flashing at the sill, jambs, and head. Most homeowners never hear the standard mentioned, and many installation crews have never read it. Here is the sequence in plain terms, in the order the work actually happens.
- Sill flashing goes on first. A flexible flashing membrane runs across the bottom of the rough opening, extending up the side jambs at least six inches. Its job is to catch any water that reaches the sill plane and direct it out over the wall plane below.
- The window is set and anchored. On a new-construction fin, the fin is fastened through the sheathing. On a full-frame replacement, the frame is anchored through the jambs and head into the framing.
- Jamb flashing runs over the fin edges or the frame perimeter. The bottom of the jamb flashing laps under the sill membrane so water flowing down the jamb hits the flashing and runs out, never behind it.
- Head flashing finishes the sequence. A metal or membrane flashing piece runs across the top, over the head fin or frame, extending past the jambs. It directs water hitting the window head out and away rather than behind the top edge.
The sequence matters more than the brand of tape. Water is managed by lap direction: every piece must overlap the piece below it like shingles on a roof. Reverse the lap and water is actively directed behind the flashing. We’ve torn out windows installed by previous contractors where the head flashing was tucked under the building wrap instead of over it. The result was a slow leak that rotted out the bottom of the rough opening over about four winters.
Fire-Rated and Tempered Glazing: When Los Angeles Code Requires It
Los Angeles has fire zones. Hillside neighborhoods, canyon communities, and areas bordering wildland urban interface are designated Fire Hazard Severity Zones by the state. In those zones, windows may need to meet specific fire-resistant standards, and some openings require tempered glass as a minimum.
Here are the practical rules that affect window installation in Los Angeles:
- Tempered glass is required in specific locations regardless of fire zone. Any window within 24 inches of a door, any window with a sill less than 18 inches from the floor, windows adjacent to bathtubs or showers, and windows in stairways all require safety glazing under the California Residential Code. This is not a suggestion; a final inspection will fail without it.
- Fire-rated glazing can be required by proximity to property lines. If a wall sits within five feet of a property line, building code may require the openings to be protected, meaning fire-rated glass or covered openings. This applies to dense neighborhoods like Koreatown and Westlake as much as it does to canyon homes.
- Hillside zones add their own requirements. In Fire Hazard Severity Zones, dual-pane tempered glass may be the minimum, and some jurisdictions require specific multi-pane configurations for windows facing wildland areas. The requirements change by address, so a blanket quote without a site check is a guess.
If you’re not sure what zone your home falls into, the city’s zoning information map is public. Or you can ask the installer you’re considering to specify the glazing requirements for your address before quoting. A contractor who quotes a window without knowing whether the opening needs tempered glass hasn’t looked at the job.
What Window Installation Costs in Los Angeles by Method and Material
Prices for window installation in Los Angeles vary by method, material, and whether the opening needs structural work. These are installed-price ranges, meaning product plus labor, for one standard-size window, based on our written quotes across the city.
- Retrofit insert, vinyl frame, single-hung: $650 – $1,100 per window installed.
- Retrofit insert, vinyl or aluminum frame, casement: $800 – $1,400 per window installed.
- Retrofit insert with tempered glass upgrade: Add $150 – $300 per window.
- Full-frame replacement, wood or fiberglass frame: $1,800 – $2,800 per window installed.
- Full-frame replacement with new rough opening (size change): Add $400 – $900 per opening for reframing.
- New-construction installation in new addition: $500 – $900 per window for labor and materials, not including the window unit itself.
These ranges reflect Los Angeles labor rates and the cost of disposing of old units, which is not trivial in LA County. A quote that comes in below these ranges usually means one of three things: the installer is reusing the existing frame without sealing it properly, the window is a bottom-tier unit, or the labor is unlicensed. None of those save you money in the long run.
Manufacturer Lines and What They’re Actually For
We stock eight manufacturer lines, not because more choice sounds good, but because different Los Angeles homes need different window types. A ViewLux sliding patio door is the right call for a mid-century home in Westchester where the sight lines matter. A Mr-Glass impact unit makes more sense for a beachfront condo in Marina del Rey where wind-driven rain and debris are the issue. Therma-Tru doors get specified when the entry door needs to match the window profile and carry a real warranty.
The point is that no single manufacturer makes the right window for every opening. When a contractor only sells one brand, the spec conversation starts from inventory instead of your house. That’s backward. The house dictates the product: its exposure, its frame depth, its stucco detail, its fire zone. The product choice follows. You can read more about our replacement process at Window Replacement in Los Angeles, or see what a full patio door install involves at Patio Door Installation in Los Angeles. Our full company overview is at Meridian Windows & Doors home.
What a Real Installation Warranty Looks Like in Writing
Manufacturers warrant their windows. Installers sometimes warrant their labor. What matters is what’s written and for how long.
Our installation work is covered by the 365-Day Done Right Promise. The terms are not buried in fine print. If the installation fails within the year after completion, we return and make it right at no charge. That covers a window that leaks, a frame that shifts, a hardware issue traced to the installation. It’s a single page of plain language, written on every contract. We also include a free second visit if the repair or installation fails within the guarantee period, because a callback that costs you money isn’t a warranty.
Ask any contractor you’re considering what their written labor warranty says and request a copy before you sign. If they can’t show you the document, you don’t have a warranty; you have a promise. And promises made at the kitchen table don’t hold up when the winter rain comes through the head flashing. We operate under The Garrison Standard, in place since 2009. That standard is a fixed line, a discipline. A meridian, by definition, is a fixed line you measure everything against. That’s the name, and that’s how every install runs. Elliot Vance set that standard for our crews, and it hasn’t moved.
Common Mistakes to Avoid
- Installing new-construction windows as retrofits. A window with a nailing fin cannot go into an existing frame without cutting or burying the fin. Cutting it off removes the water management system. Burying it in caulk means it fails silently inside the wall.
- Flashing the window before the building wrap. The wrap must lap over the head fin, not under it. Reverse the lap and you’ve built a funnel into the wall. We see this most often on DIY stucco repairs in older areas like El Sereno.
- Skipping shims and relying on foam to hold the window square. Expanding foam is an insulator and air seal; it’s not a structural shim. A window foamed into an out-of-square opening stays out of square, and the operator hardware pays for it.
- Reusing old flashing tape. Flashing tape degrades with heat and UV exposure. Pulling the old window and slapping the new one over aged tape means the seal fails within a few Los Angeles summers.
- Quoting without knowing the glazing requirements. If the opening is within 24 inches of a door or has a low sill, tempered glass is code. A contractor who doesn’t check will deliver a non-compliant window and then ask for a change order.
- Choosing a window by brand name alone. The right window in Los Angeles depends on fire zone, exposure, stucco condition, and frame depth. Brand is the last variable, not the first.
When to Call a Professional
Window installation is professional work whenever the opening involves flashing, fire-rated glazing, or an existing window with a rotted frame that affects the rough opening. For more details, see DIY vs Professional Patio Door Installation: What’s Safe to Do Yourself. If you’re in a hillside fire zone, you need a site check before any product gets ordered. If the existing window has leaked and you can see staining on the interior wall, the damage extends beyond the sill and needs a full-frame assessment. If you’re in a stucco house and the frame is original to a 1960s build, the rough opening likely needs shimming correction that a retrofit alone won’t solve. Meridian Windows & Doors offers free estimates in Los Angeles, call (817) 686-2228. We’ll walk the site, specify the method, and hand you a written price before any work begins.
Frequently Asked Questions
A standard retrofit insert takes 45 minutes to two hours per window, depending on the condition of the existing frame. A full-frame replacement runs a half day to a full day per opening. New-construction windows in a framed opening go in at roughly 45 minutes to an hour each, but the flashing and WRB integration adds another hour per window. For a typical Los Angeles home with six to ten windows, most jobs complete in two to four working days. Call (817) 686-2228 for a written timeline on your specific project.
Most retrofit inserts in Los Angeles run $650 – $1,400 per window installed, depending on the window type and whether tempered glass is required. A home with eight windows in a typical stucco tract house in the Valley will usually land between $5,000 and $9,000 for a complete retrofit package. Full-frame replacements start around $1,800 per window. Estimates are free, call (817) 686-2228.
You can install a retrofit insert yourself if you have the tools and patience, but the moment you touch flashing, fire-rated glazing, or an out-of-square rough opening, you are doing work that requires permits and inspection in Los Angeles. A permit is required for any window that changes the opening size, and many hillside and coastal zones require specific glazing that a homeowner won’t know to check. The risk isn’t the labor; it’s the water management sequence that looks fine from the street and fails silently in the wall.
Retrofit inserts that do not change the opening size do not require a permit under Los Angeles building code, provided they meet the energy and safety glazing requirements in effect at the time. Full-frame replacements that change opening sizes, or new-construction windows in additions, do require permits and inspections. When we handle the installation, permits and inspections pass before we consider the job done. Call (817) 686-2228 and we’ll tell you whether your specific project needs a permit.
A nailing fin is the integral flange around the perimeter of a new-construction window that fastens to the wall sheathing and integrates with the building wrap and flashing. It matters because it is the water management system for the window. Cut it off, bury it in caulk, or cover it with stucco in the wrong sequence, and the window will leak within a few seasons no matter how expensive the glass is.
Repair makes sense when the glass is intact, the frame is square, and the hardware is the only failing component. Replacement is the right call when the frame has rot, the rough opening has shifted, the glazing is single-pane and you want to meet modern energy code, or the window leaks at the sill or head. In Los Angeles, single-pane aluminum frames from the 1960s and 1970s are almost never worth repairing. Call (817) 686-2228 for a free assessment, and we’ll tell you which route is actually cheaper over a ten-year window.
The Bottom Line
Window installation is a sequenced trade, not a product swap. The method, the flashing, the shimming, and the glazing all follow from the house in front of you. Los Angeles stucco, fire zones, and aging tract housing stock make the wrong guess expensive. Get the method specified in writing. Get the price in writing before the first screw turns. Get the warranty in writing. We’ve been doing exactly that in Los Angeles since 2009, on every job, no exceptions. For more guides & resources, visit our blog.
Written by Elliot Vance, Owner at Meridian Windows & Doors, serving Los Angeles since 2009.