
Last updated October 9, 2026
Free in-home measure and quote - PGT, CGI and CWS impact lines compared on your actual openings, style by style
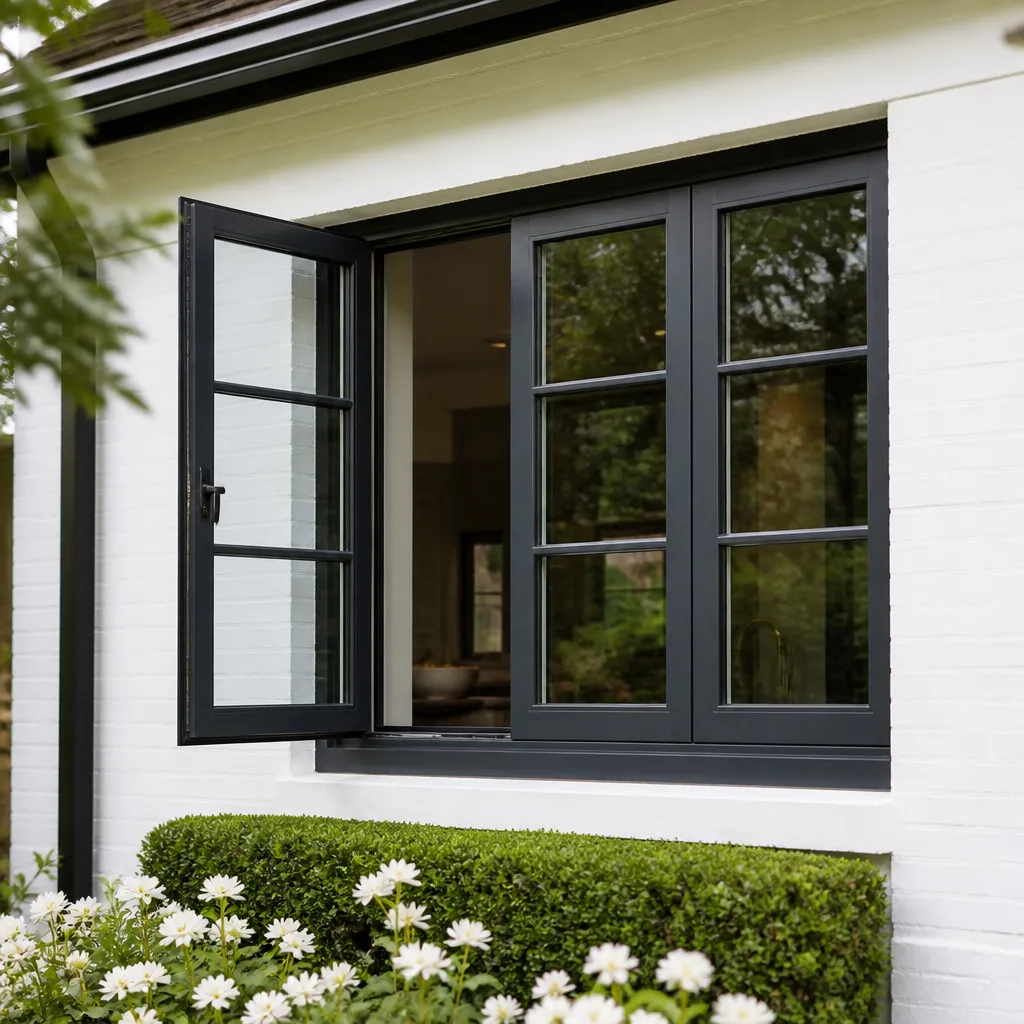
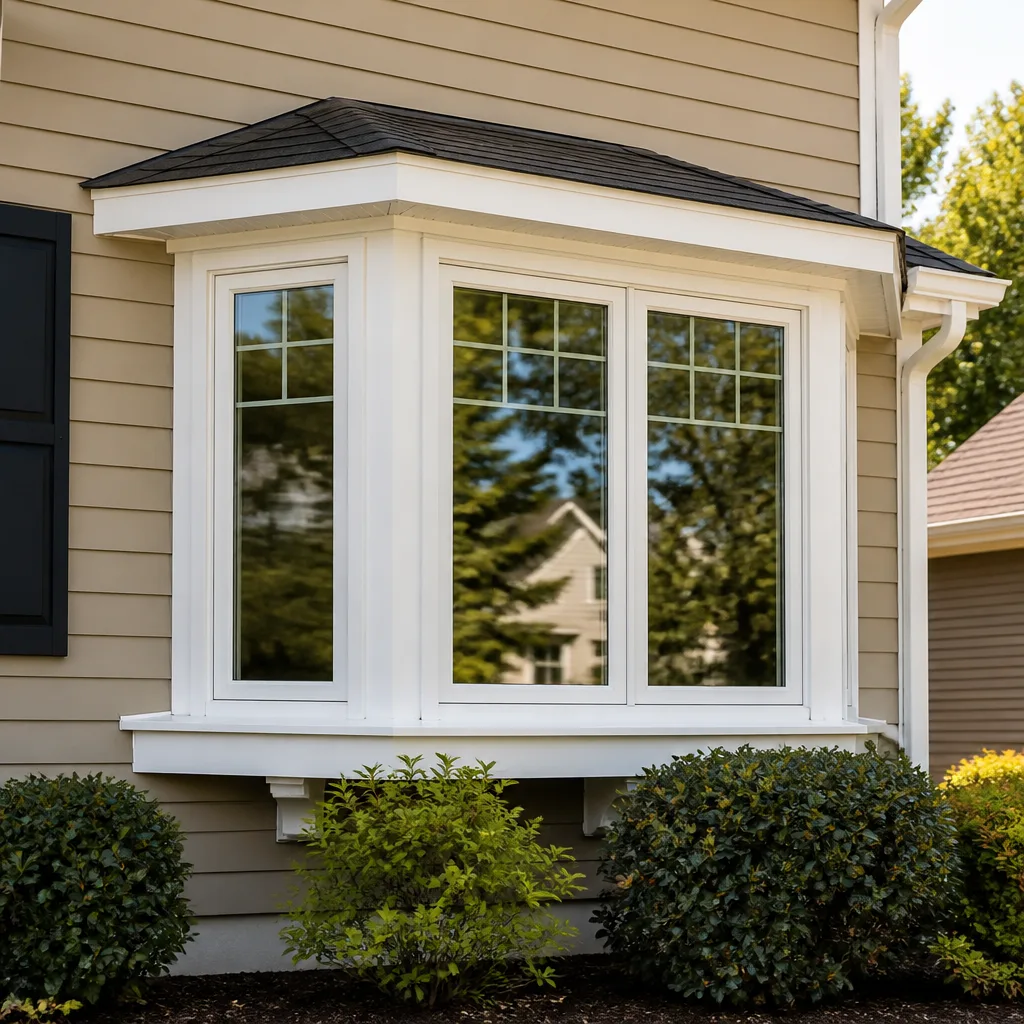
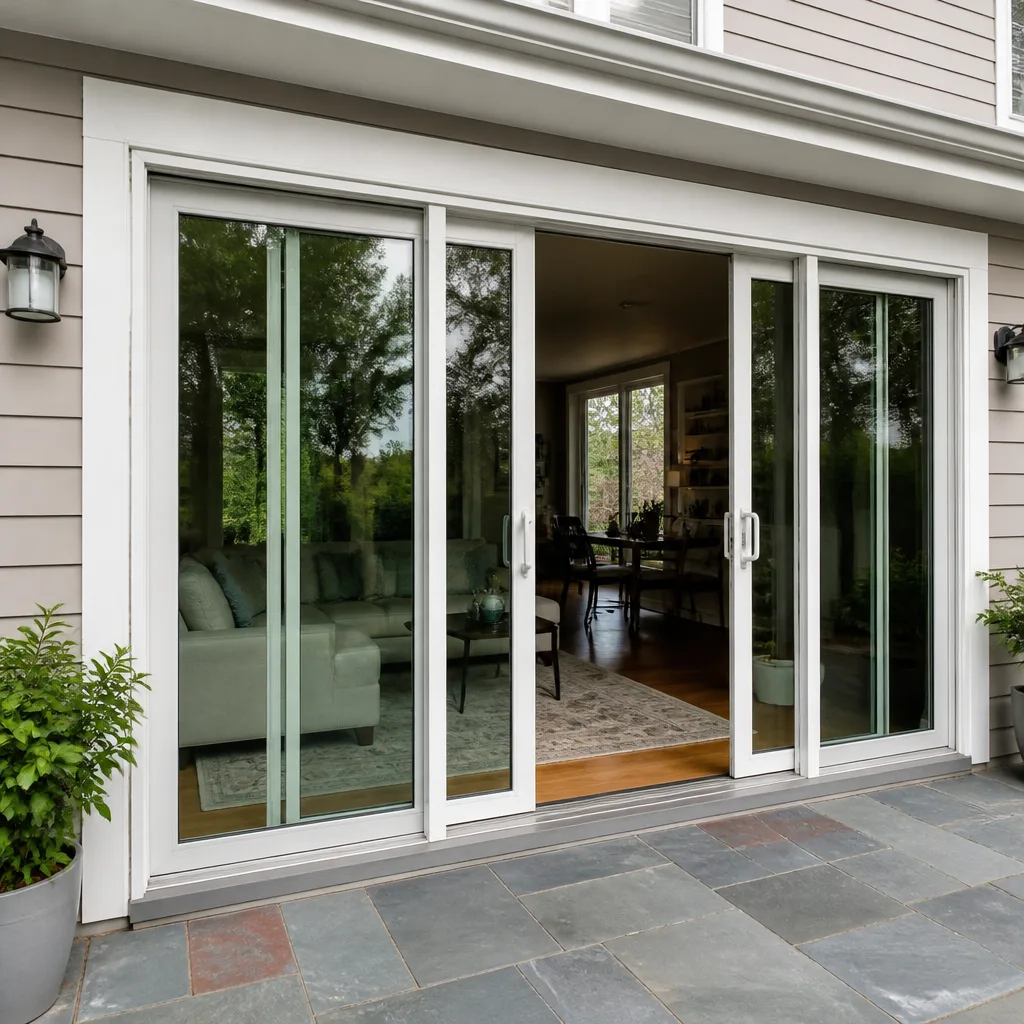
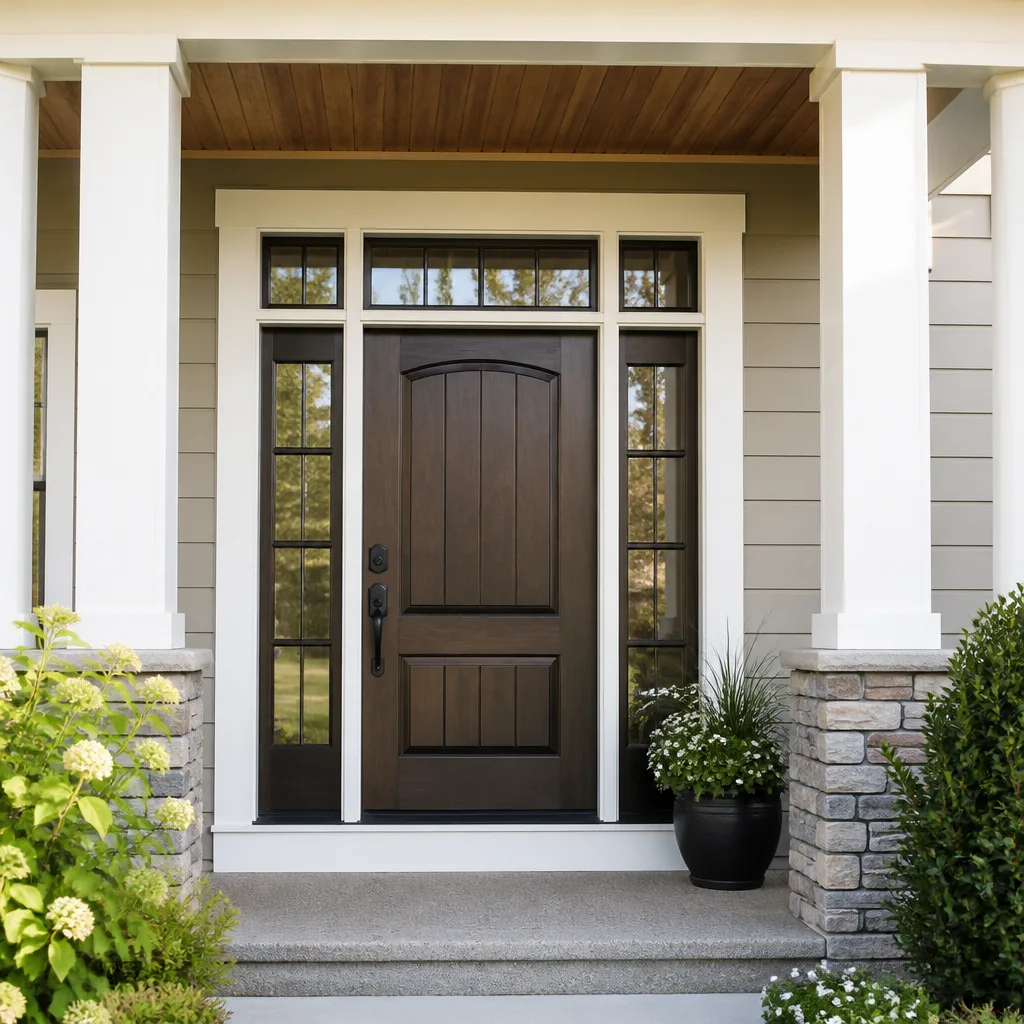
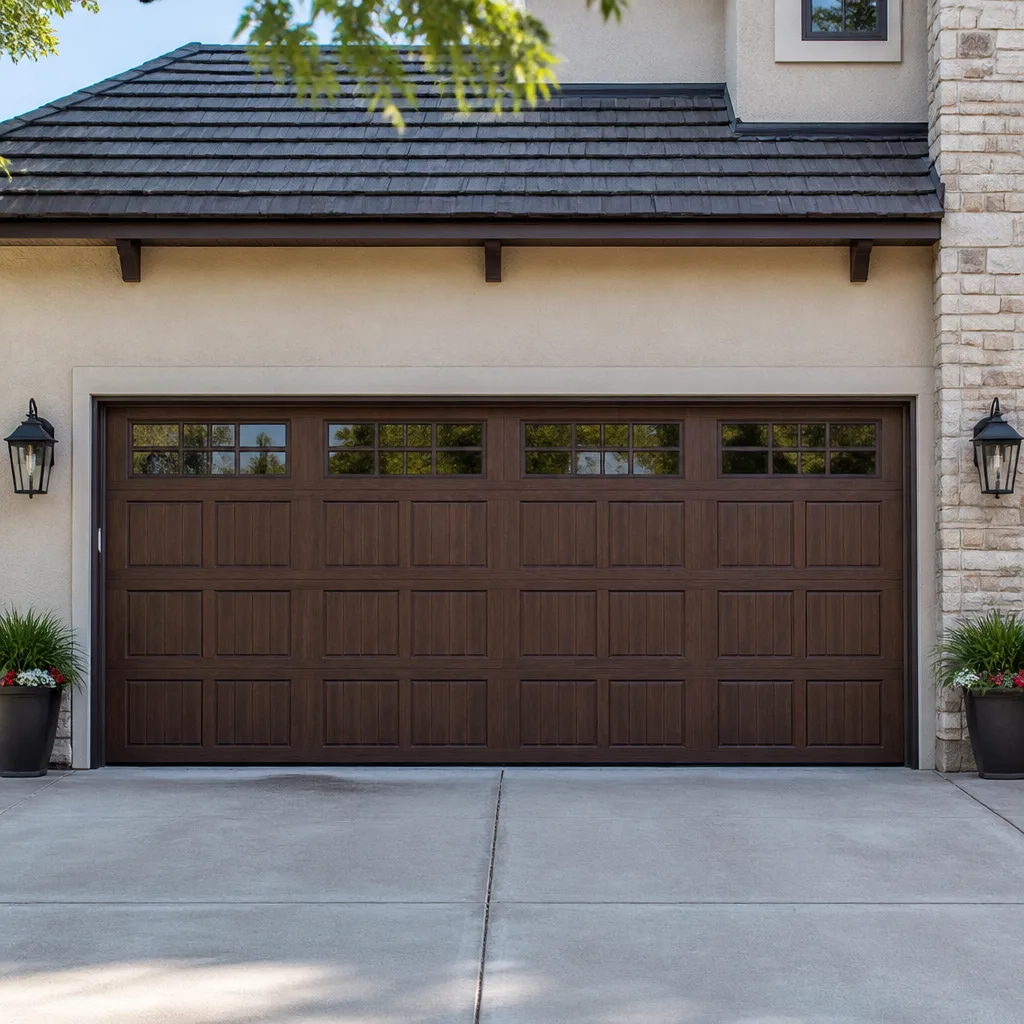
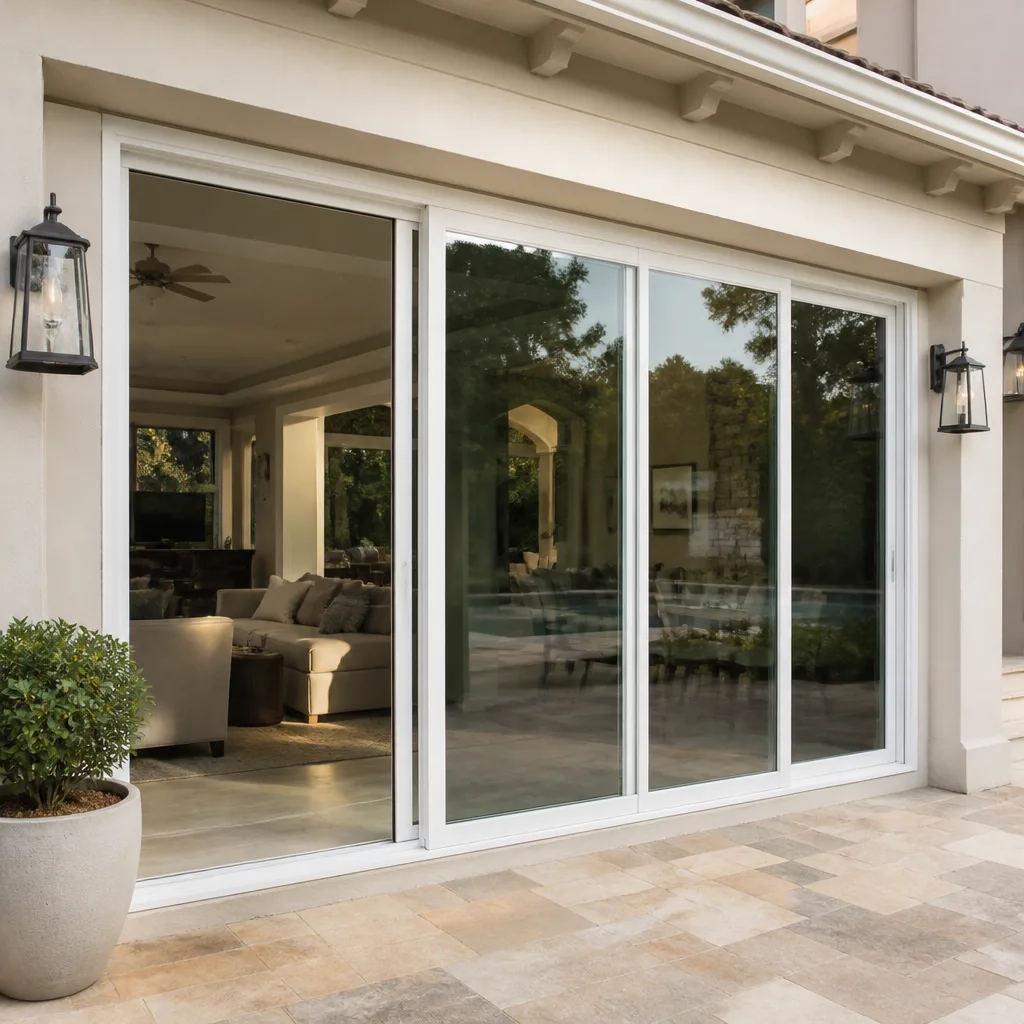

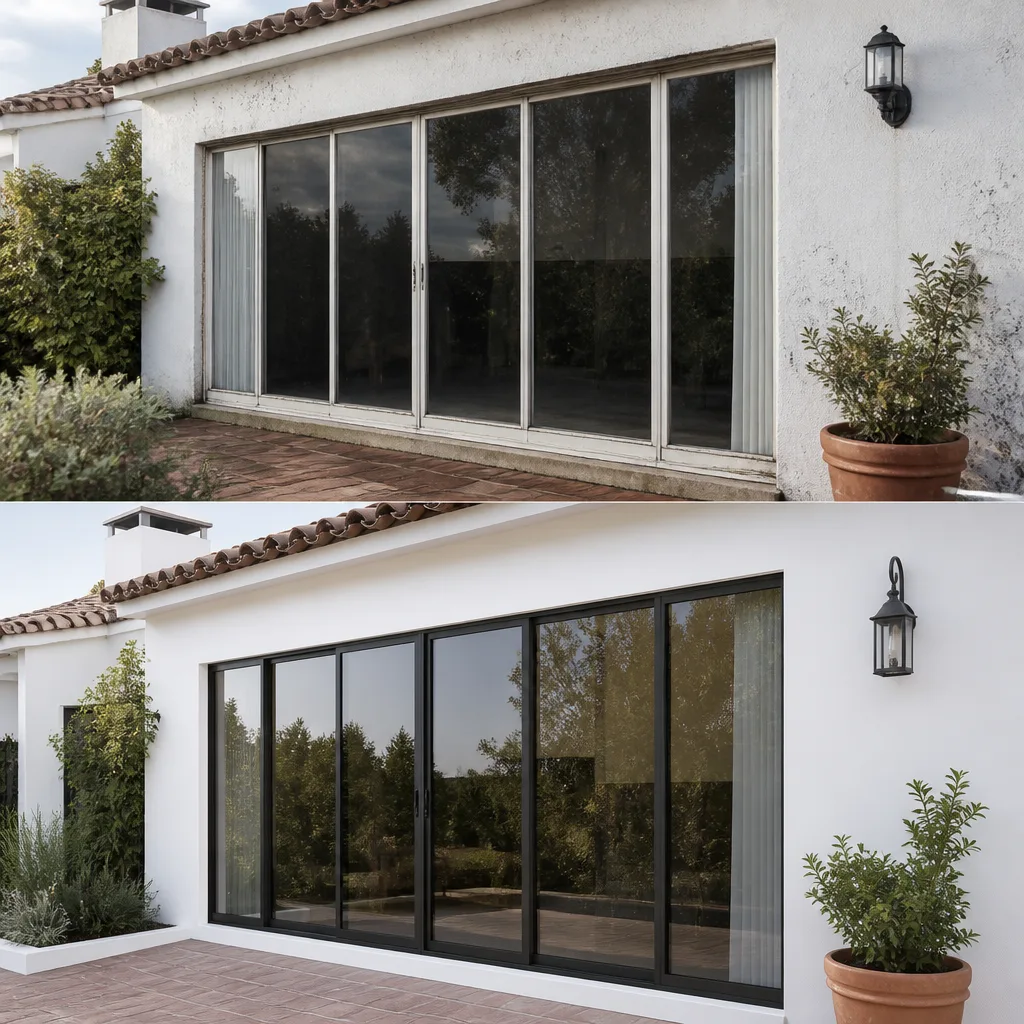
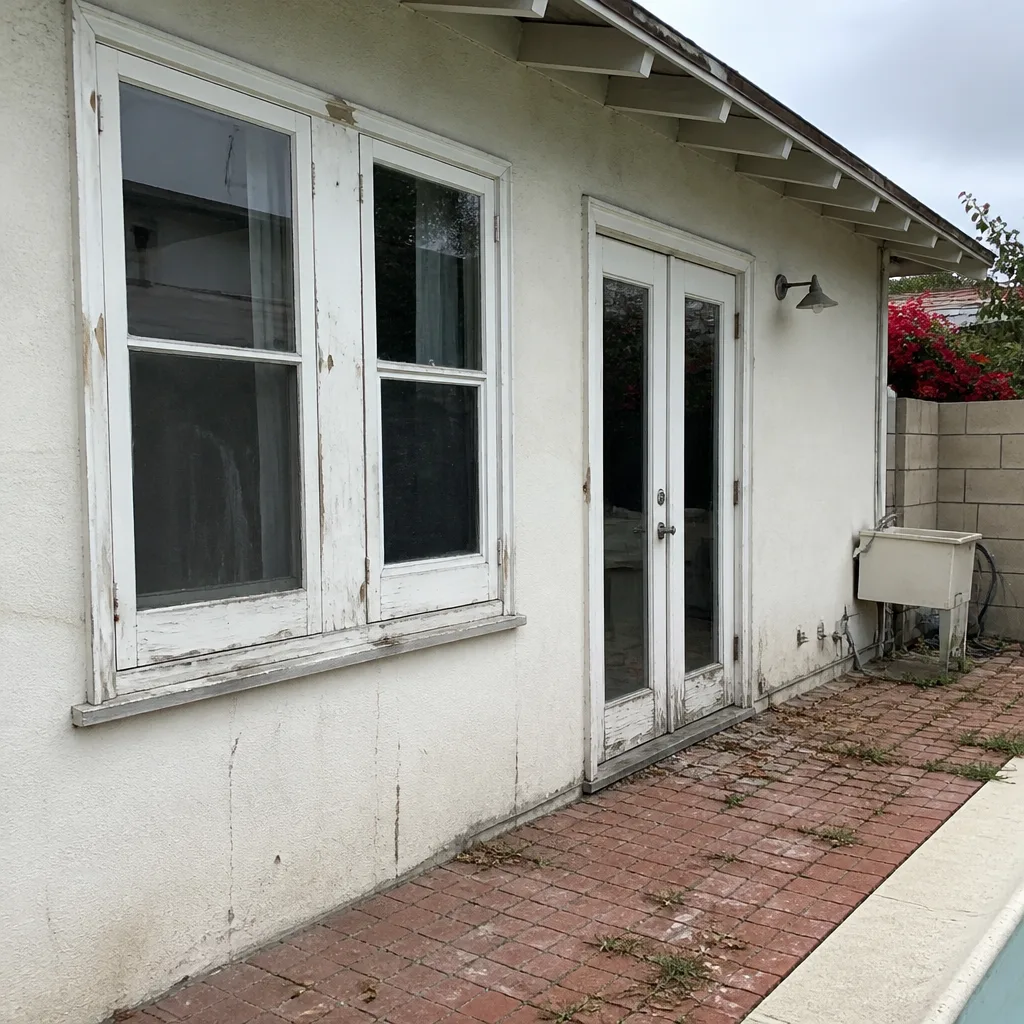 Before
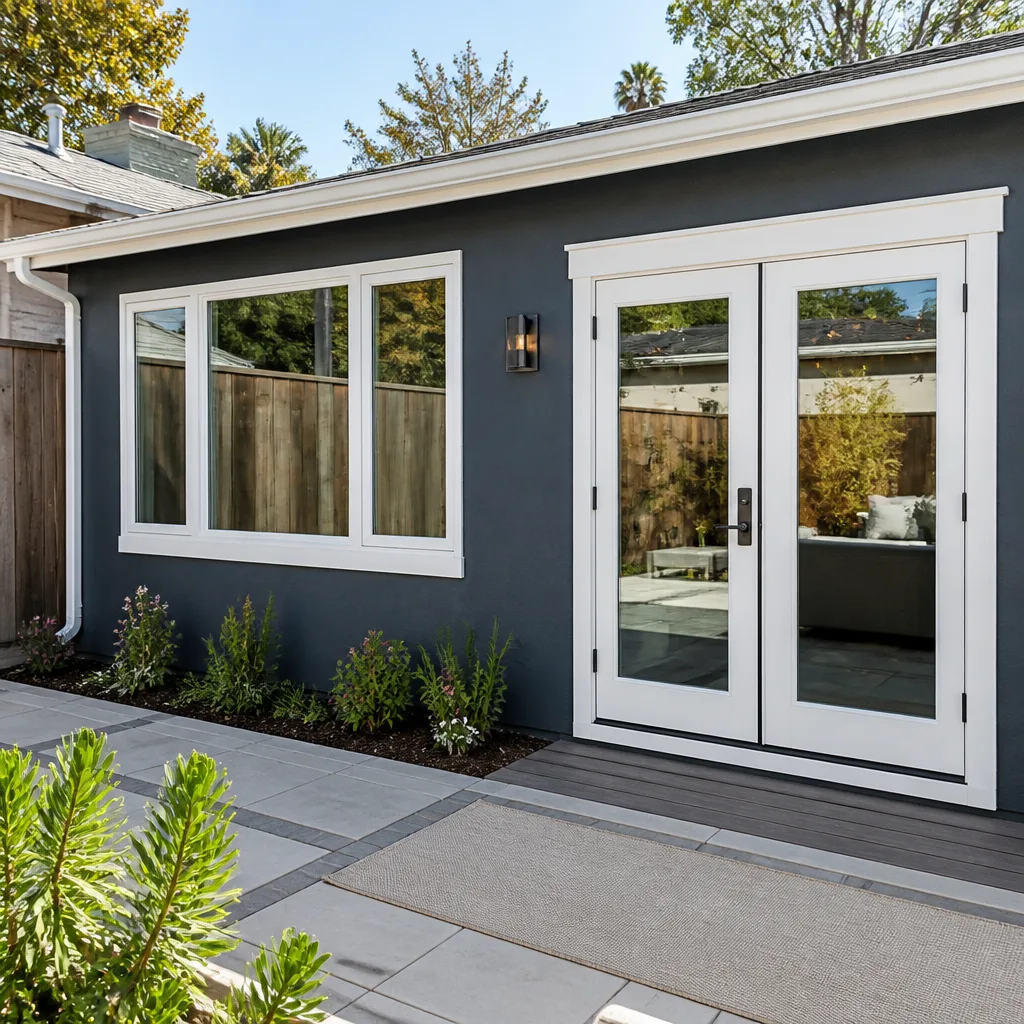 After
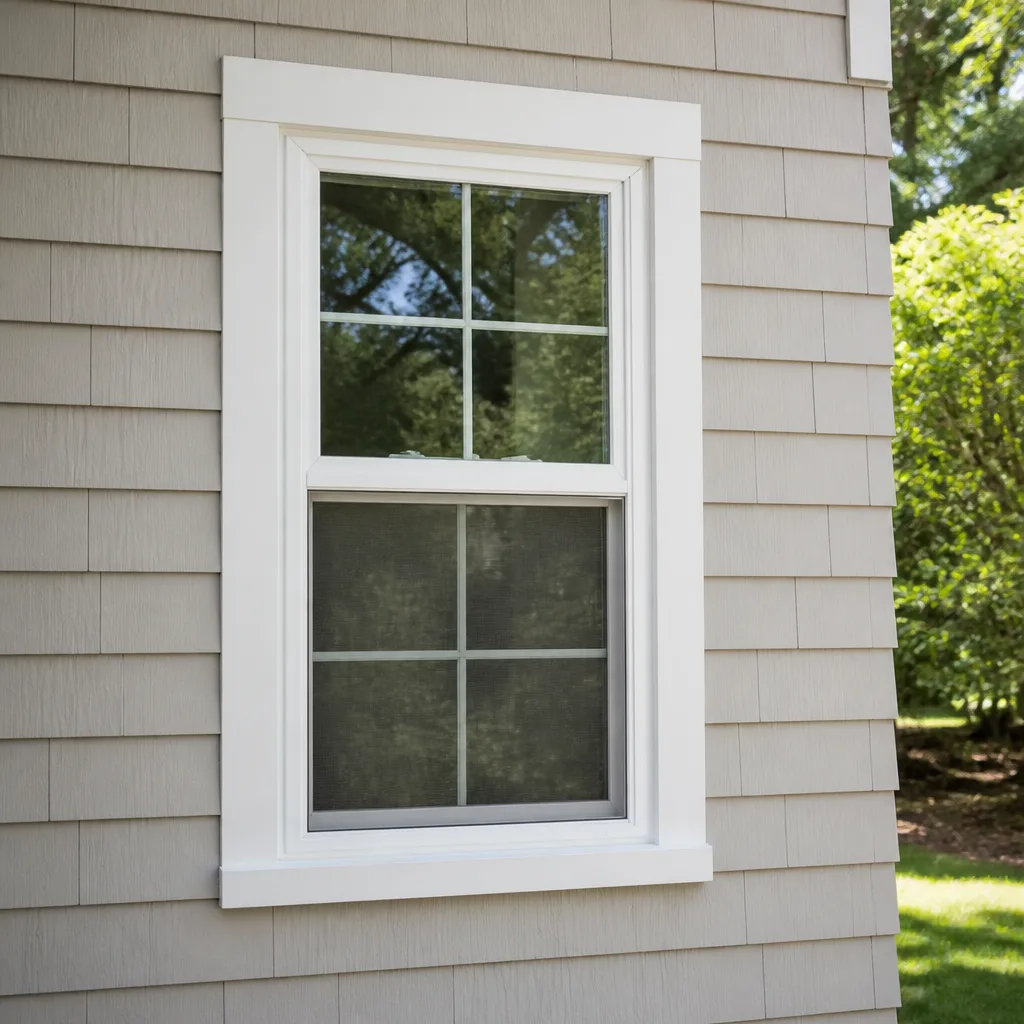
After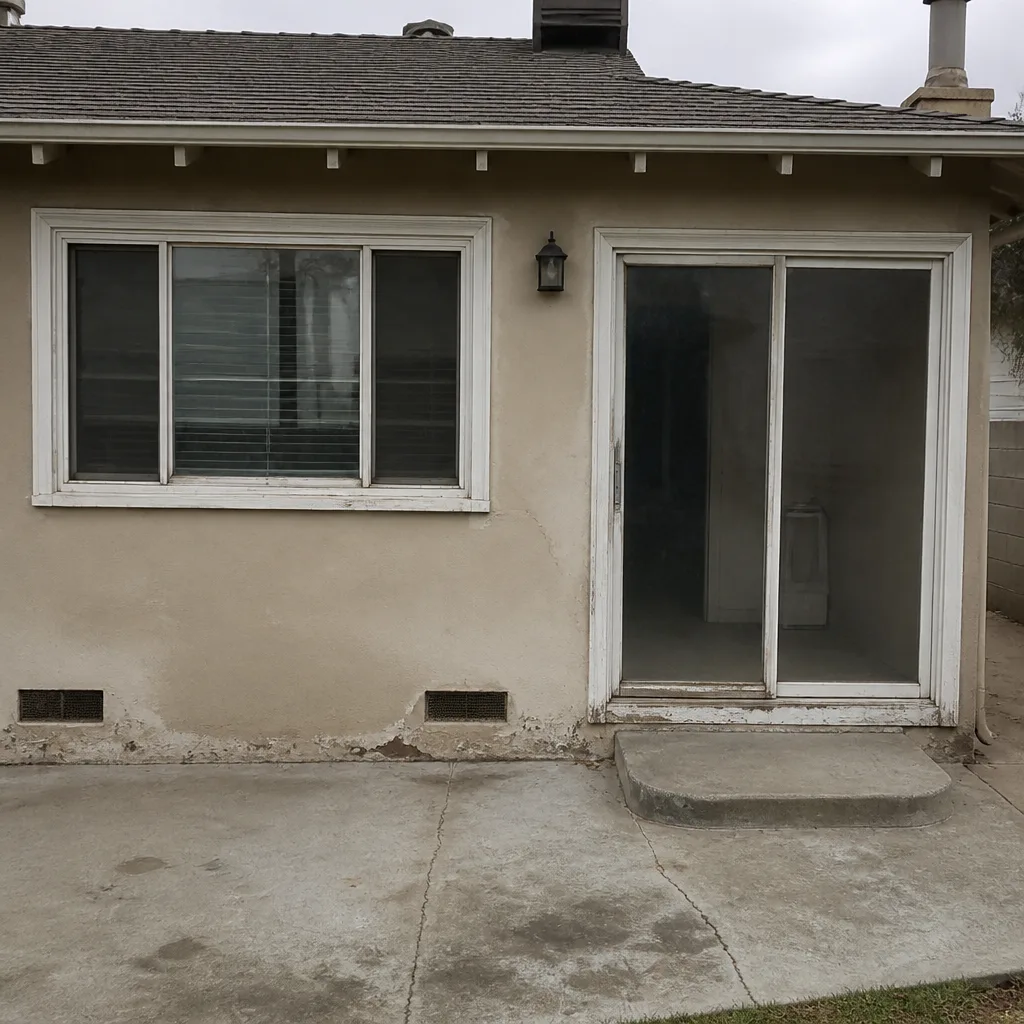 Before
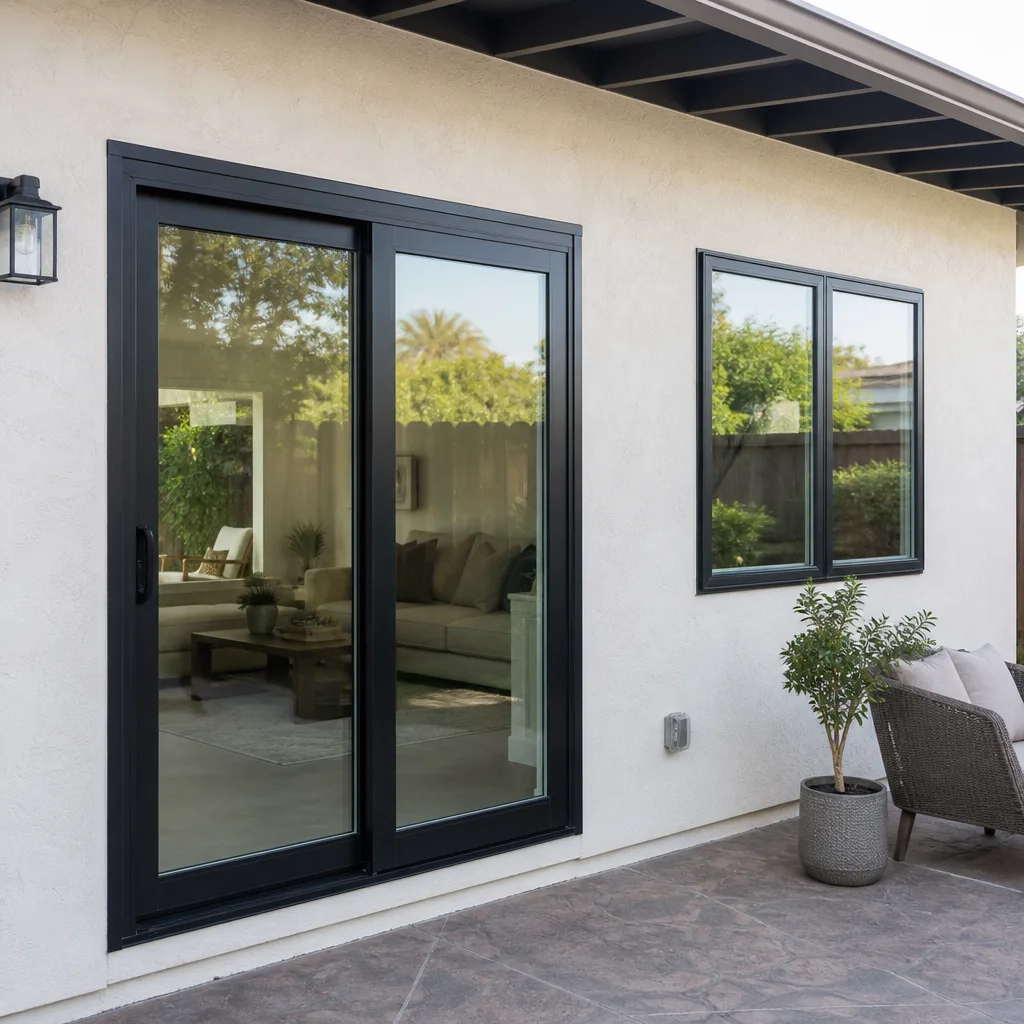 After
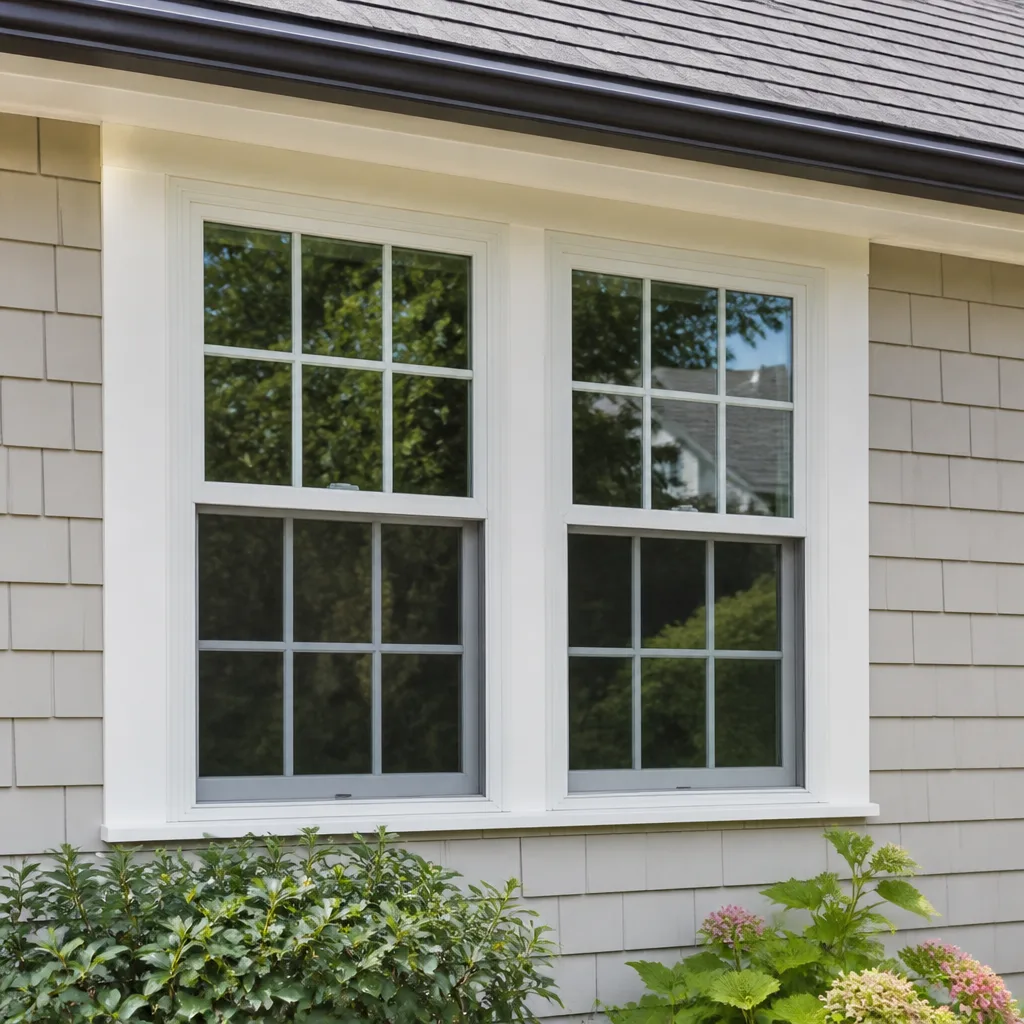
After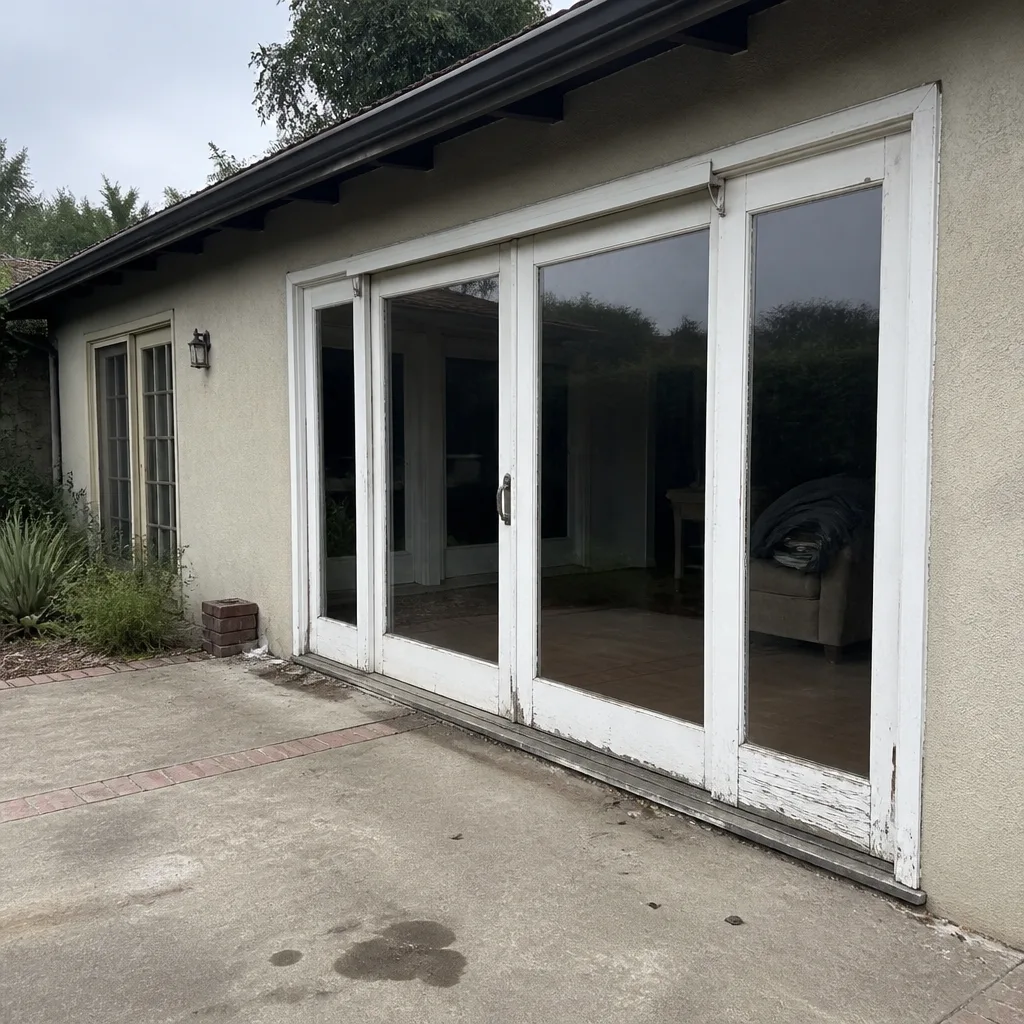 Before
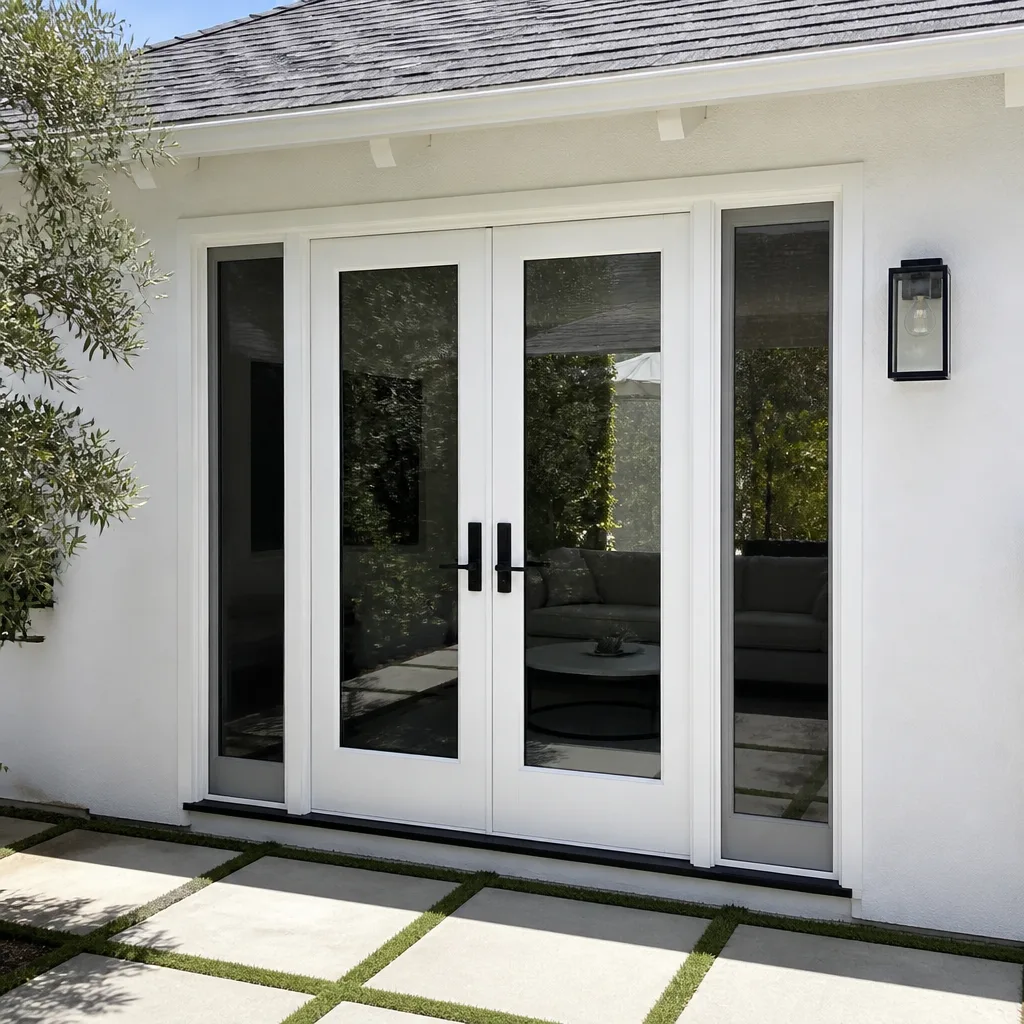 After
AfterDIY vs Professional Window Installation: What’s Safe to Do Yourself
A homeowner who installs a replacement window incorrectly loses weatherproofing. A homeowner who installs a new-construction window incorrectly compromises the building envelope in a way that can void a homeowner’s insurance claim for water damage years later. The distinction matters more than most people realize, and in a city like Los Angeles, where stucco, seismic code, and wildfire-hardening requirements all collide, the gap between curb-appeal confidence and structural competence is wider than any YouTube tutorial suggests. This guide breaks down exactly what a homeowner can safely handle, what requires a C-17 glazing contractor, and how to tell the difference before the first piece of trim comes off. For related reading, see our deep dive on DIY vs Professional Window Replacement: What’s Safe to Do Yourself.
Quick Answer
Drop-in replacement windows in standard openings can be DIY work for a careful, experienced homeowner, but new-construction or full-frame Window Installation services should go to a licensed contractor because it involves cutting into the building envelope, pulling permits, passing LA Department of Building and Safety inspection, and integrating flashing and weather barriers correctly. In our experience at Meridian Windows & Doors, we’ve seen failed DIY new-construction installs that looked fine from the inside and were actively rotting the framing within eighteen months. The safe DIY work is measuring for quotes, removing interior trim, and finishing interior casing – nothing more.
Table of Contents
- Replacement vs New-Construction: The Two Different Jobs
- What You Can Safely DIY (And How to Do It Right)
- Cost Comparison: DIY vs Professional in Los Angeles
- The Building Envelope Skills Gap: WRB, Flashing, and Stucco Weep
- Permits, Inspections, and Why Failed Inspections Mean the Window Comes Back Out
- Liability and Insurance: What Happens When the DIY Window Leaks
- How to Verify a C-17 License and Liability Insurance in California
- Common Mistakes to Avoid
- When to Call a Professional
- Frequently Asked Questions
Replacement vs New-Construction: The Two Different Jobs
Most homeowners don’t know there are two entirely different installation methods, and mixing them up is the root cause of most window disasters. A drop-in replacement (also called an insert or pocket window) fits inside the existing window frame. The old sashes and hardware come out, but the original frame stays. The new window is measured to fit that specific opening, leveled, shimmed, insulated, and sealed. This is the simpler job, and it’s the one some competent DIYers can manage on a ground-floor window.
A new-construction installation (also called full-frame replacement) removes everything down to the rough opening in the wall framing. The old window, frame, exterior trim, and often a strip of exterior siding or stucco come off. The new window gets nailed or screwed directly to the framing through an integrated nailing fin, then flashed, sealed, and tied into the home’s weather-resistant barrier (WRB). This is structural work. In Los Angeles, where much of the housing stock is stucco over wood frame from the 1950s through 1980s, new-construction installation often means cutting into stucco, which means repairing it correctly or water finds its way behind the wall.
The distinction matters for your permit, too. The Los Angeles Department of Building and Safety (LADBS) treats replacement windows in existing openings differently from new-construction windows that alter the opening. If you’re replacing a window in the same size opening, you may qualify for a simpler permit process. If you’re changing the rough opening size or adding a window where none existed, you’re into full permit territory with structural review.
What You Can Safely DIY (And How to Do It Right)
We’re not going to tell you every window job is a professional job, because that’s not true. There are three tasks a competent homeowner with basic tools and patience can genuinely handle. And doing these yourself saves real money without touching anything that can leak or void a warranty.
1. Measuring for Quotes
Accurate measurements help you get a realistic quote before a contractor visits, and they’re straightforward to take. You need three width measurements (top, middle, bottom of the rough opening) and three height measurements (left, center, right), all to the nearest 1/8 inch. Record the smallest of each. Note which direction the window opens and whether you see any signs of moisture around the frame. This information lets a contractor give you a ballpark over the phone, and it tells them whether the job looks standard or complicated.
2. Removing Interior Trim
Interior casing – the decorative wood trim surrounding the window on the inside – is non-structural. Removing it before installers arrive saves labor time and protects the trim from damage. Score the caulk line with a utility knife, gently pry with a flat bar working from the bottom up, and label each piece with painter’s tape so it goes back where it came from. This is a two-hour job on a standard window and saves anywhere from $50 to $150 per opening depending on trim complexity.
3. Finishing Interior Casing
The flip side of removal: after the window is installed, you can install or reinstall the interior casing yourself. This is finish carpentry. It requires a miter saw, a level, a finish nailer, and patience for caulk and paint. Done well, it saves $100 to $250 per window in labor. Done poorly, it looks bad but leaks nothing. That’s the right risk profile for a DIY task.
What you should not attempt: anything on the exterior side of the window, anything involving the rough opening, any work above the first floor, or any work on a window larger than about 36 x 48 inches. A 40-pound window sash on a ladder above your head is how people end up in urgent care, not how they save money.
Cost Comparison: DIY vs Professional in Los Angeles
Real numbers help. Here’s what we see in the Los Angeles market for a standard 36 x 48 inch double-hung window, based on current 2025 pricing:
- Drop-in replacement window, DIY: $250 – $600 for the window unit, plus $40 – $80 for shims, spray foam, caulk, and flashing tape. Total: $290 – $680. Time: one full day for a first-timer.
- Drop-in replacement window, professional: $600 – $1,100 installed, including haul-away of the old unit. Most single-window replacements in LA run $700 – $950 installed depending on brand and glass package.
- New-construction window, professional: $1,200 – $2,500 per window installed, including stucco repair, flashing, permit fees where applicable, and inspection coordination. Full-frame work with a stucco exterior on an older Los Angeles home typically lands at $1,400 – $1,900 per opening.
- DIY new-construction window: $300 – $800 for the window, plus $100 – $200 for stucco materials, flashing, WRB tape, and tools you probably don’t own. Total: $400 – $1,000. The savings disappear the first time the inspector fails you or the stucco repair cracks and water gets behind it.
The cost spread between DIY and professional on a drop-in replacement is maybe $300 to $500, which buys you a workmanship warranty and whoever is responsible if the window binds in the summer heat. On new-construction, the spread looks bigger until you factor in the cost of fixing a bad flashing job six months later, which can run $2,000 to $5,000 once you open the wall, repair the framing, and redo the stucco.
The Building Envelope Skills Gap: WRB, Flashing, and Stucco Weep
Here’s the uncomfortable truth: the visible part of window installation is the easy part. Leveling, shimming, and securing a window takes an afternoon to learn. The work that separates a 30-year window from a leak liability is what happens between the rough opening and the exterior surface, and it’s the part no YouTube tutorial covers well because it’s different on every single house.
The building envelope is your home’s system for managing water. A new-construction window interrupts that system. The installer’s job is to make sure water that hits the wall drains down and away from the opening instead of pooling against the window frame. That means stepping the WRB (weather-resistant barrier, usually Tyvek or asphalt felt) in the correct shingle-lap order, installing pan flashing at the sill, and taping the nailing fin in the right sequence – sill, jambs, head. And leaving the bottom edge of the head flashing untaped so any water that does get behind the fin can drain out at the bottom. Miss that one detail and you’ve built a water collection pocket that holds moisture against the wall framing.
Stucco adds another layer of complexity in Los Angeles. Stucco is not waterproof – it’s a water-shedding system with a drainage plane behind it. When you cut into stucco to install a new-construction window, you have to restore that drainage plane and leave weep holes or a weep screed at the bottom so water can escape. A licensed installer knows to look for whether the home has weep screed, where it sits relative to the window, and how to tie the new patch into it. A homeowner who watched a video about vinyl siding on a house in Ohio doesn’t know what weep screed is, and that’s a serious problem in a city where we do get real rain even if we get it infrequently.
This is not gatekeeping. It’s the difference between training and instruction. A C-17 glazing contractor has passed a state trade exam and worked under supervision for four years before they can pull a glazing permit on their own. The trade knowledge is real, and much of it is about knowing what’s behind the wall you’re about to cut into.
Permits, Inspections, and Why Failed Inspections Mean the Window Comes Back Out
Los Angeles requires a building permit for window installation that involves any of the following: changing the size of an existing opening, creating a new opening, or installing a window in a location where one did not previously exist. Drop-in replacements in the same size opening may still require a permit depending on scope, and the LADBS website lists window replacement among projects that trigger permit requirements when the work is substantial. The safest approach is to assume you need one and verify with the LADBS before starting.
What does the inspector actually look at? Here’s the list that separates pass from fail:
- Rough opening dimensions and framing integrity – the inspector verifies the opening is square, the framing is sound, and any altered studs or headers meet code.
- Flashing and WRB integration – in Los Angeles, where LADBS enforces California Building Code Chapter 14 for exterior walls, the inspector looks for proper flashing at the sill, jambs, and head, and correct WRB lapping. This is the number one failure point for DIY installs.
- Egress compliance – bedroom windows must meet minimum opening dimensions (typically 20 x 24 inches net clear opening) and sill height requirements so a person can escape during a fire. Installing a window that shrinks the opening below egress requirements is an automatic fail.
- Fire safety and glazing – Los Angeles sits in a Wildland-Urban Interface (WUI) zone in many hillside and canyon neighborhoods. Windows in those areas may be required to meet specific ember-resistance standards, which influences frame material and glazing choices. An inspector will check compliance.
- Anchorage – the inspector confirms the window is fastened to the framing with the correct fastener type, size, and spacing per manufacturer instructions (which are code by reference).
Here’s the kicker: if an inspection fails, the window typically has to come back out to fix whatever is wrong behind it. You can’t fix a missing piece of pan flashing without removing the window. That means redoing the stucco patch, redoing the flashing, and rescheduling the inspection. A failed LADBS inspection on a window job adds $300 to $1,200 in rework and at least two weeks of delay. A licensed contractor has done this enough times to know what the inspector in your district wants to see before they schedule the appointment. In our experience, we’ve had exactly one LADBS correction in the last three years on window work, and it was fixed same-day because the flashing was accessible.
Liability and Insurance: What Happens When the DIY Window Leaks
This is the section that gets ignored until it’s too late, and it’s the one that matters most. Water damage from a window leak is slow. It takes months or years to show up. By the time you see the paint bubbling or the drywall staining, the water has been working behind the wall for a long time.
If a window was installed by an unlicensed homeowner or an unlicensed handyman, and water damage appears two years later, your homeowner’s insurance company has a clear path to deny the claim. Most policies exclude damage resulting from faulty workmanship. When the work was performed by a licensed contractor, the contractor’s liability insurance is the first line of defense, and even if the contractor is gone, the insurance claim record exists. When the homeowner did the work themselves, there is no contractor to point at. The insurance adjuster will classify the damage as resulting from improper installation – a maintenance failure – and many policies in California will decline coverage or offer a reduced settlement.
California law requires contractors performing window installation work over $500 in total cost (labor and materials) to hold a valid license from the Contractors State License Board (CSLB). The specific classification for glazing work is C-17. An unlicensed installer cannot legally pull a permit, cannot legally carry liability insurance for the work, and cannot give you a contract that holds up in court if something goes wrong. If you hire an unlicensed person and the window leaks, you have no legal recourse through the CSLB recovery fund and no insurance claim against the installer.
In Los Angeles specifically, where homes in neighborhoods like Brentwood, Sherman Oaks, and Silver Lake range from 1950s stucco boxes to hillside custom builds with expansive glass, water intrusion from a failed window install often means mold remediation, which is a five-figure problem before you even get to fixing the window. The $500 you saved on installation becomes irrelevant.
How to Verify a C-17 License and Liability Insurance in California
Before a single piece of glass comes off the truck, do the following. It takes fifteen minutes and it tells you most of what you need to know about who you’re dealing with.
- Check the CSLB license number. Go to the Contractors State License Board website (cslb.ca.gov), enter the license number, and confirm the classification includes C-17 (Glazing). Confirm the license is active and not expired or suspended.
- Verify the business name matches. The license should be issued to the exact company name on your contract, and the owner or RMO (Responsible Managing Officer) should be listed by name. If the person at your door is named Mike but the license is under someone else’s name with no corporate connection, stop and ask questions.
- Request a certificate of insurance. A legitimate contractor will have their insurance broker issue a certificate of liability insurance naming the homeowner as an additional insured for the duration of the project. This should show general liability coverage of at least $1 million. In California, a contractor with employees must also carry workers’ compensation insurance – if they don’t have it and a worker is injured on your property, you can be held liable.
- Verify the workers’ comp policy. The CSLB website shows whether a contractor carries workers’ compensation. If the contractor is a sole proprietor with no employees, they may be exempt, but most window crews have at least two people on site, so the exemption rarely applies.
- Check license history. The CSLB site lists complaints, citations, and disciplinary actions. A single old complaint may not disqualify a contractor, but a pattern of unresolved complaints is a red flag.
We hold a C-17 glazing classification through the CSLB and carry liability insurance on every job. The Garrison Code – the operating standard we follow at Meridian Windows & Doors under the Garrison Partners umbrella – requires verification of coverage on every project before a crew is dispatched. If a contractor hesitates or gets defensive when you ask for a certificate of insurance, that’s your answer.
Common Mistakes to Avoid
- Treating a new-construction job like a drop-in replacement. Removing the old frame changes everything about flashing, sealing, and water management. This is the single most expensive mistake we see in Los Angeles, where stucco makes the repair cost higher than the original installation.
- Sealing the bottom edge of head flashing. Taping or caulking across the bottom of the head flashing traps water instead of letting it drain. Every window leak we’ve repaired that wasn’t stucco-related traces back to this one error or a missing pan flashing.
- Not checking for weep screed before cutting stucco. Weep screed is the drainage line at the base of a stucco wall. Cutting into stucco without understanding where the drainage plane exits the wall means your patch can trap water against the framing. Some homes in Los Angeles don’t have it (pre-1940 builds), and newer homes have it detailed differently by code, so the installer has to know which condition they’re working with.
- Assuming egress requirements don’t matter because “it’s the same size window.” Frame material changes net clear opening. A vinyl replacement window with a thicker frame can reduce the net opening below the 20 x 24 inch minimum for bedrooms, and the inspector will fail it even though the old window was the same nominal size.
- Skipping the permit because “it’s just a window.” Unpermitted window work gets flagged during home sale disclosures, and the buyer’s lender may require retroactive permits before funding. Retroactive permits in Los Angeles are harder than pulling them upfront.
- Hiring the lowest bid without checking CSLB status. An unlicensed handyman in Los Angeles will quote half the price of a C-17 contractor. When the window leaks, you have no license number to file against, no insurance to claim against, and no leverage.
- DIYing a second-story window without scaffolding or a proper ladder setup. A 45-pound replacement window above your head on an extension ladder is how people lose balance and fall. Falls are the leading cause of homeowner DIY injuries, and window work is a top contributor.
When to Call a Professional
Call a licensed C-17 contractor if any of these apply: the installation is new-construction or full-frame, the window is above the ground floor, the window is larger than 36 x 48 inches, the home is stucco, the opening has any sign of existing water damage, the window is in a bedroom and egress compliance matters, or the work will require a permit. If you’re not sure which category your project falls into, get an assessment from someone who can tell you honestly. Meridian Windows & Doors offers free estimates in Los Angeles – call (817) 686-2228 and we’ll tell you what kind of job you’re actually looking at, whether or not you hire us to do it.
Frequently Asked Questions
For a drop-in replacement, DIY saves roughly $300 to $500 per window on labor. For a new-construction or full-frame installation, the short-term savings are dwarfed by the risk: a failed flashing job or water intrusion behind stucco can cost $2,000 to $5,000 to remediate, not counting potential insurance claim denial. Call (817) 686-2228 for a written estimate and compare your actual DIY cost against a professional quote before deciding.
In most cases, yes. Changing the size of an opening, creating a new opening, or doing full-frame replacement requires an LADBS permit. Drop-in replacements in the same size opening may qualify for a simpler path, but you should verify with LADBS before starting. A licensed contractor handles permit applications as part of the job.
A replacement (or insert) window fits inside the existing frame and leaves the original frame, trim, and exterior in place. A new-construction window removes everything down to the rough opening and attaches the new window to the framing with a nailing fin, requiring flashing, WRB integration, and exterior repair. The second job is structural work and requires a C-17 contractor in California.
Not legally for work over $500. California requires a C-17 glazing classification from the CSLB for window installation. A handyman without that classification cannot pull a permit, cannot carry proper liability insurance for glazing work, and leaves you with no legal recourse if the installation fails. Always verify the license at cslb.ca.gov.
A drop-in replacement typically takes 1 to 2 hours per window once the crew is on site. A full-frame new-construction installation takes 3 to 5 hours per window, plus stucco repair time and inspection scheduling, which can add 1 to 3 weeks to the overall project timeline in Los Angeles depending on LADBS appointment availability.
Yes. We provide a written estimate at no charge before any work begins, and the price on that estimate does not change at the door. We carry product lines including PGT, Therma-Tru, and ViewLux so the right window is spec’d for the job rather than whatever is in stock. Call (817) 686-2228 to schedule yours.
The Bottom Line
Most window installation work in Los Angeles is not a safe DIY project, not because homeowners lack capability but because the risk profile is inverted: the visible work is easy, and the invisible work – flashing, WRB integration, stucco drainage, egress compliance, permit inspection – is what fails, quietly and expensively. Drop-in replacements in standard openings can be DIY for a patient, experienced homeowner on the ground floor. Everything else belongs with a licensed C-17 contractor who carries insurance, pulls permits, and stands behind the work in writing. Measure for quotes, remove the interior trim, and finish the casing yourself. Explore our blog for more guides & resources. Let the contractor handle the building envelope. A meridian is a fixed line you measure everything against – that is what the name means and how we run every install at Meridian Windows & Doors.
Written by Elliot Vance, Owner at Meridian Windows & Doors, serving Los Angeles since 2009.